Home › Forums › The Machinery Forums › Pedestrian operated machines › Smokey F.15 – well, thats odd
- This topic has 25 replies, 5 voices, and was last updated 6 years, 5 months ago by
 vhgmcbuddy.
-
AuthorPosts
-
November 6, 2017 at 9:20 am #27031
 charlieKeymaster
The extract I posted is from a workshop manual, not the owners manual. I suspect tools, especially valve seat cutter will be expensive. It will probably be cheaper to go to an engineering company, ideally one that is familiar with small engines.
Attachments:
November 6, 2017 at 5:45 pm #27033 vhgmcbuddyMember
I would like to get a copy of that, I will look our for it.
Also, I have been on to Meetens who surprise me by telling me that latter F15’s had valve guides fitted (rather than just running straight in the block) – although they are still steel – which is strange. As the block is otherwise unchanged we can assume that there is enough meat there to allow machining etc.
What this tells me is that this must have been a problem for them to bother updating the design? my old Mountfield has the old alloy block that start describes, in which the valves run with no guides and it must be 50 years old and still running strong with very little smoke!
I have a feeling that the similar materials might be susceptible to corrosion/pitting when left standing for a long time, and then sticking followed by accelerated wear – i think an engine that has been used all its life would be in much better condition guide-wise.
So, i have ordered (along with a gasket set and other bits and bobs) new guides and standard valves and i will get my local engineering place to machine the block to suite.
The mystery thrust washer in the reduction box was a figment of my imagination after all – i must be losing it! – i have ordered a replacement for the very slightly worn crankshaft/output shaft thrust washer as a might as well as i am in there.
one last thing, what colour red is the F15, mine is very faded and looks more orange?
I will let you all know how i get on!
November 7, 2017 at 3:33 pm #27034vhgmcbuddyMemberIts confirmed, I am going quietly mad!
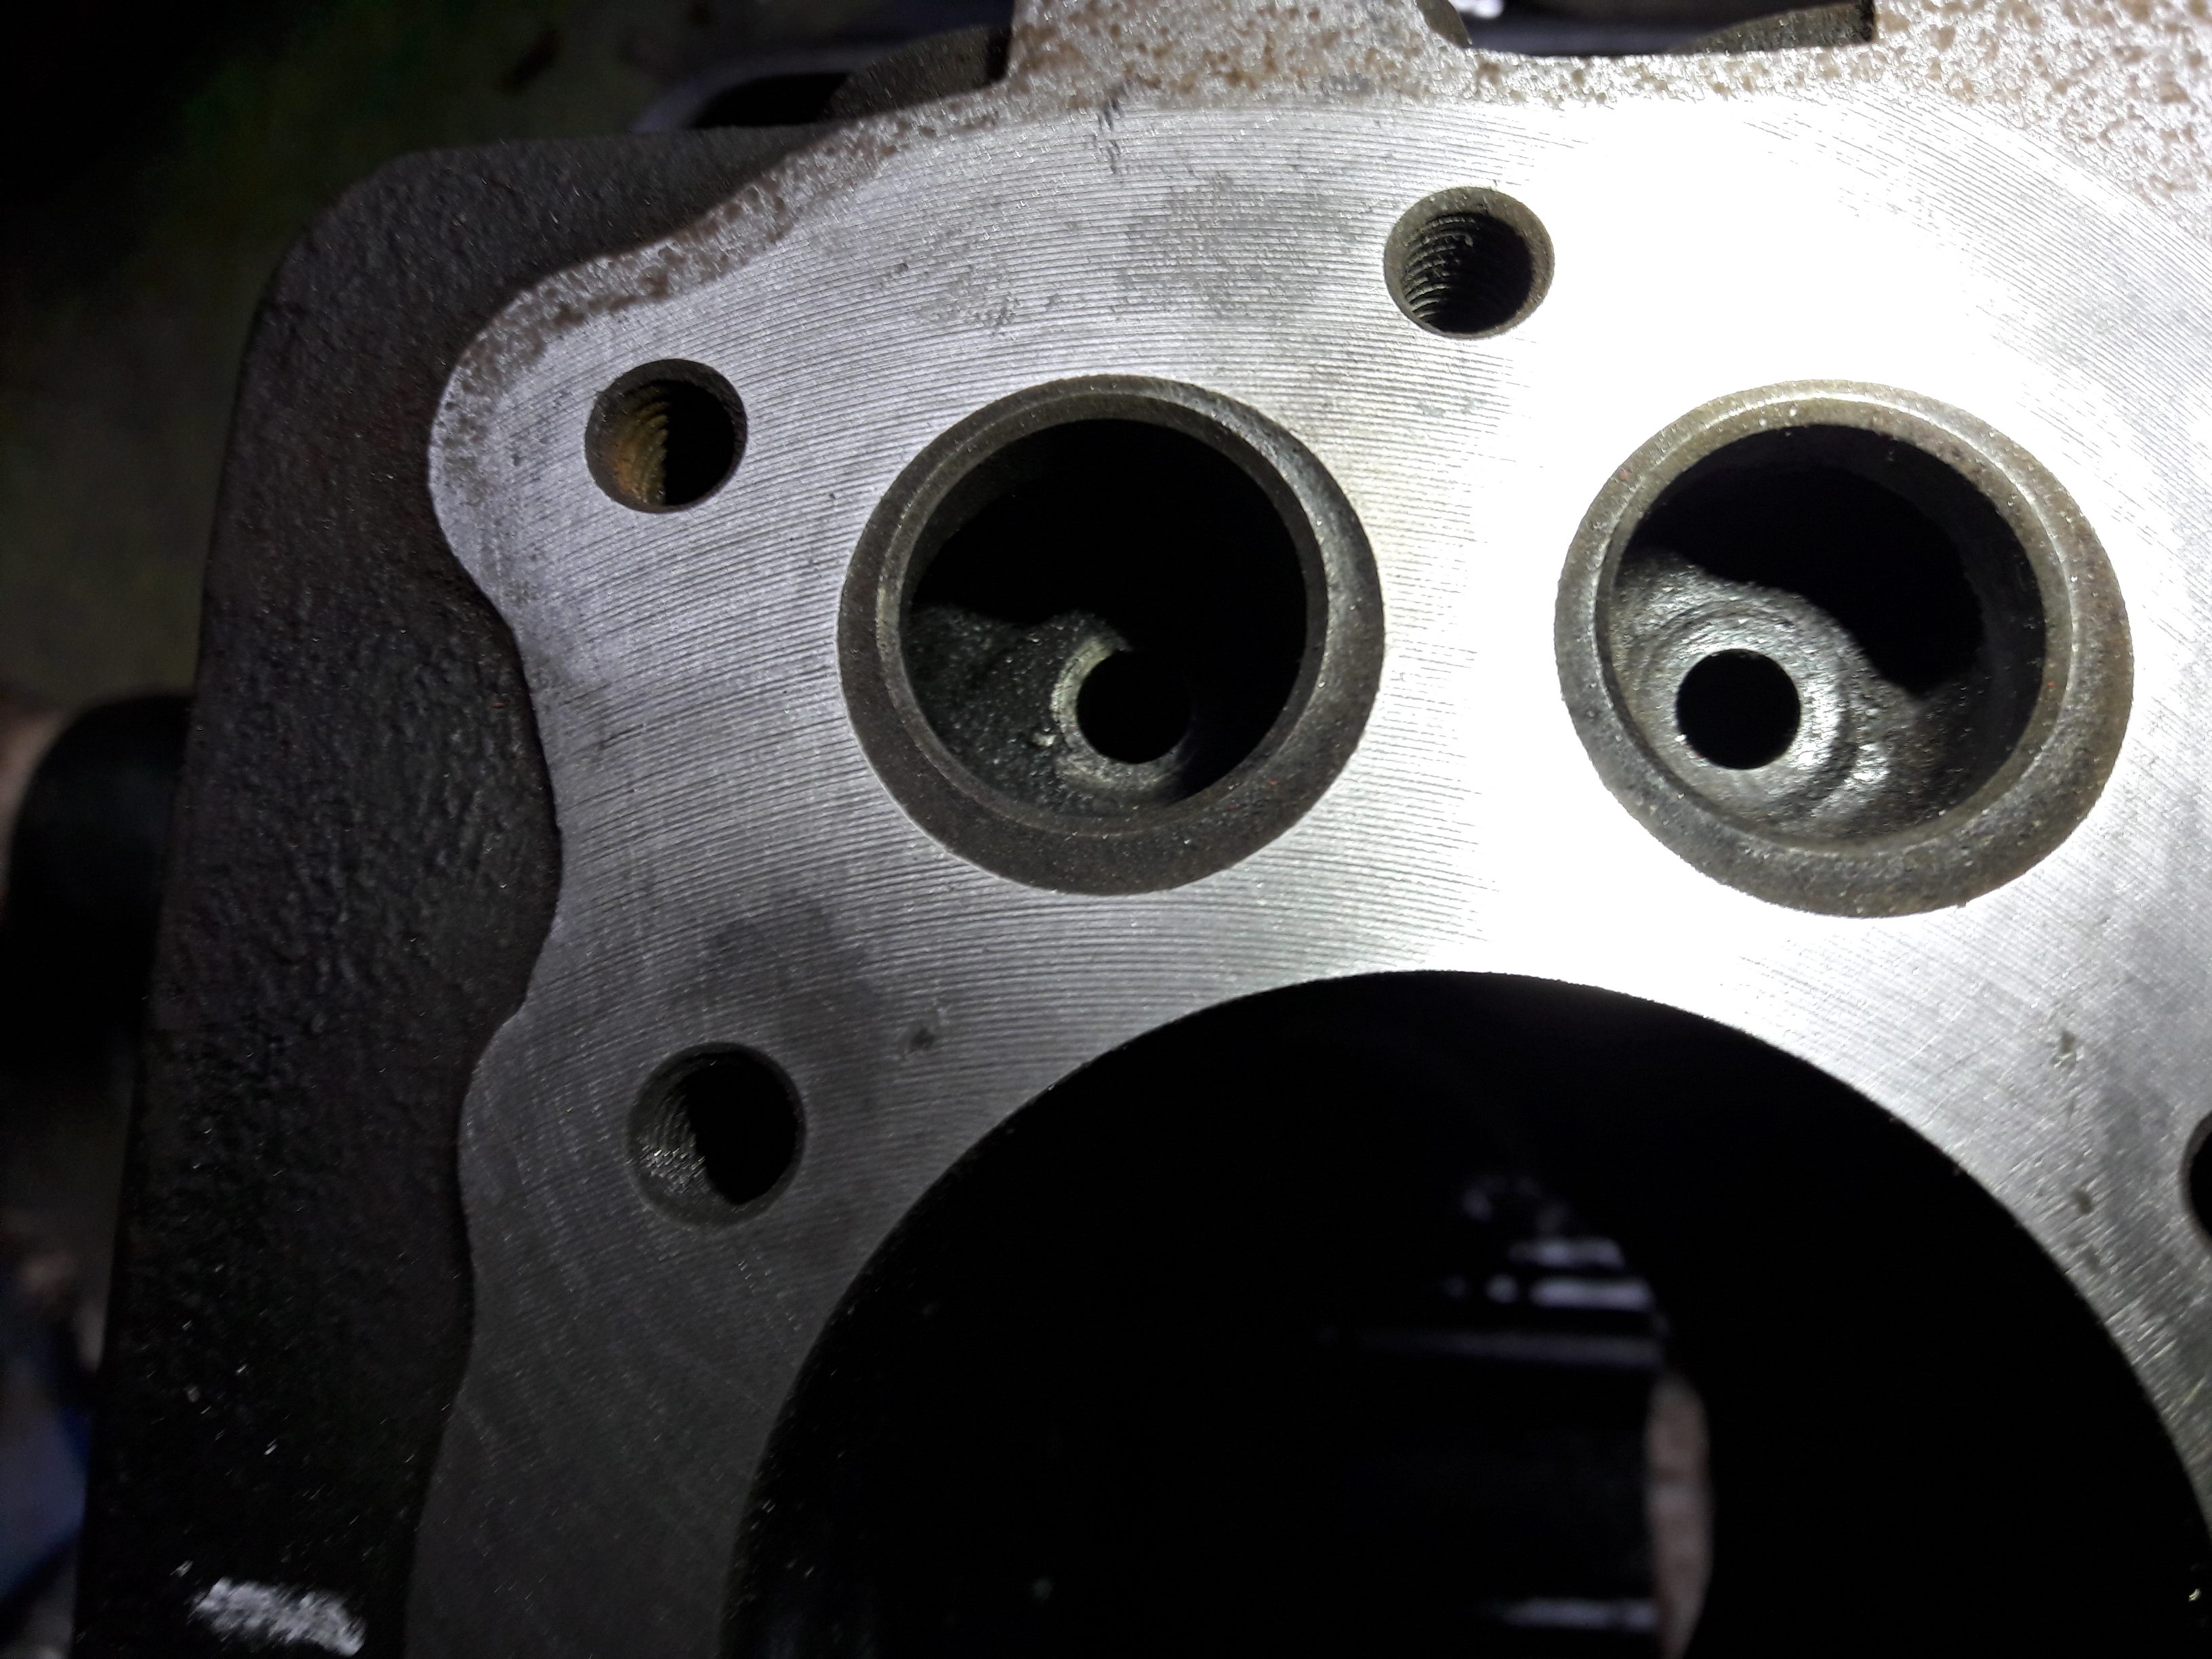
I have just been cleaning up the gasket surfaces on the block in readiness for re-assembly and I find that, despite all my rambling about the valves running directly in the block, the engine does actually have separate valve guides!
I should have had my suspicions aroused when Meetens told me that only the early engines didn’t have them, the Autobarrow is getting on but its not that old!
So, I now have two more questions: –
1, when I get the new guides can I fit them myself? I think with a combination of risking the wife’s wrath with the oven and a blow torch I could get the block hot enough but I am going to need a well fitting drift to budge them – not sure where to get that.
2, having fitted the new valves and guide will I need to re-cut the seats or can I just lap them by hand with paste and old suction cup?lots of fun…..!
Attachments:
November 7, 2017 at 5:56 pm #27038 wristpinParticipant
In an ideal world guides should be pressed out rather than bashed, but…..! Use a good quality punch that is just a gnats under the outer diameter of the guide or even better find a man with a lathe to make you a stepped drift that locates on the id and nearly covers the od.
Before you even start, and assuming that the guides are not flush with the base of the ports, measure the protrusion of the guide into the valve chest or even make a block that just fits under them so as not to push the new guides to far.
Perhaps putting the new guides into the coldest part of the deep freeze would be more acceptable to her indoors than the smell of roasting cylinder block. Even better, do you know anyone with some dry ice or liquid nitrogen?November 7, 2017 at 6:38 pm #27039vhgmcbuddyMemberNo lathe here unfortunately, and I have had a look online with no luck re buying a driver/drift/tool (they call them allsorts…)
The manual says the valve should be : –
Inlet stem; 7.061 – 7.087mm or 0.278 – 0.279″
exhaust stem; 7.036 – 7.061 or 0.277 – 0.278″and the guide, from my measurements has an OD of about 9.76mm or 0.373″
so if can get a drift with and ‘ID” of 1/4″ and an OD of 11/32″ I should be ok? remember I am from the metric age and imperial measures really frys my noodle!
Re keeping the mrs happy, I will go for a combo of blow torch and freezing I think!
the search for the drift is on-going as I am determined to do all the work myself unless forced!
November 7, 2017 at 8:41 pm #27040wristpinParticipantI would not advise spot heating with a blow torch . Heating, if needed should be the whole block and over an extended period so as not to set up local stresses.
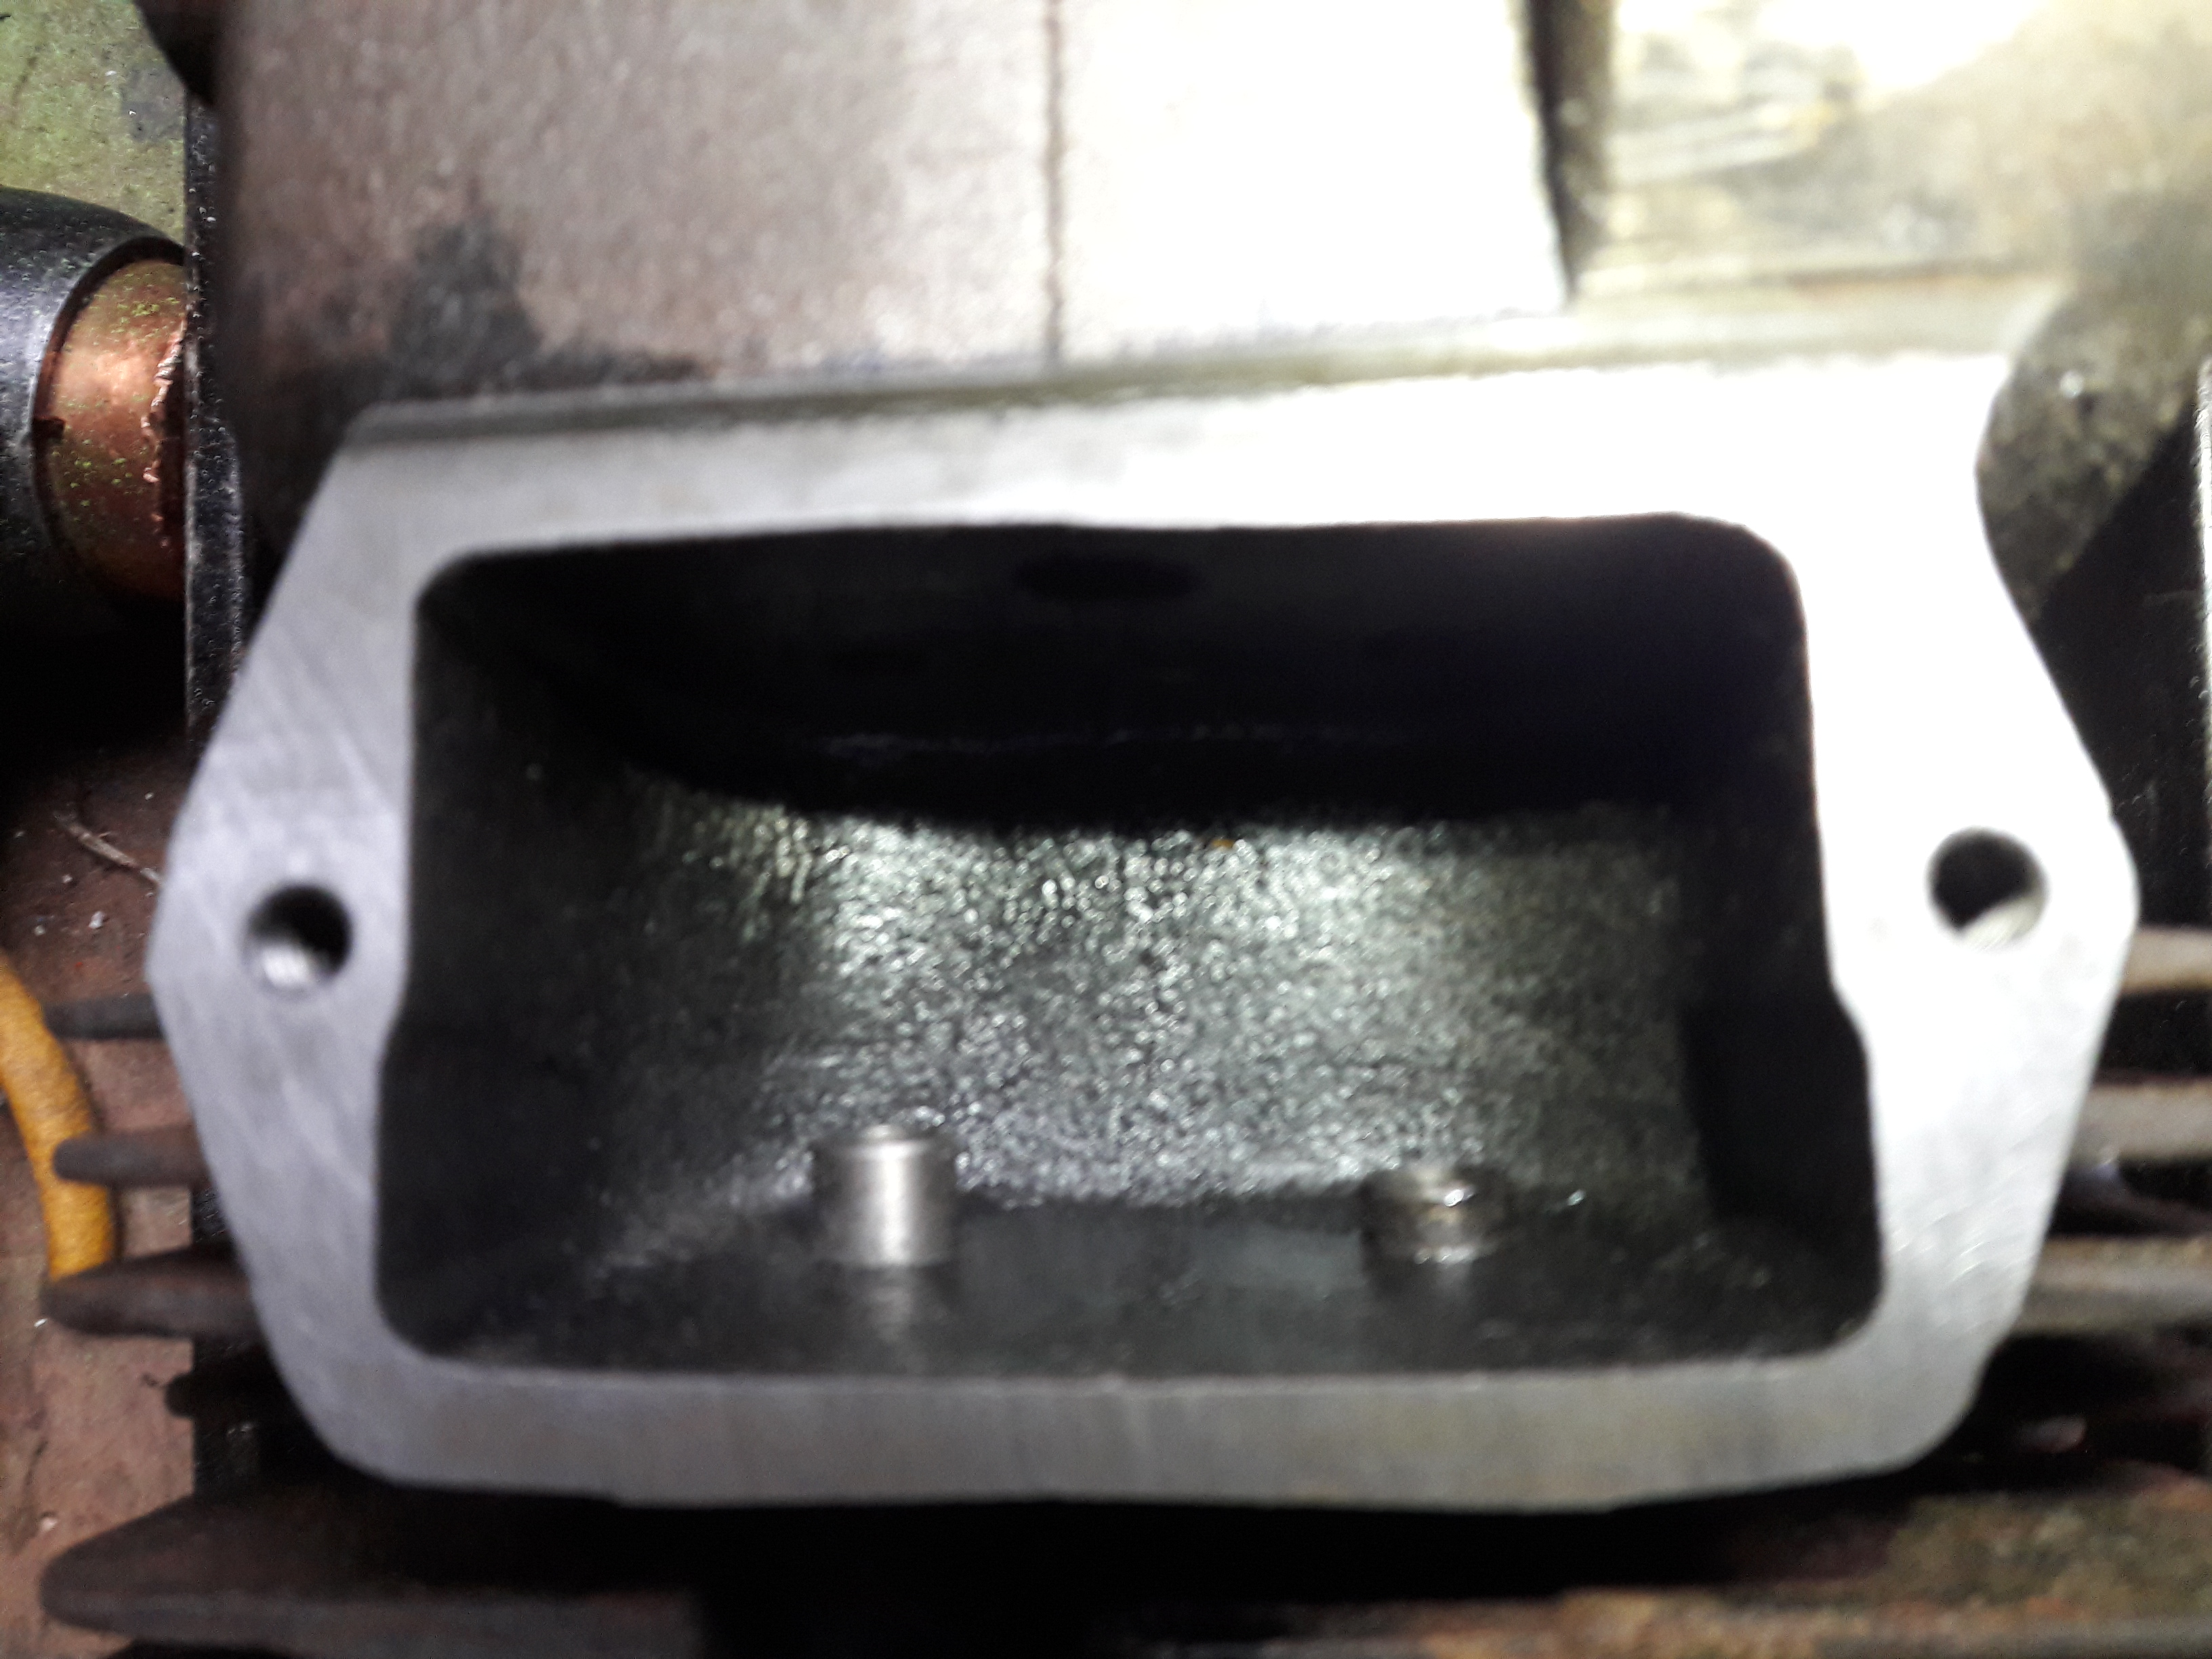
November 8, 2017 at 7:05 pm #27041vhgmcbuddyMemberParts have arrived, and I am surprised that the clearing between the new valves and the new guides is more than I expected! I do hop all this effort results in a non-Smokey engine!
I will update later,,
November 8, 2017 at 7:48 pm #27042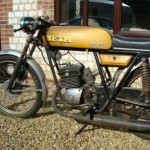 stuartParticipant
If you have a small rotary honing tool (the type you fit in an electric drill) give the cylinder bore a quick hone (dont use too much drill speed though and use some lubricant too !).You can get a good finish with a little practice.Set the piston rings 120 degrees apart (for pistons with 3 rings at the top).I have had perfectly acceptable results using these honing tools.
November 8, 2017 at 7:59 pm #27043wristpinParticipantDepending on the interference fit of the new guides in the block they will “shrink” a bit when pressed in. In some instances the guides then have to be reamed to achieve a working clearance.
By all means space the ring gaps for the initial start up, but unless they are pinned as on many two strokes, they move around on their own when running – cyclic rotation.November 12, 2017 at 12:58 am #27080vhgmcbuddyMemberWell, the guides have arrived and been fitted, a bit of a doddle really, as advised just used a well-fitting punch and very light heating, came right out/went right in..
One thing I didn’t expect was that the guides are a little longer than the valve spring box is high, this meant that I had to give them a little tap with a hammer once they were down as far as I could get them and crack/pull out 3/4s of the guide and then tap through the last little bit. I suppose it wouldn’t be impossible to drive them up through the top of the block – but not easy.
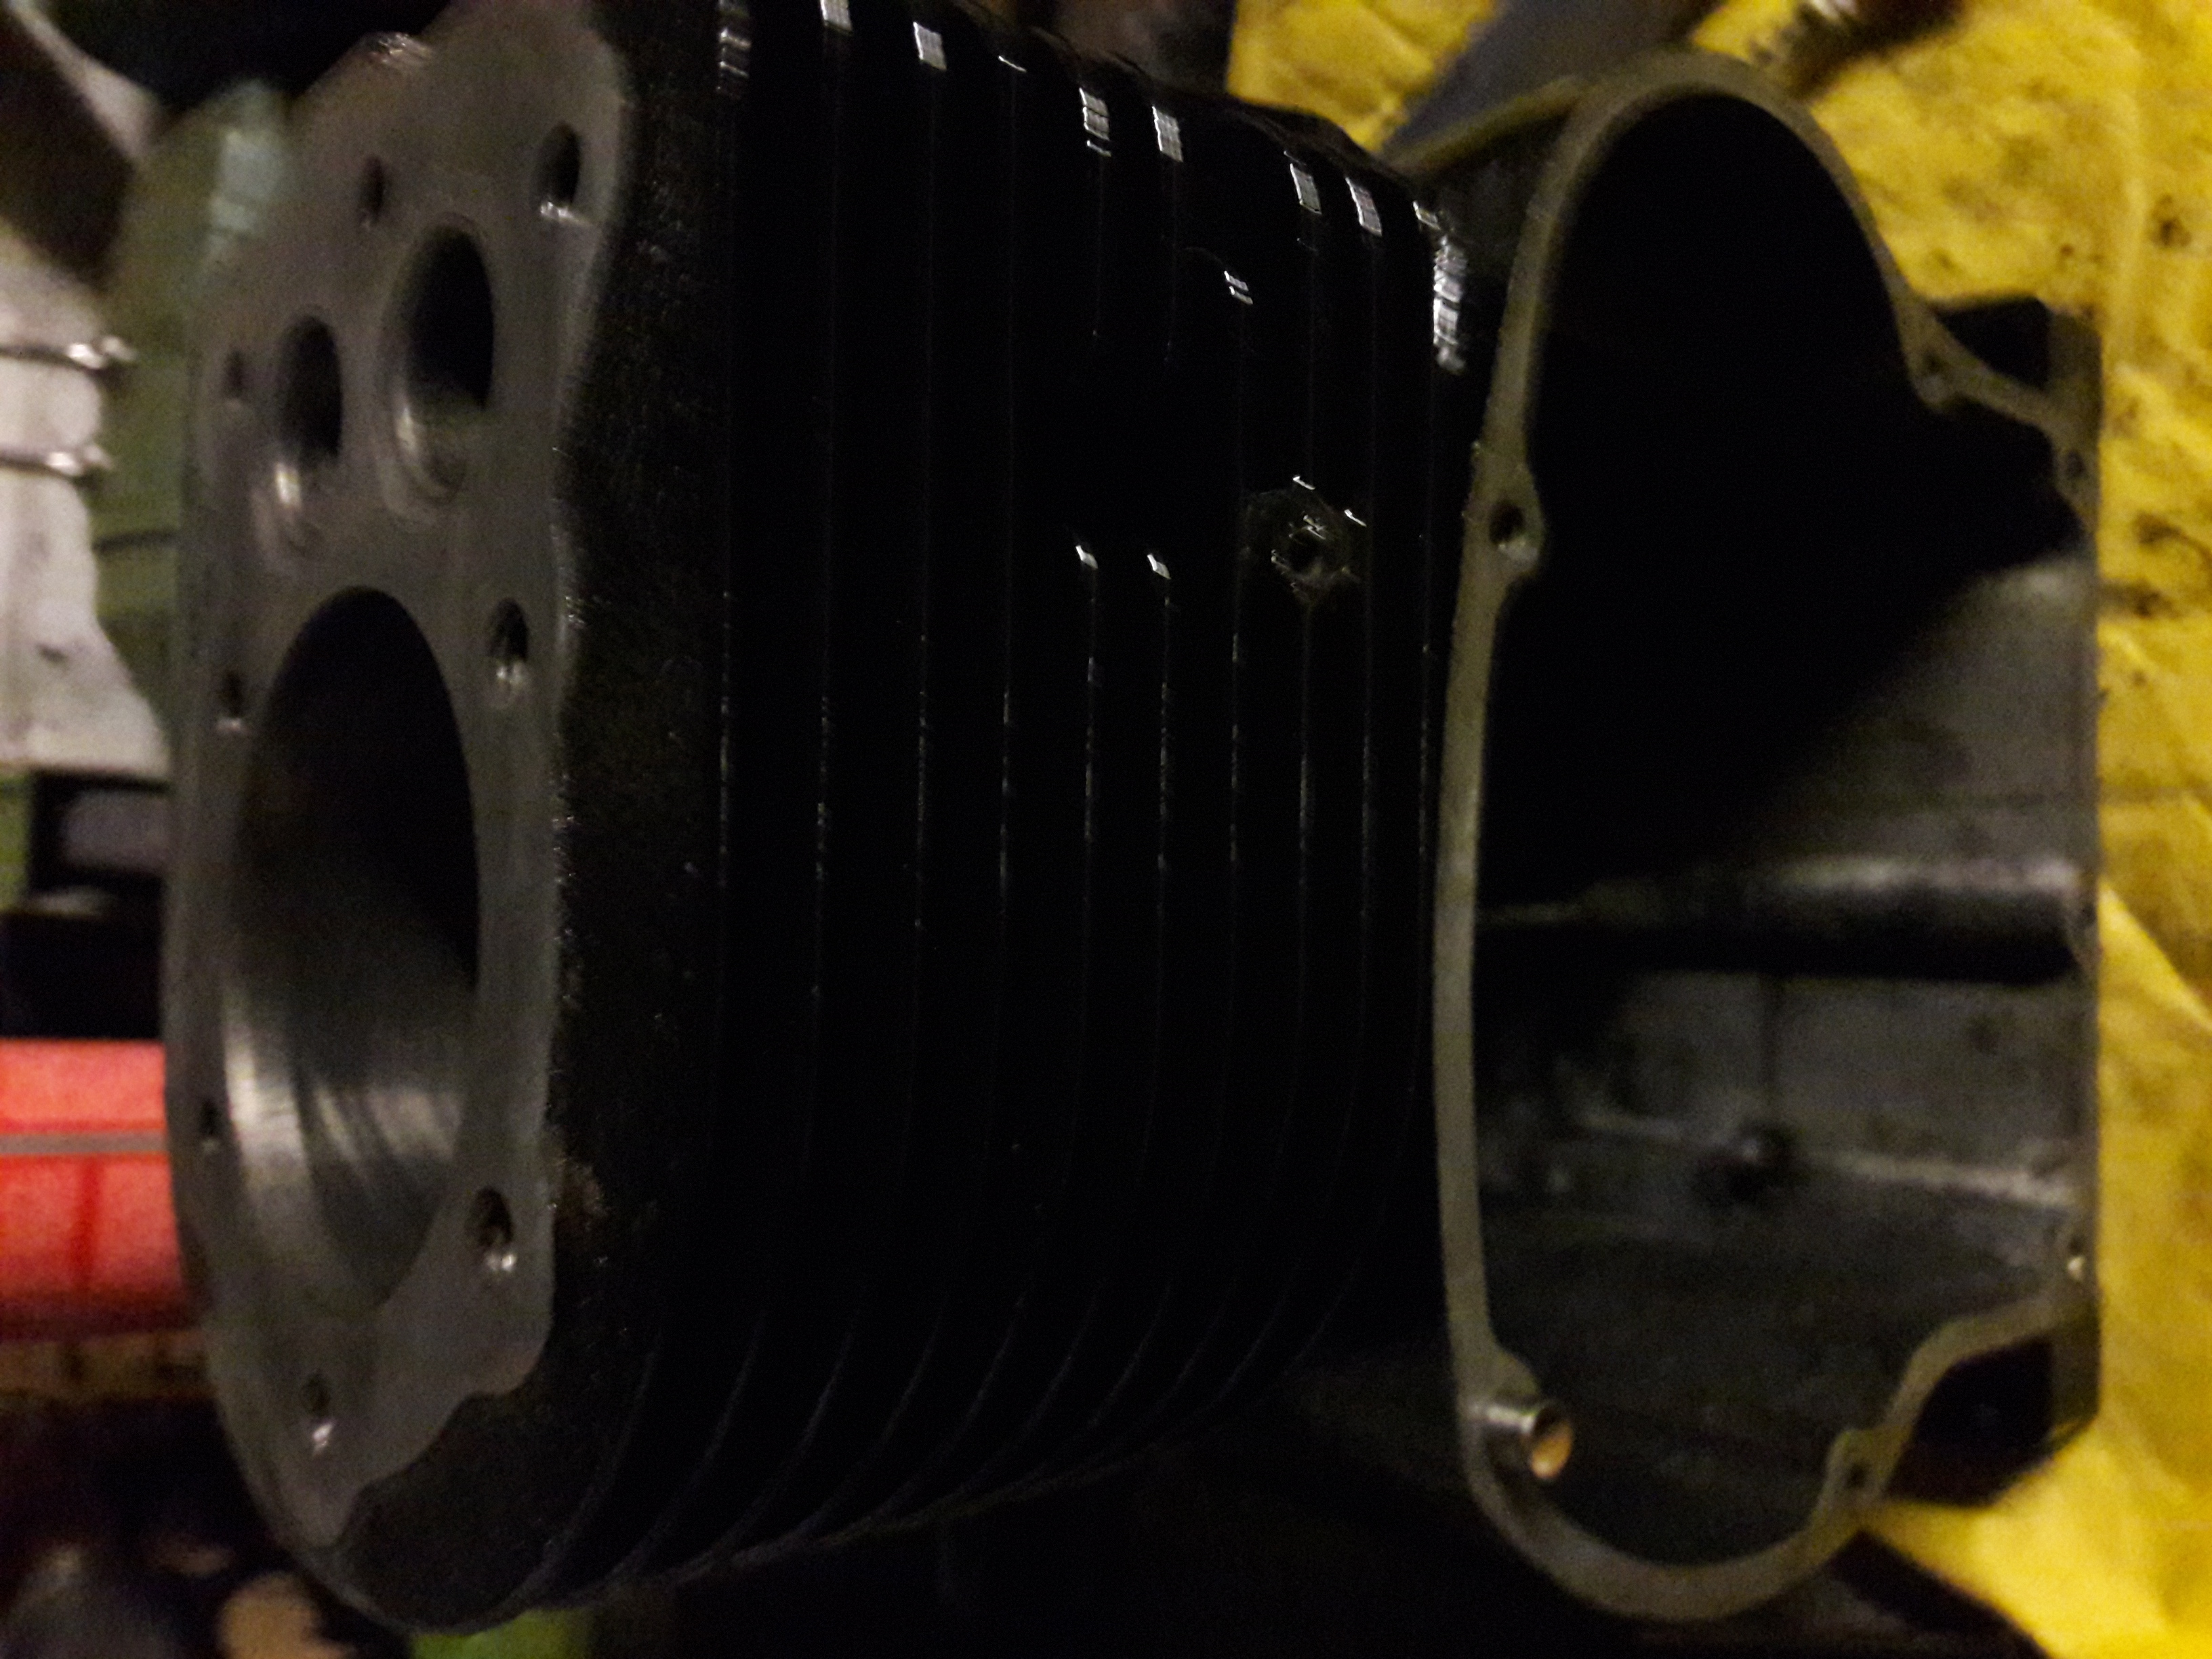
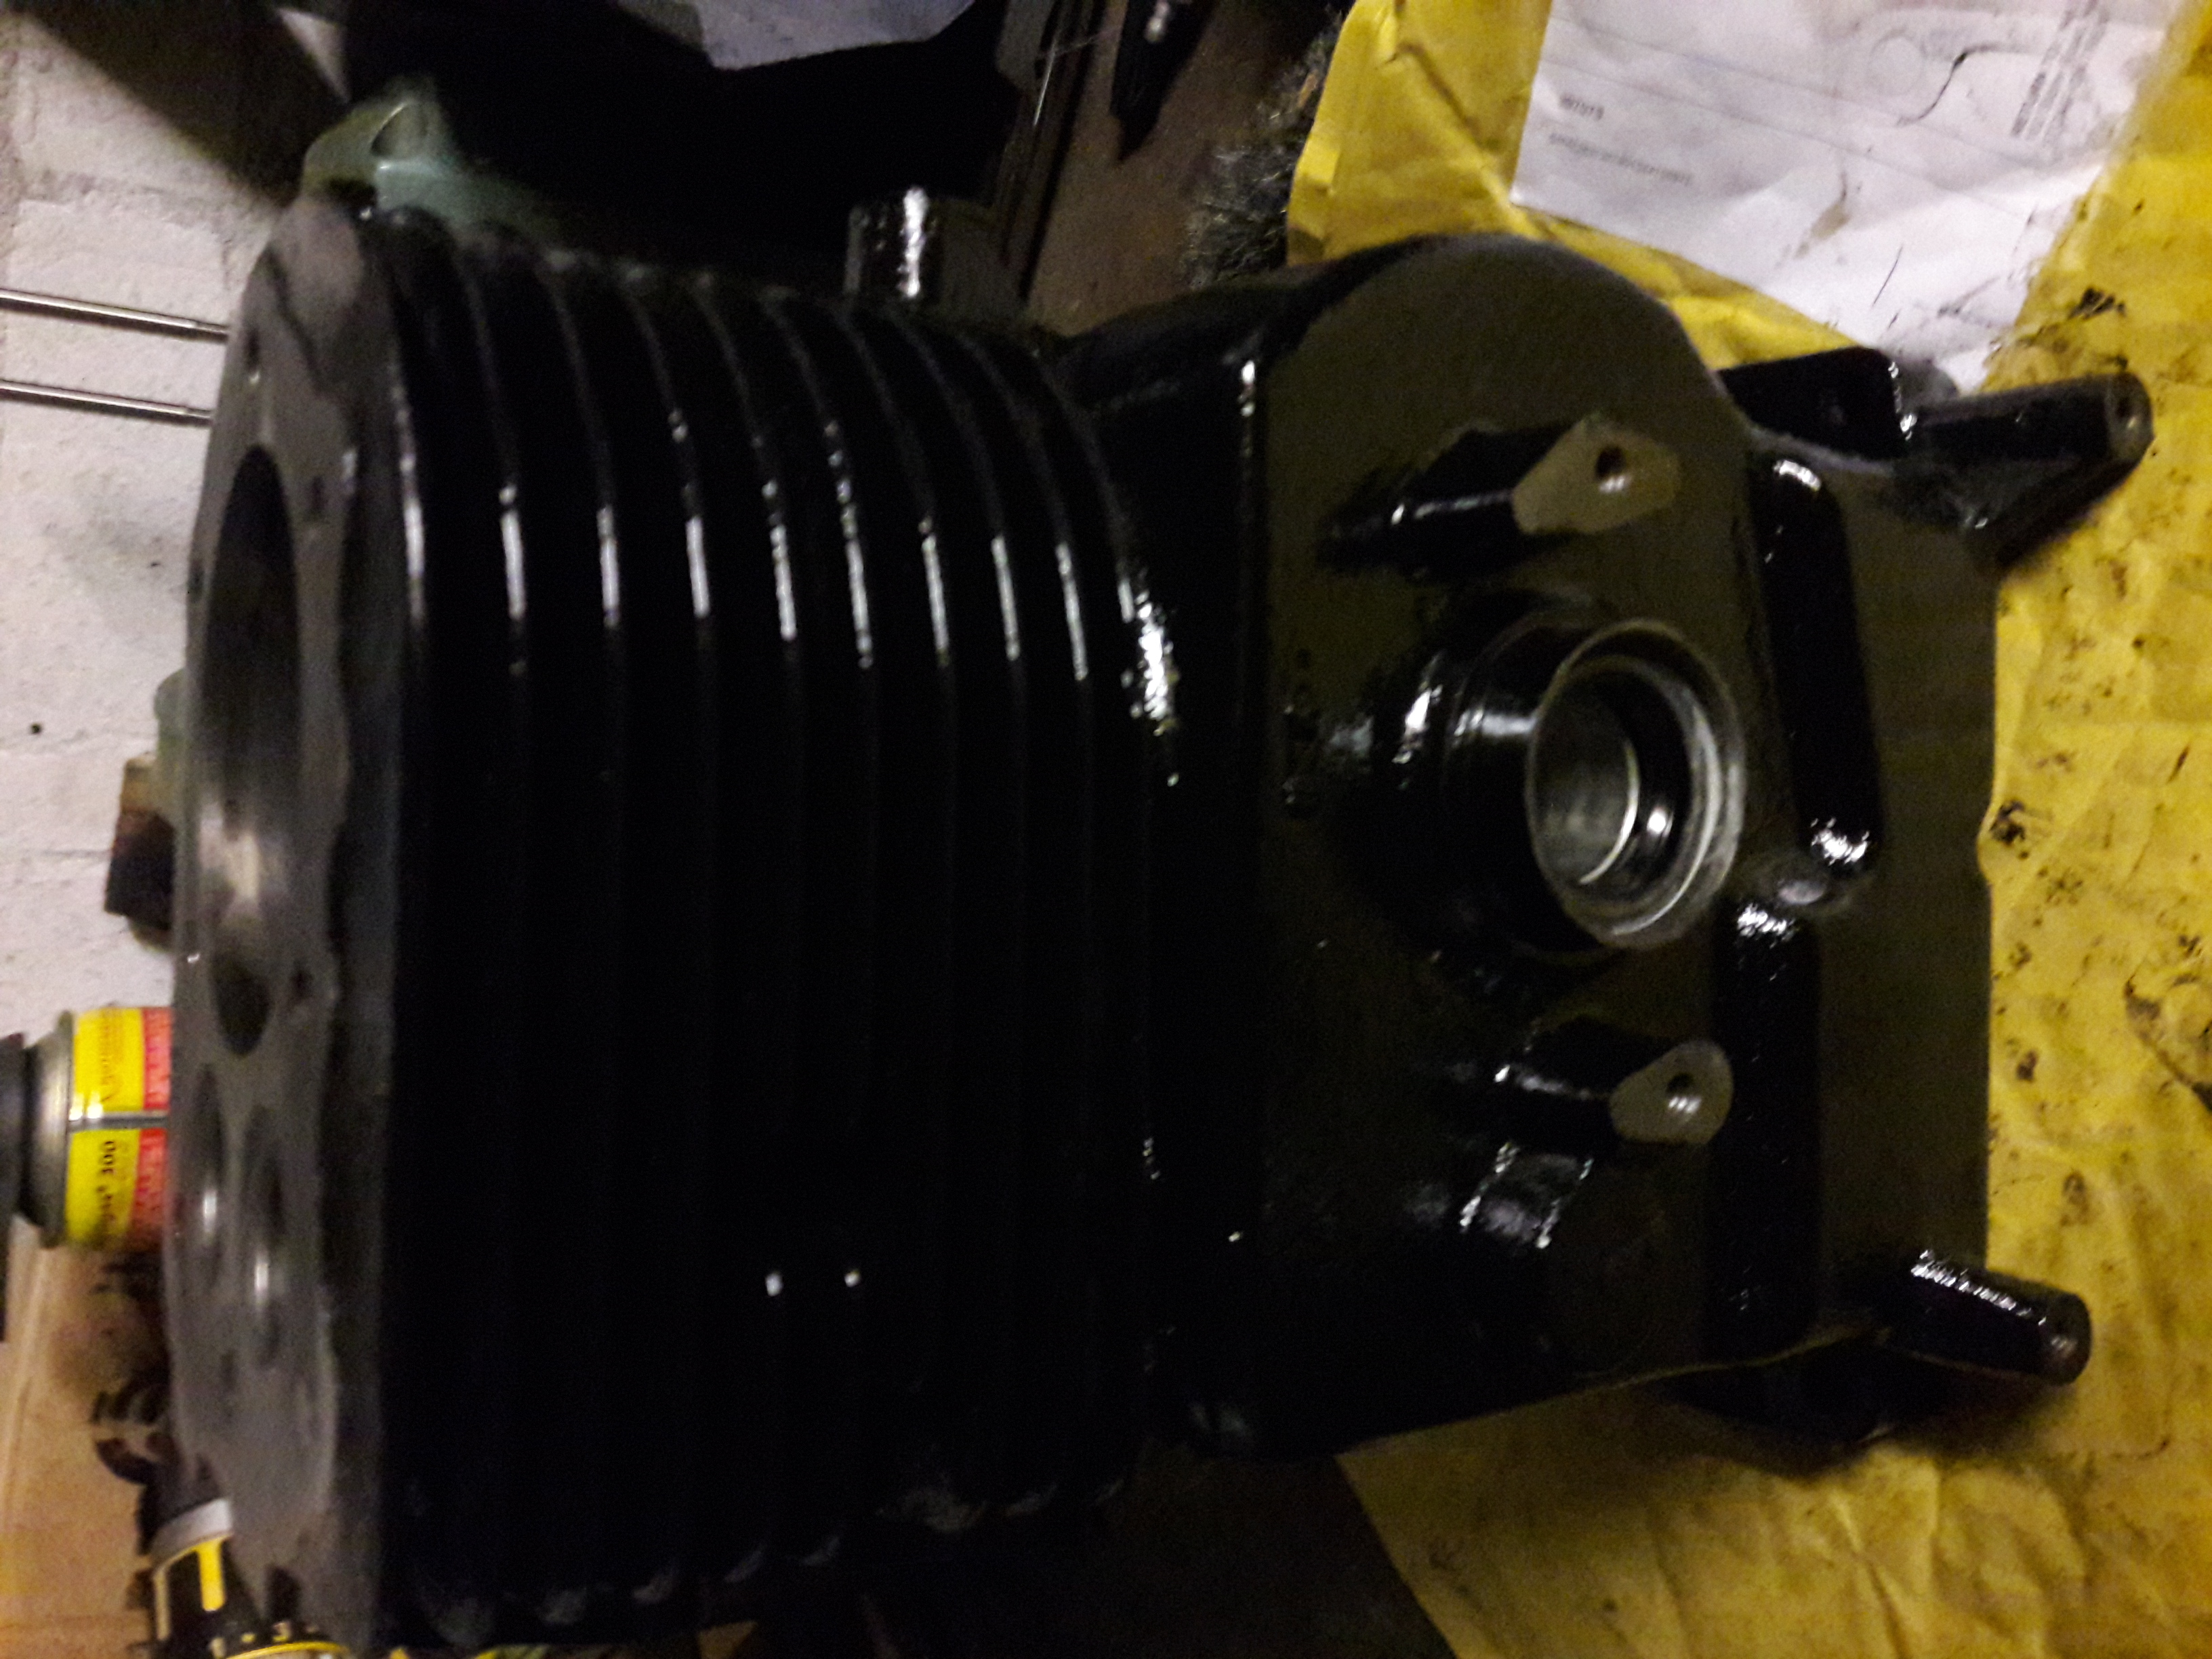
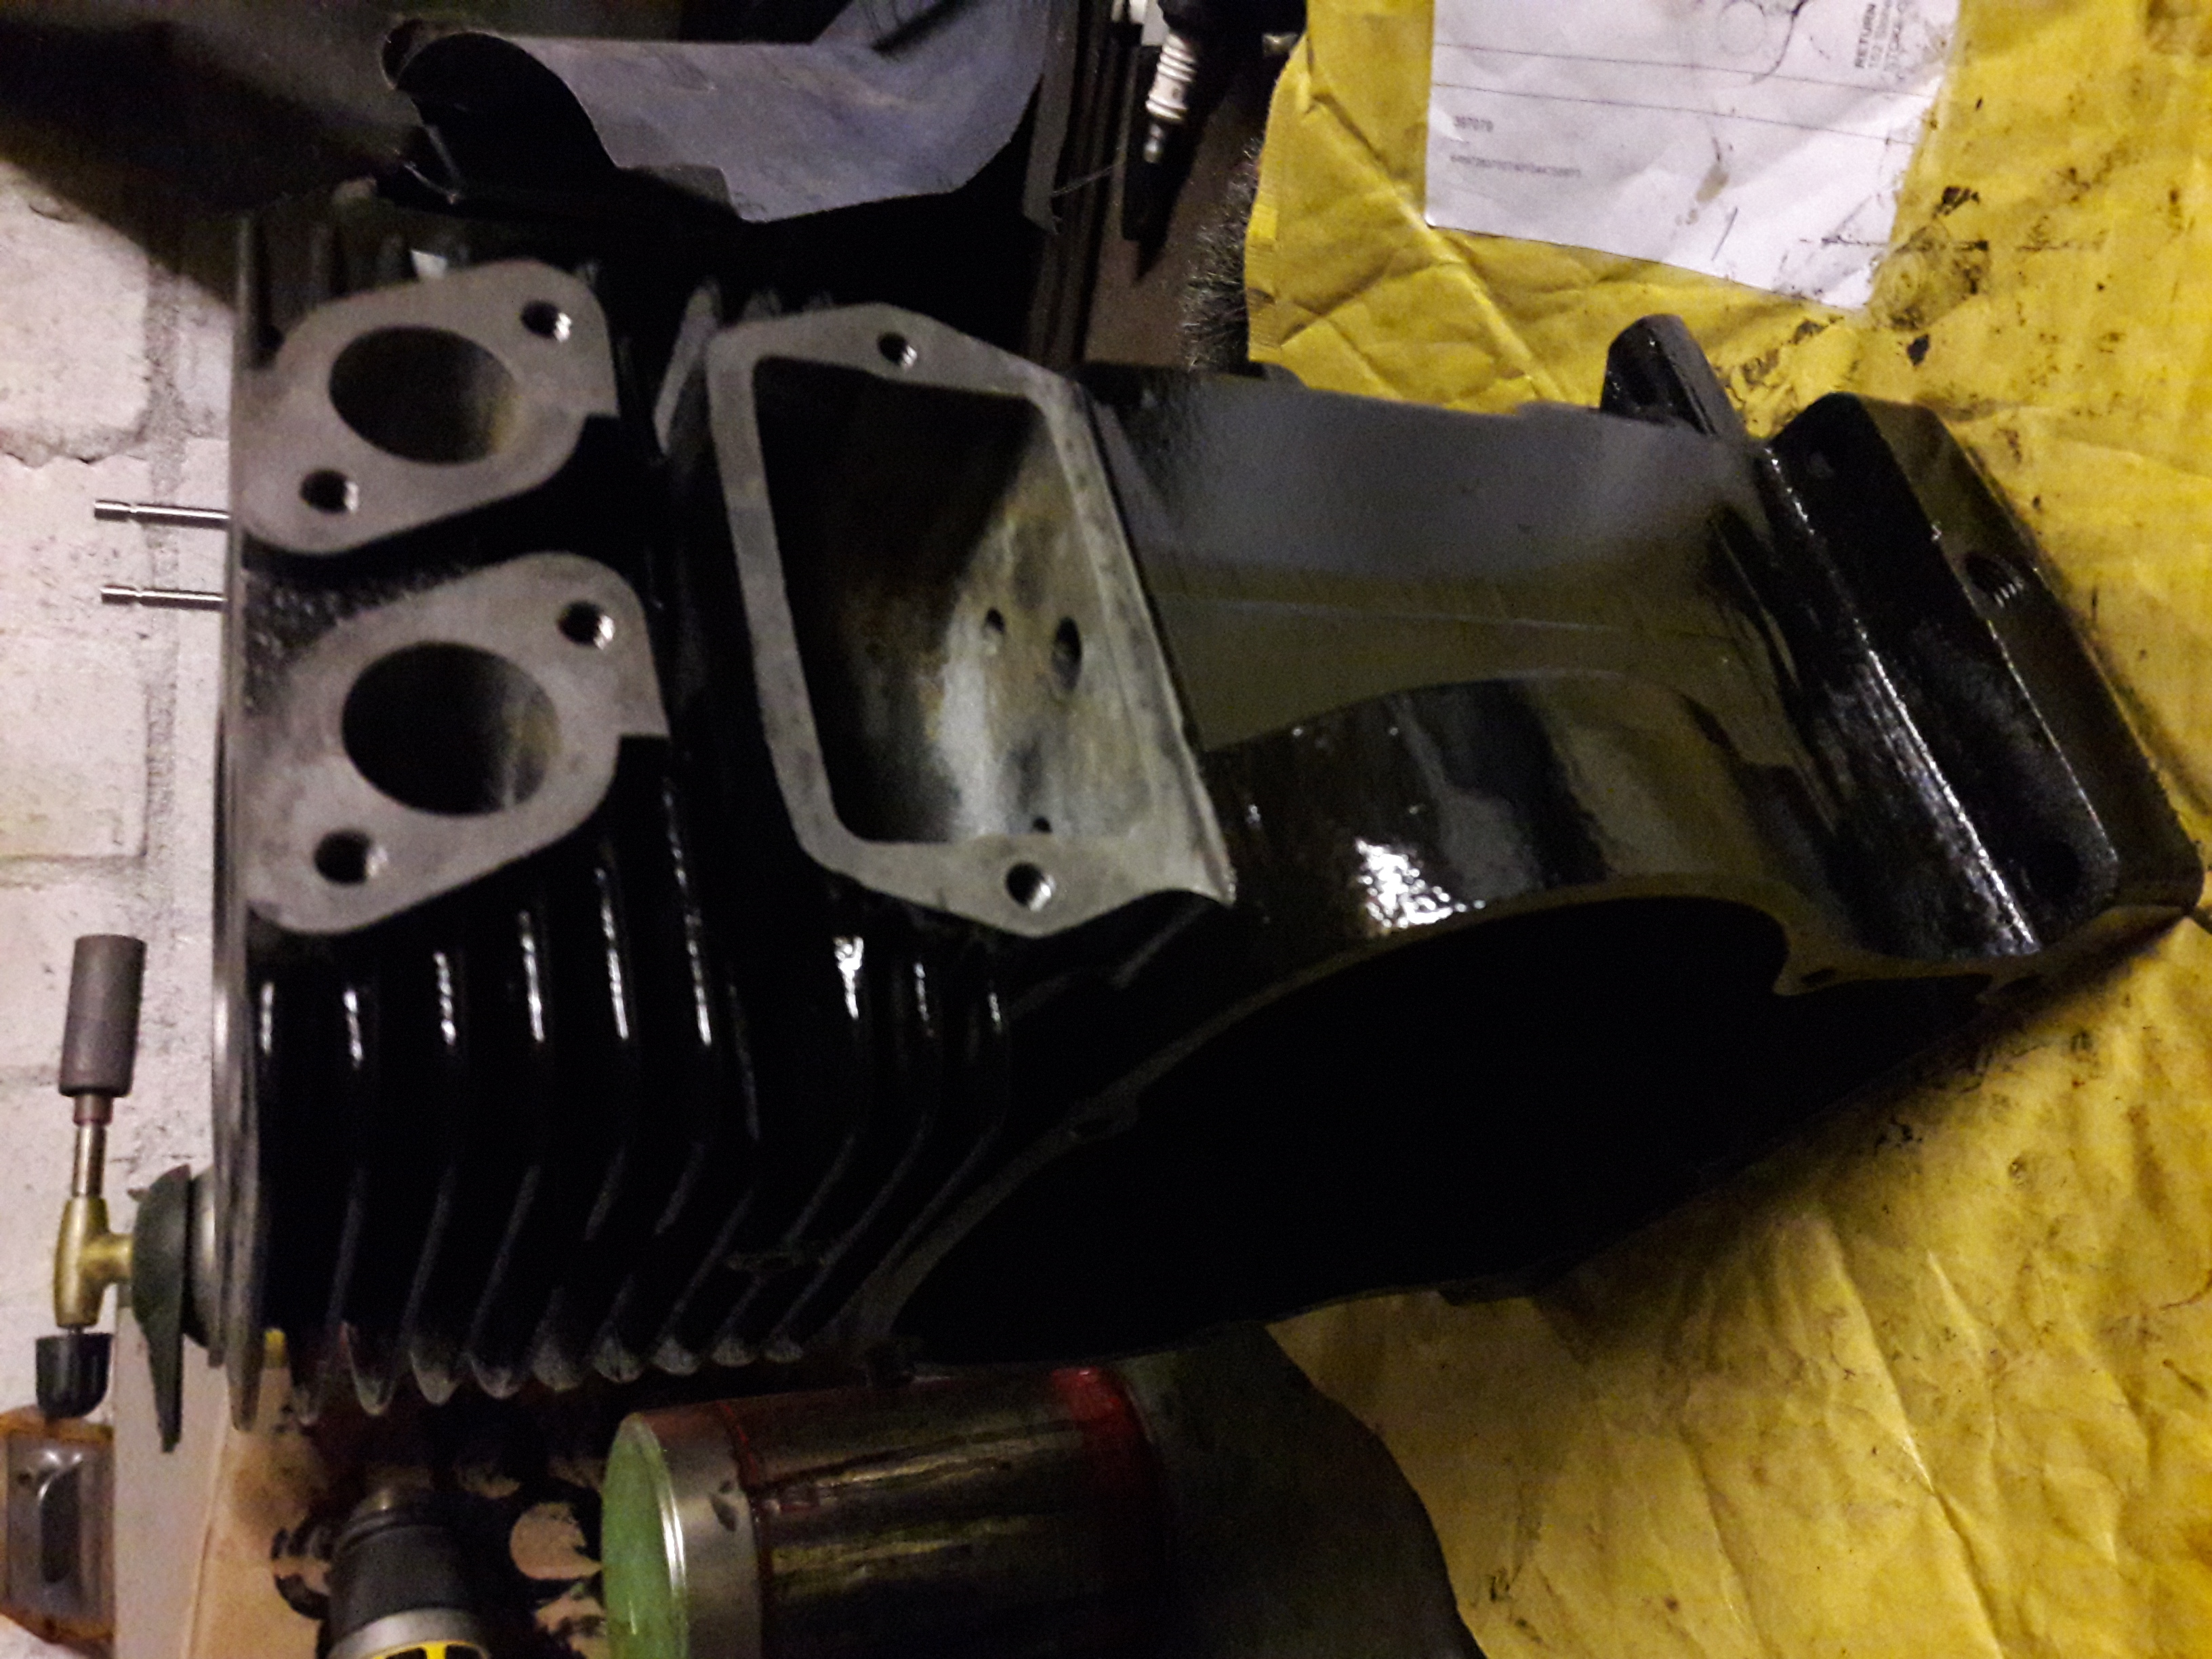
I have also painted the block, cleaned up the gasket surfaces and run a tap down the threads. as I have found on a few engine’s when doing this – some threads, on a component that had obviously not been removed since new – had all kinds of gunk in them and some were clean as a whistle, I have never understood this!
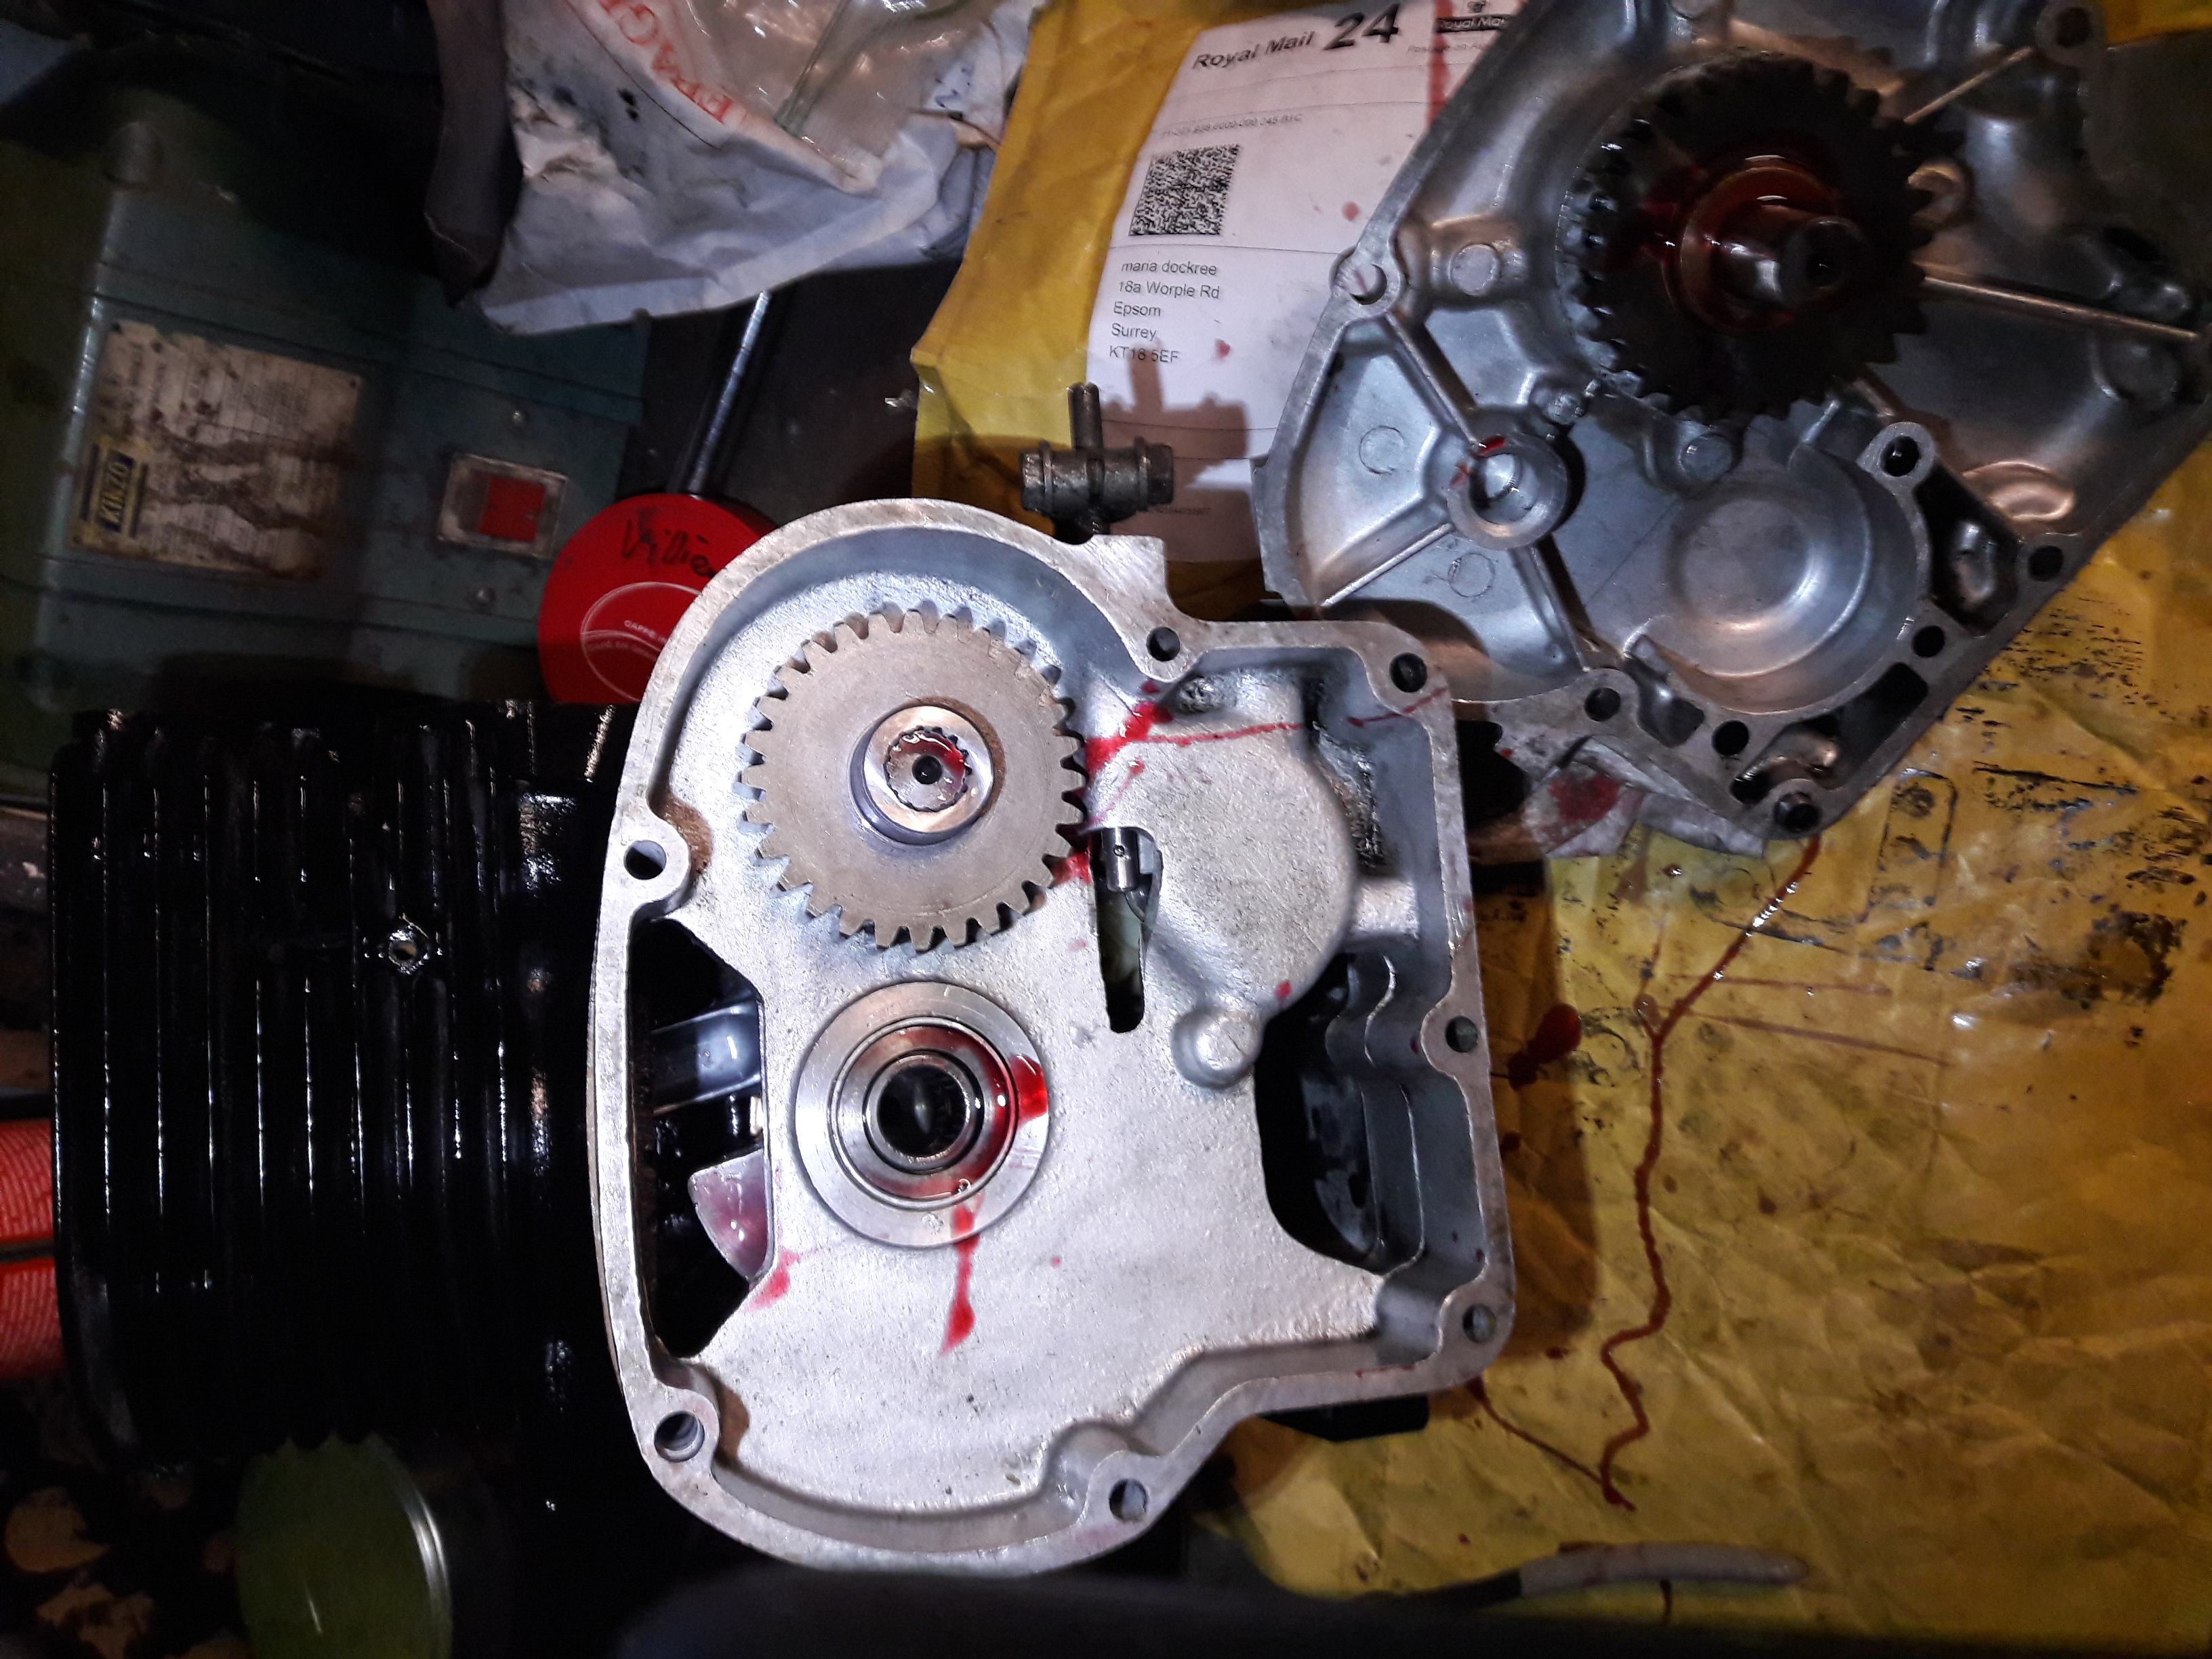
Anyway, I put the bottom end together with new 3 shims on the crankshaft on the flywheel end of the crank – as was the case when I stripped it – but I also put a new thrust bearing on the gearbox side of the crank and when I reassembled the endplate the crank was very tight indeed – so I now need to strip it again to remove some of those shims – ho-hum, such is life..
Attachments:
November 20, 2017 at 9:16 pm #27174vhgmcbuddyMemberWell, barring the wobble with the shims its all back together and runs very well so-far (haven’t given it a proper test yet)
And no smoke!
-
AuthorPosts


- You must be logged in to reply to this topic.