Home › Forums › The Machinery Forums › Pedestrian operated machines › Recovering a Howard Yeoman
- This topic has 21 replies, 6 voices, and was last updated 4 years, 2 months ago by
fh.
-
AuthorPosts
-
December 12, 2017 at 9:13 am #27397
jwilkes
ParticipantI have recently purchased a Howard Yeoman number 5298. Whilst not in line with a restoration I thought I should record the work for the assistance of others restoring this machine. I currently run a Howard Gem for beginning of the season seed bed preparation. I have a Barford Atom Frame with a 13 HP Honda clone used for the occasional ploughing and mostly to tow a riding seat and pull 5’ by 3’ card trailer. The original Villiers Engine was seized having been left outside for many years.
The intention is that I replace both machines with a single unit, this is generally expected to reduce Engine maintenance and repair and upgrade the tractor function. The Yeoman was selected based on :
2 forward and 1 reverse gear
1 or 2 wheel drive giving a Diff lock type function when working ploughs
Demountable Rotavator unit allowing alternative tools to be connected
As an engineer I am prone to rework equipment to make my own tools so the scarcity of genuine Yeoman attachments is not the problem.
The unit, purchased through the cultivator classified adds is number 5298. I am endebted Predator 65 who pointed me at the Yeoman Manual and most importantly the parts diagram and list.
When the machine arrived it was in a very sorry state obviously been outside for some time as there was a thick layer of moss over it, Sorry forgot to take pictures for the historical record and started the strip.
The Engine – BSA 420 is seized, very seized. After about 2 evenings of fiddling I have managed to get the big end free leading to a sub-assembly of the Cylinder, piston and con rod. There is a definite sign of heat in the piston. I presume that the engine seized on a long day’s work sometime in the past and was then abandoned. It is possible the piston rings have been welded to the bore, I will list on classified the engine in case parts such as air filter carburetta etc are useful to someone. Given my objective I will need to look at an Engine mounting plate to fit the Chonda engine currently fitter to the Barford atom.The gearbox seemed to be in good condition with no emulsion in the gear box and all selectors working. Rotavator does dismount and turns but is stiff so will get the full strip and rebuild treatment – some new tines as it looks like the machine has had some very heavy wear. My real concern is the clutch. Do I want to trust a 60 year old plate to an oversized engine? Not without a full inspection.
I will document the clutch plate removal I had to follow in a separate thread as I have seen the question asked of how to get it out on the Web but no answer and I think a detailed record of this would be useful. What I can say is – about 4 evenings work to disassembly the clutch plate and a gearbox full of loose gears – Only do this if you are absolutely sure you need to, The clutch play I have started life at 8mm thick and is currently 5mm wear left. I am consoling myself with I have got this fate – new Oil seals and bearings all round.
My initial review of the machine is that it is very strongly built and will meet my needs should I be able to get the gearbox back together. It was designed and built at a time when design for manufacture and design for servicing had not been heard of. Obviously there will be trials and service parts are not available but I will press on.December 13, 2017 at 5:17 pm #27413 vhgmcbuddyMember
Interesting reading
December 19, 2017 at 9:07 am #27434ParticipantThought I should add an update. The gearbox is together now and all the remaining parts are stripped and in paint. After careful study I can see that the Reverse gear interlock mechanism is completely missing , I suspect that it was removed at some point in the past and lost.
Does anyone have a picture if how it should assemble? Approximate dimensions of parts:
16845 – Reverse fulcrum arm
16894 – eccentricAs I will need to remanufacture these.
Many thanks
JeremyDecember 23, 2017 at 10:18 pm #27454ParticipantProgress update
The gearbox and ancillaries are all assembled except the clamp and gear level / cables as the new units arrived yesterday. About 1/2 way through machining a new engine mounting plate adaptor. Hope to have this as a running unit before new year now. Can look at the rotor box afterwards
December 29, 2017 at 5:47 pm #27539ParticipantProgress update.
I have the engine connected and running. New adaptor plate is in place to connect the riding seat and plough. Minor adjustments to the clutch and gear selectors now needed. The unit is useable at last, next job will be a nut and bolt strip and rebuild of the rotobox which is rather tight. new bearings and oil seals is my hope with new centre tinesJanuary 1, 2018 at 7:25 pm #27565ParticipantWith all the rain I am having some problems with traction, I have fitted Knobly tyres 12-3.00 as I could not find chevron tyres, Looking through the workshop found a pair of rims of what I suspect is a Howard 400. Also have a JAP engine and fuel tank. I already noticed that the engine mount to gearbox is the same as on the Yeoman rims seem to be the same bolt positions and the size is 12-4.00 for which I have a spare pair of tyres so will be fitting these to see if they can be used with the Yeoman gearbox. Might be tight with the Roto box installed
January 21, 2018 at 8:46 pm #27732ParticipantBit more progress
The gearbox and engine are working well with the riding seat as a towing unit at the moment. The wheels off the Howard 400 fit well. I am looking for wheel weights as traction I snot a good as it should be. Does anyone know if Howard supplied wheel weights for the Howard 400?
On a different note I woke this morning to snow so lit the wood burner in the workshop and now have the rotor box in bits. Most of the bearings are well shot so just spent £65 and ordered the set I need. Last bit to come apart is the dog drive. Coat of paint and then assembly. A bit of damage to the tin work so an evening welding ahead. Rotor drive friction plate is ok but may source a replacement, looks like the Gem rotor drive might fit, will strip the Gem out to check. will be needing 4 new tines, possibly0 8 so will check the Gem ones when I get everything apart. Will confirm findings in case anyone else tries this task
January 22, 2018 at 5:06 pm #27742 alanParticipant
Thanks for posting your updates, nice to read what someone else is doing. It’d be good to see some photo’s when it’s all finished.
January 24, 2018 at 10:37 pm #27747ParticipantAlan
Thank you for the encouragement. I will probably wait until the sun shines for photos.
Got the new seals and bearings. just need to find a safe method of unscrewing the dog so I can change the oil seal then the basic mechanism can go back together after paint. The rotor box has had a very hard life looking at the tines and the bearings were gone as it looks like no oil in the chain case for a long time. The dog itself is in good condition but I suspect has been impacted on when hitting stones. Tried some big stilsons with a Mole grip on the gear but no luck so far. I think I may need to revert to the blowtorch but worried about too much annealing on the hardened parts. I have heard of these needing changing regularly, anyone with experience got some advice?
January 24, 2018 at 10:41 pm #27748andyfrost
ParticipantMy late Father bought a Yeoman brand new , the dog was to put it mildly a weak point , I recall him putting them in on a regular basis.
Andy.
January 31, 2018 at 10:34 pm #27837ParticipantI managed to get the dog off the gear with the help of the oxy acetelane torch. There is bad pitting on the dog which I will try to repair with metal filler and then turn and polish again. I was trying to avoid the heat and associated annealing but could not find any other method in the end. Apart from the pitting on the sealing surface looks in good condition.
February 3, 2018 at 9:59 pm #27841ParticipantManaged to strip out the rotor of my Gem to compare with the Yeoman rotor.
The gearchain cover gasket is different so will have to cut a new one from cork which luckily I have some cork available
The tines are the same the Gem so new ones can bought (the old ones were very worn)
The rotor friction plates are of a different to the Gem, I will try to generate a drawing for reference in case anyone else needs one at a later date and suggest alternatives luckily there is some life left in the current ones.
February 5, 2018 at 9:18 am #27851ParticipantAs promised a drawing of part 16135 – Friction disc uploaded in case this might be useful to others at a future time.
The Dog clutch I snow being repaired by brazing a new layer of material onto the sealing surface ready for turning. I left to cool yesterday rather than re-hardening so will heat and quench in oil later in the week, a good excuse to change the engine oil on the different mowers
Attachments:
February 25, 2018 at 7:38 pm #28057ParticipantSorry for the delay rain stopped so have been preparing the veg plot for the spring planting I have had a problem with the clutch nut slipping after stripping the engine off so I could paint the new Engine mounting plate, probably a mistake with hindsight but we all make those. The rotabox is partially reassembled but an on-gong project as I still do not have the tynes needed but that can wait until the tractor unit is running correctly.
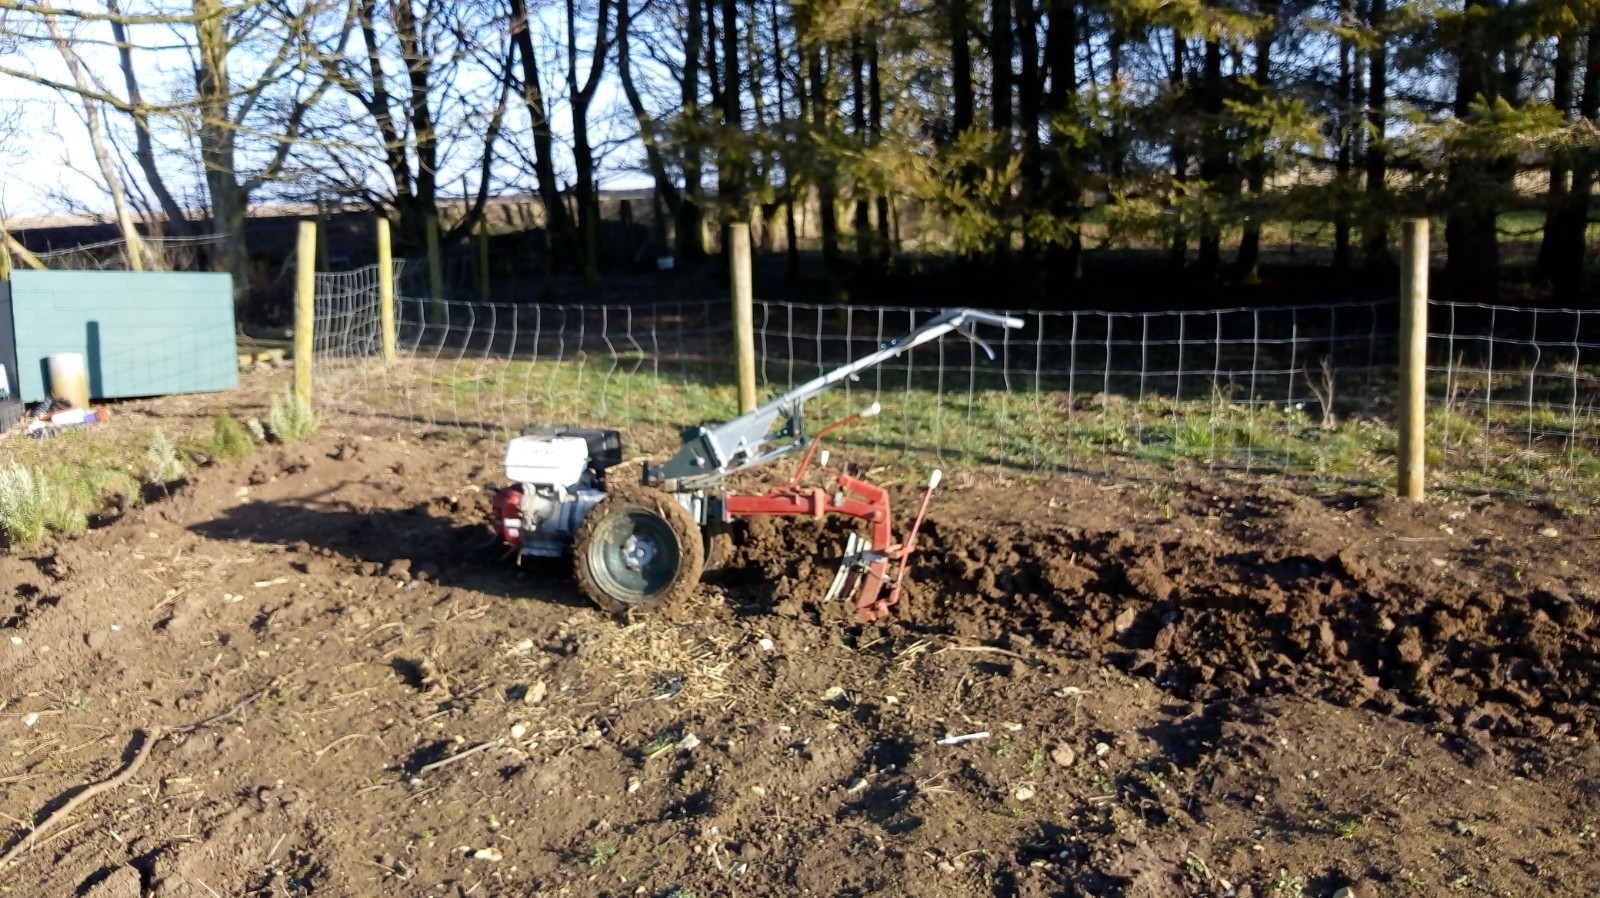
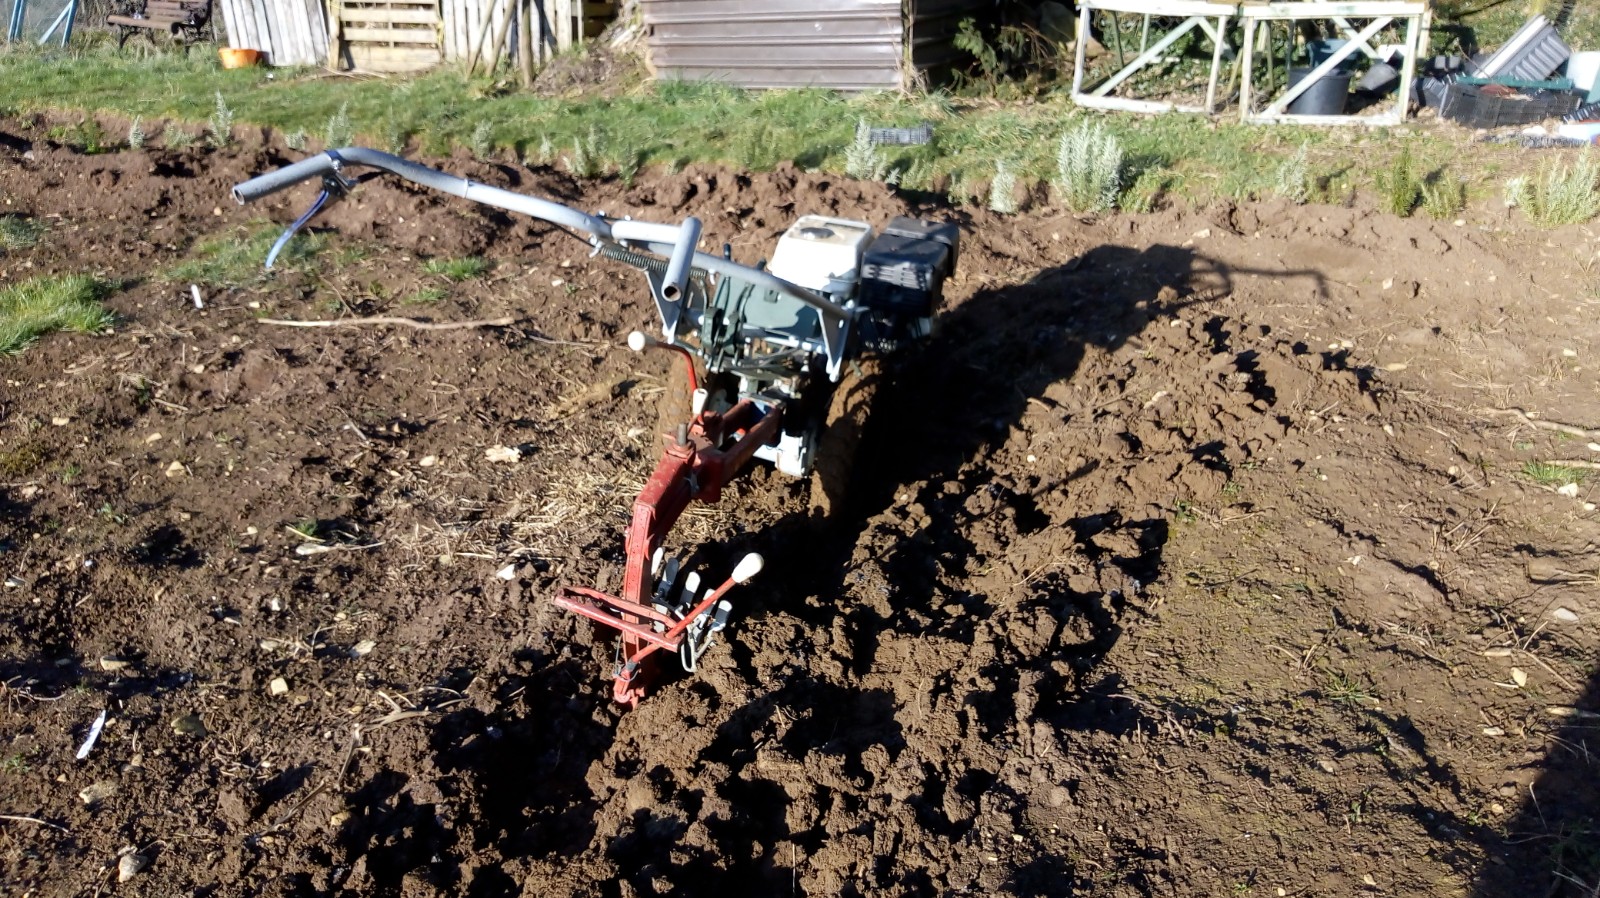
I did manage 3 furrows with the plough fitted off a Honda unit before clutch problems stopped play. I was able to get the soil brown side up with a Ferguson T20 – David Brown 2 furrow plough combination in the end. Not pretty but with the frost forecast this important task is completed.
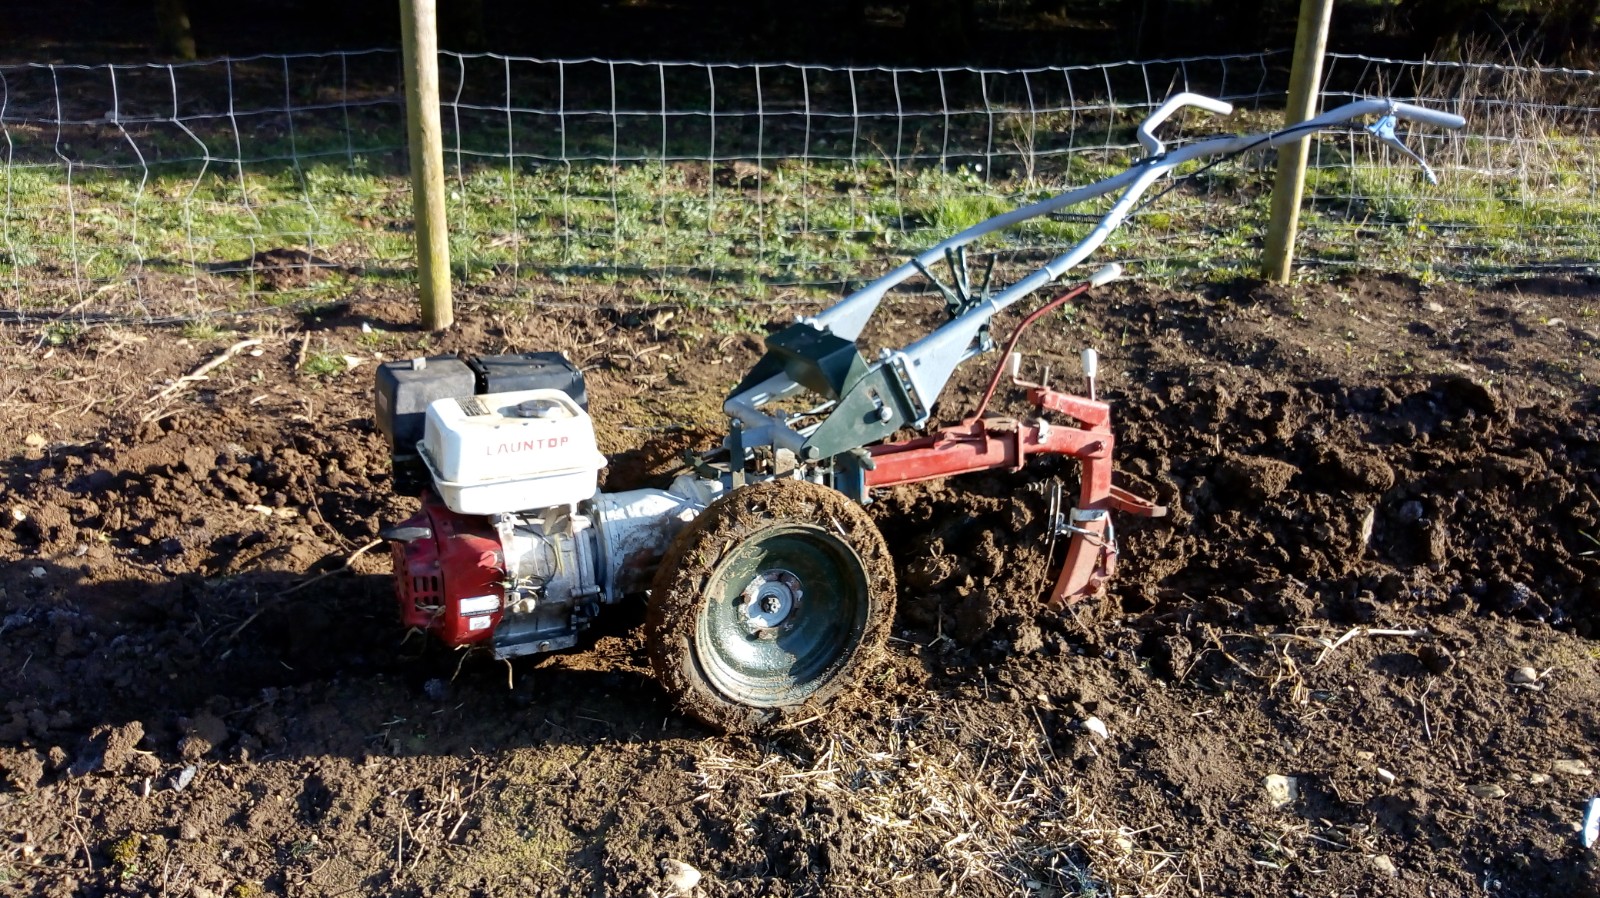
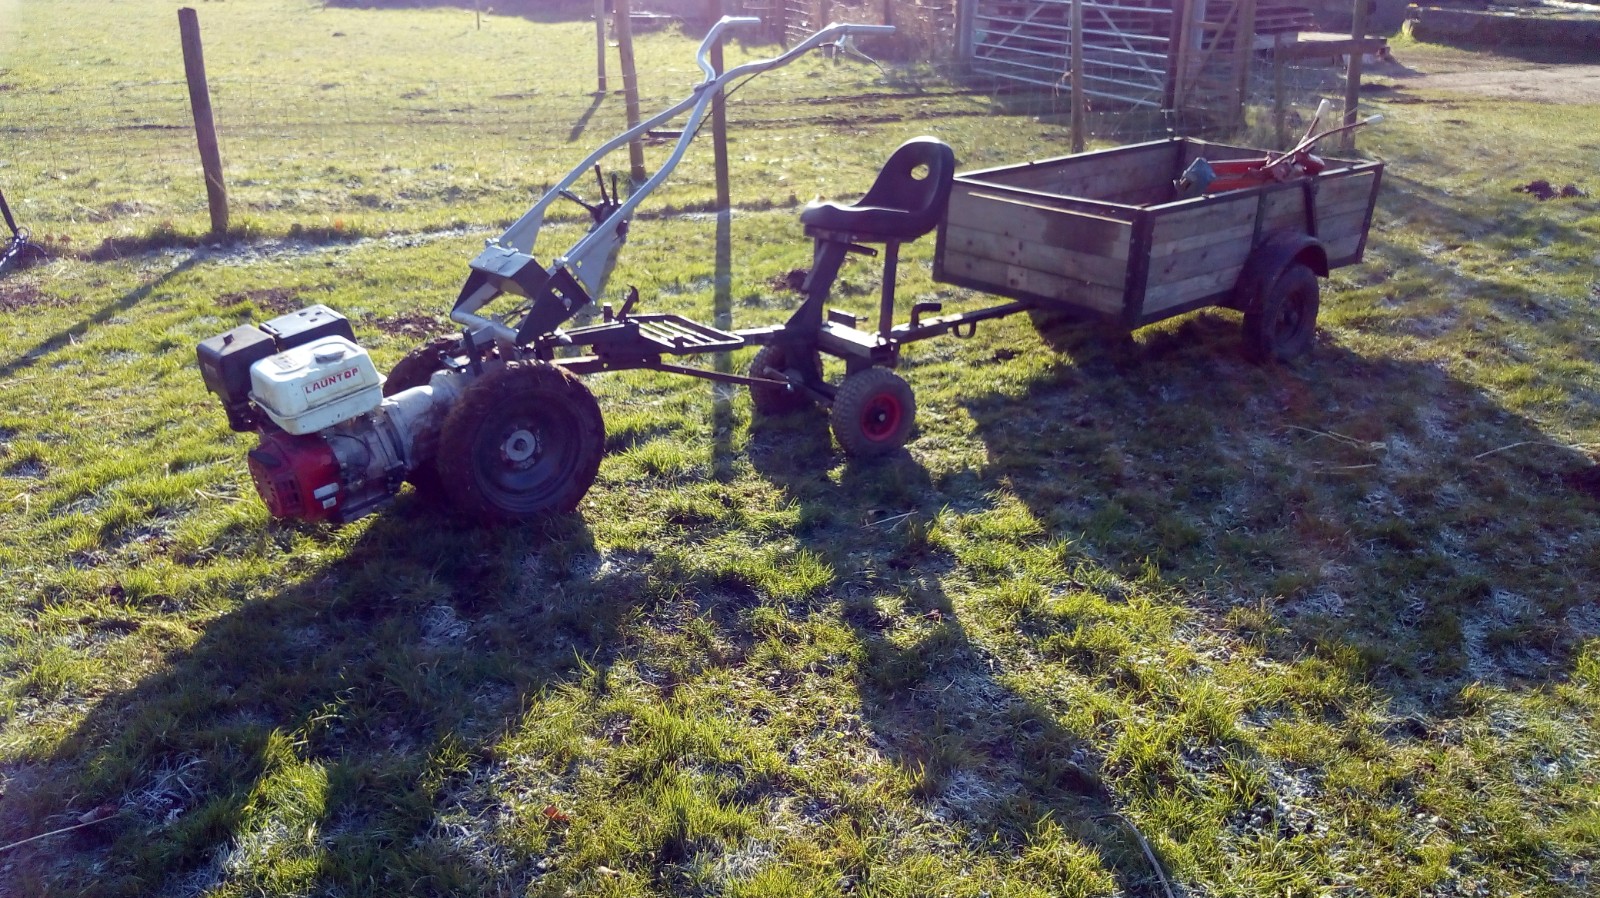
I finally got some pictures of the tractor hooked up to the plough and riding seat / trailer combination. Purists will note that the Howard Orange is changed to house colours of Grey and Green. Perhaps at a later time a new paint job might be called for, at this time I am happy to think that the metal is protected from the elements stopping the rust.
Attachments:
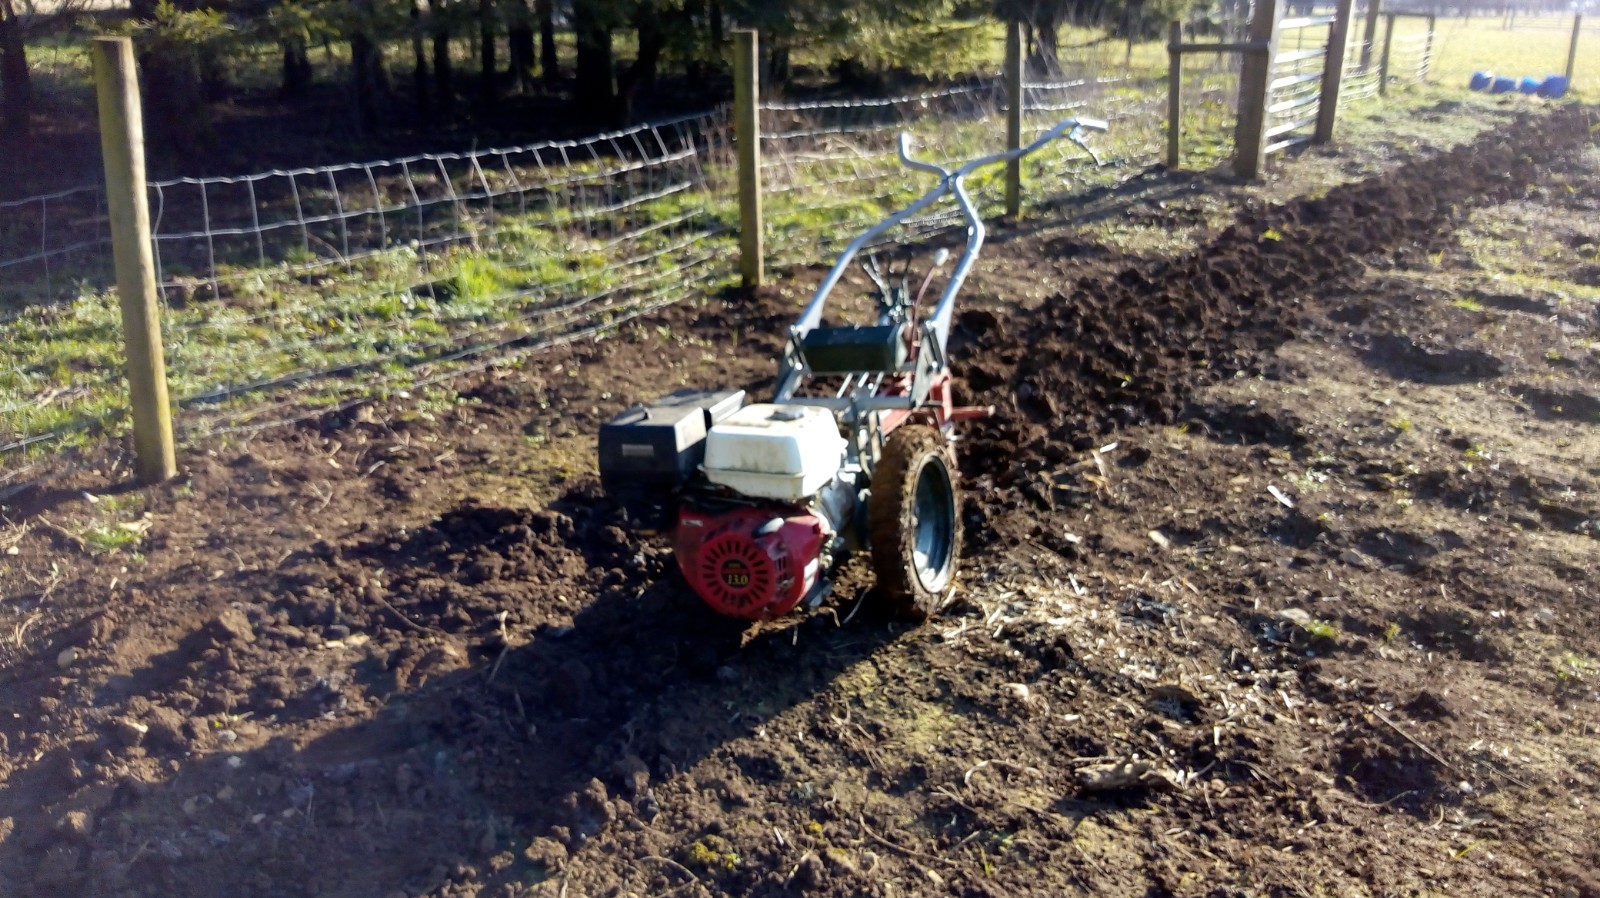
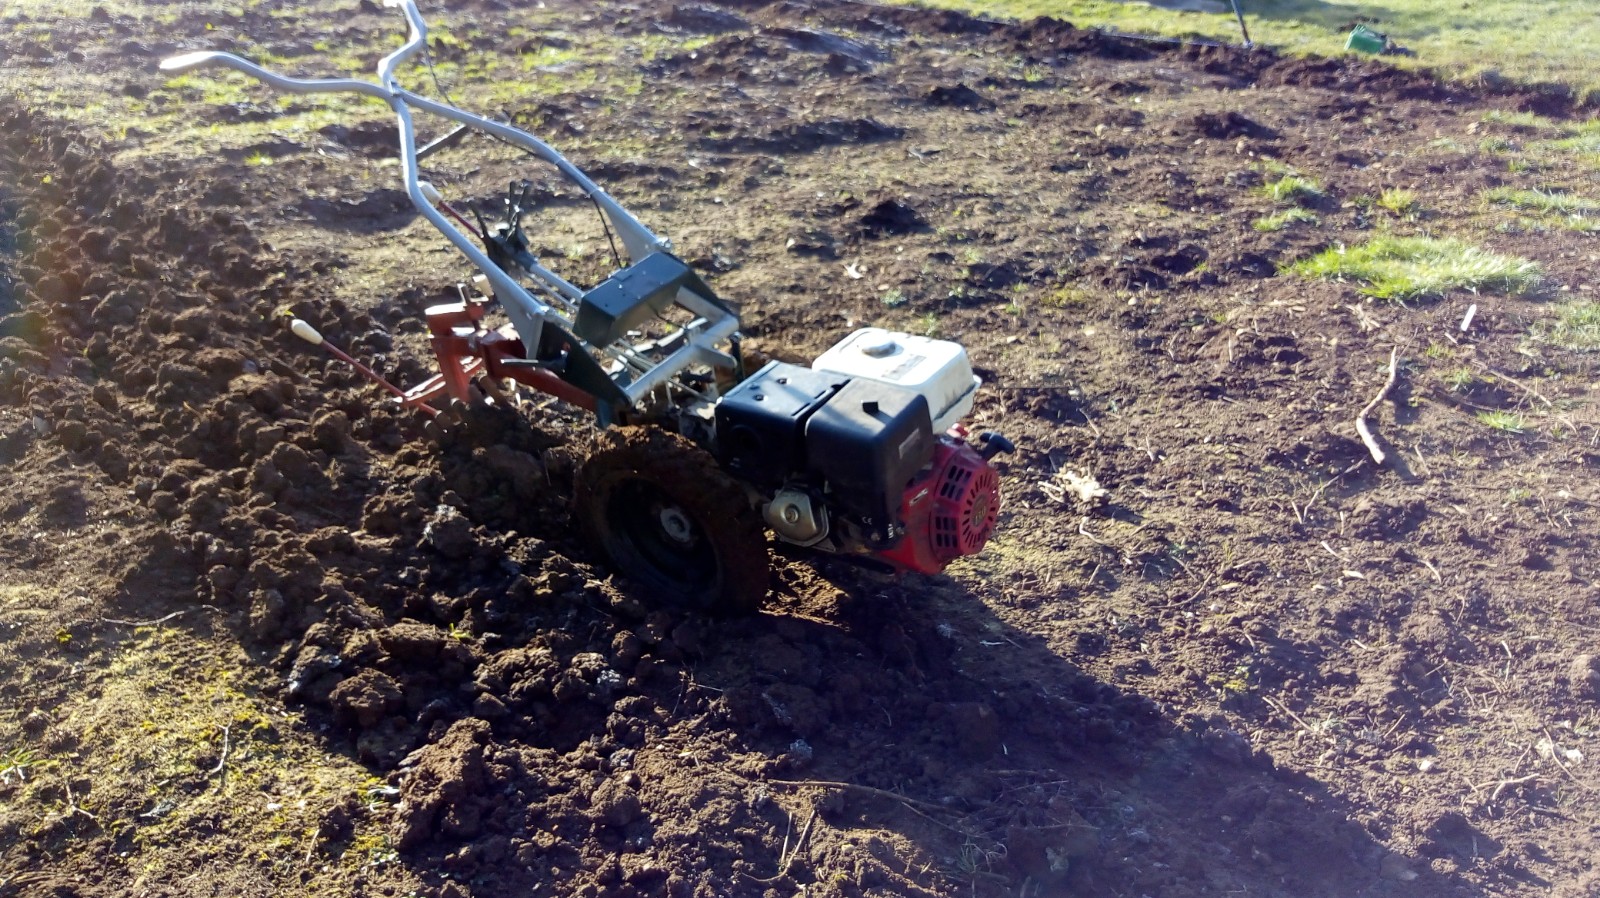
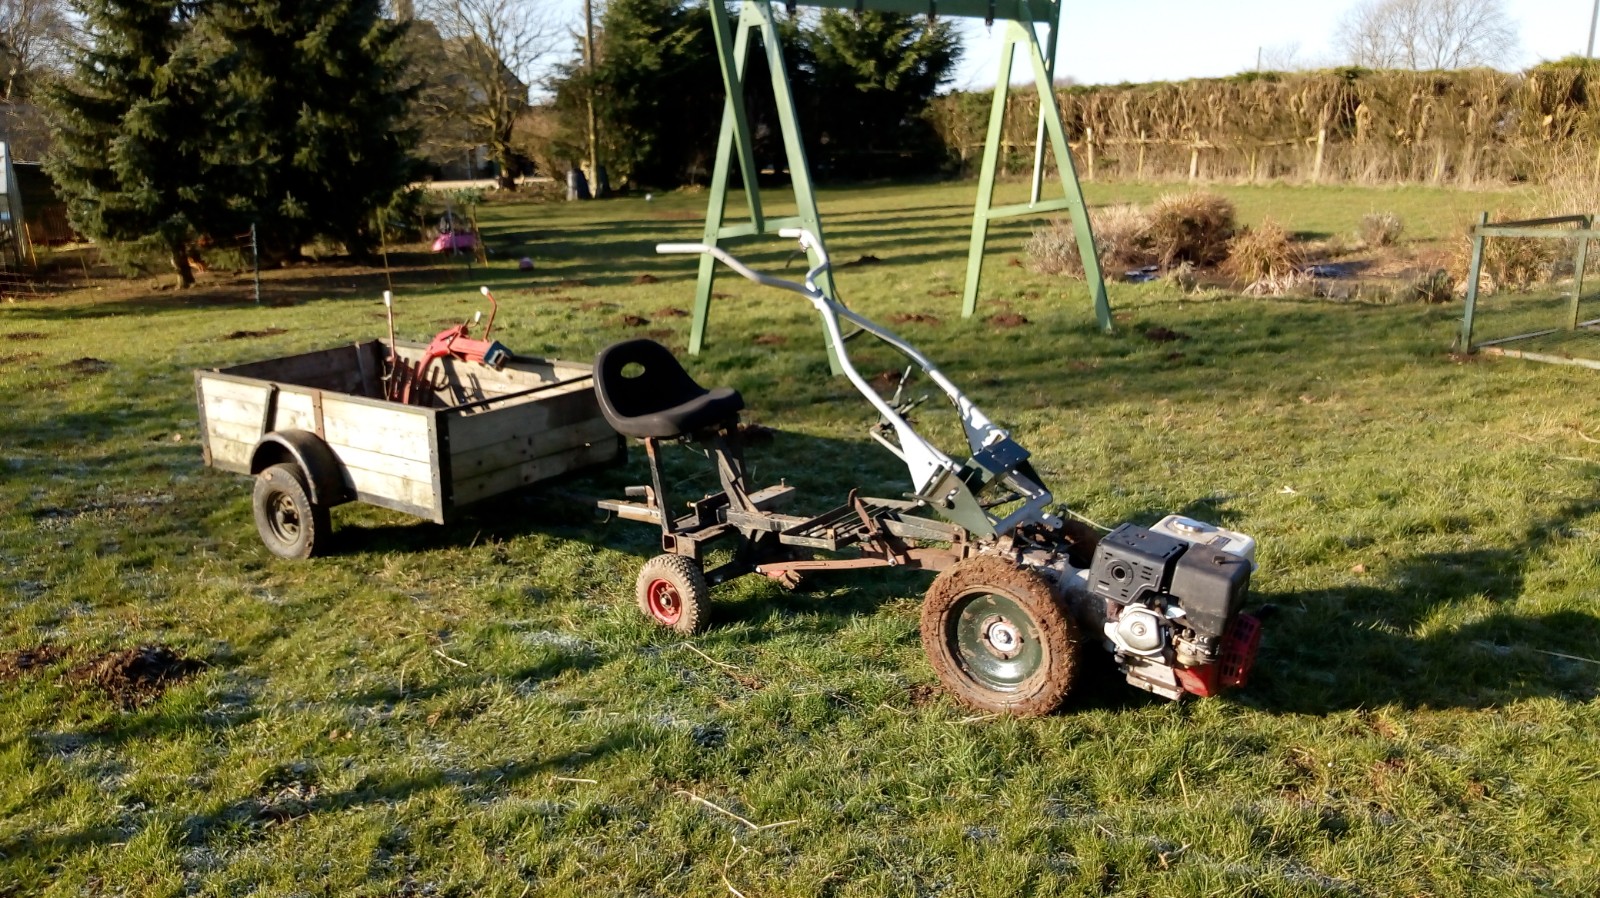
February 25, 2018 at 7:41 pm #28063ParticipantSupplementary pictures
Attachments:
-
AuthorPosts

- You must be logged in to reply to this topic.