Home › Forums › The Main Forum Area › Projects › Norton Trusty
- This topic has 41 replies, 5 voices, and was last updated 2 years, 11 months ago by
halfa.
-
AuthorPosts
-
August 30, 2020 at 3:31 pm #35336
halfa
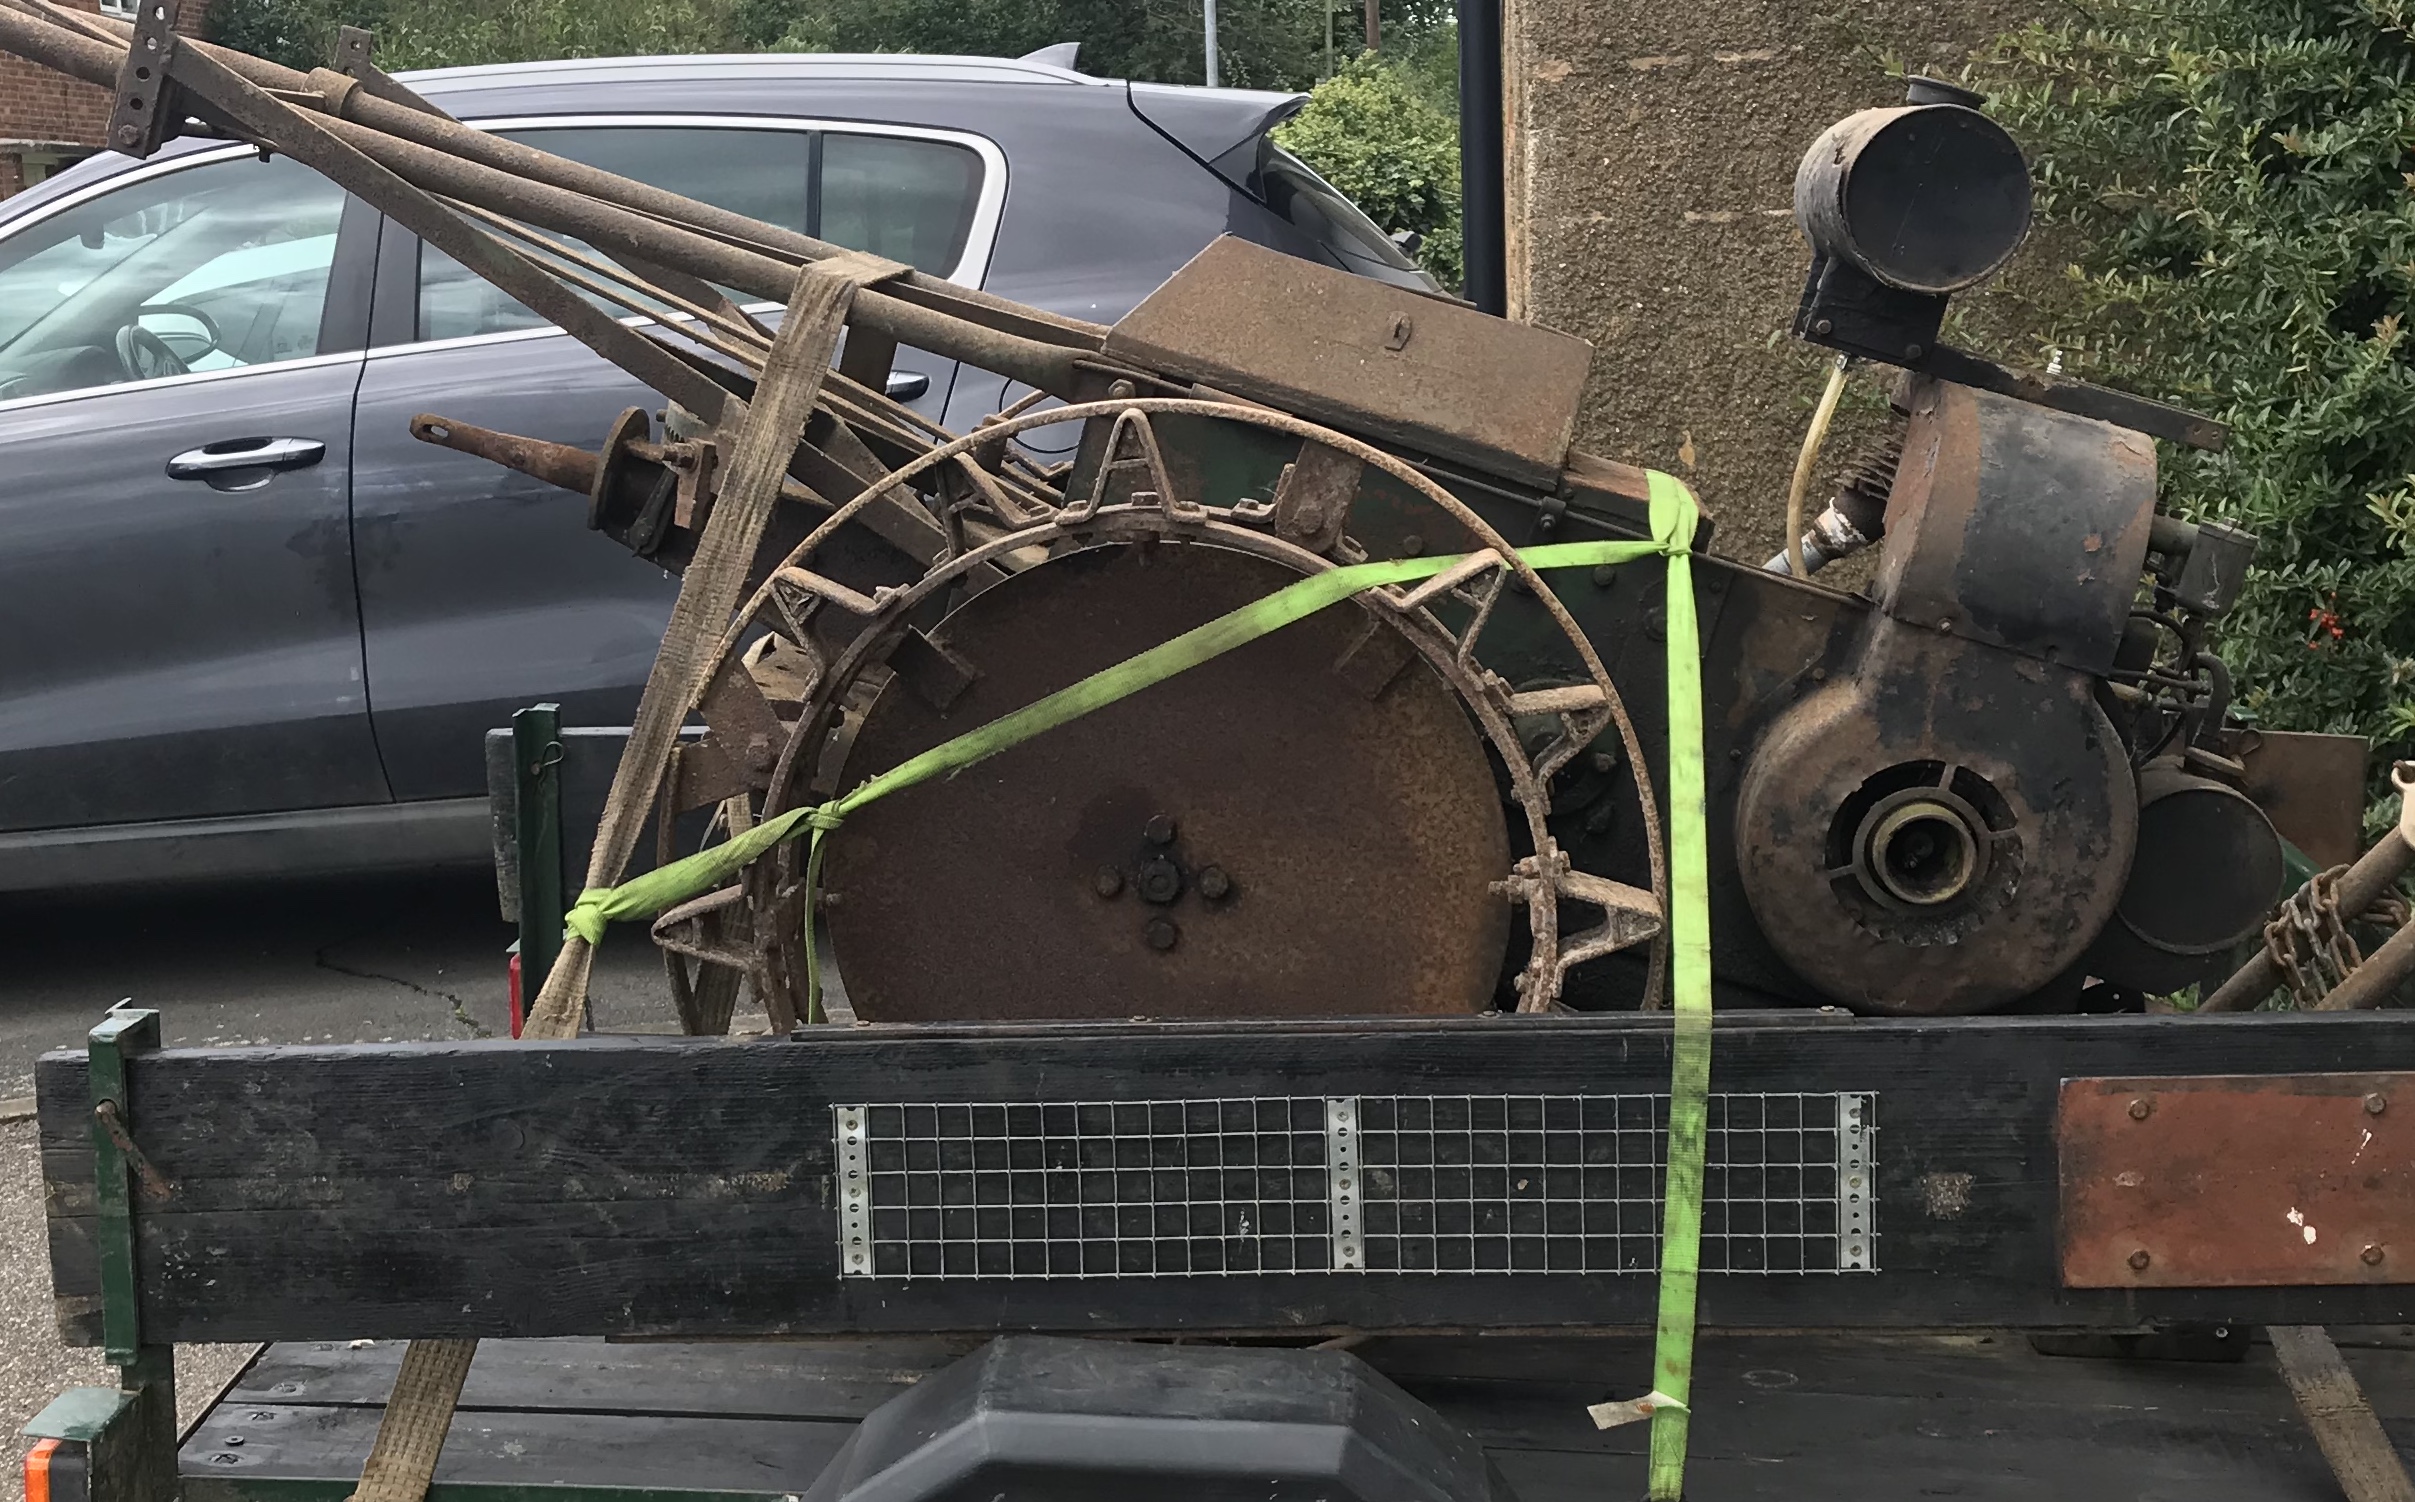
ParticipantAfter a long time looking for a Norton, just picked up this project ready for the winter. Should keep me busy!
Attachments:
September 2, 2020 at 1:19 pm #35351 trusty220Keymaster
That looks like a good find and it’s complete with road bands as well. If you let me know the serial number I’ll put it on the Trusty Register for you.
Good luck with it and if you need help just ask.
September 2, 2020 at 7:49 pm #35352ParticipantNorton engine, single speed, transmission brake. Machine number 11976. Thank you for the offer of help, I’ll no doubt be in touch.
September 2, 2020 at 8:53 pm #35353trusty220KeymasterHi, Chris,
Your tractor is now on the register and appears to have been manufactured in February/March 1948. In addition to the information that you have given, it is unusual in having the “Old Type” reduction gears which are more reliable than the “New Type” gears.
Old Type rely on ball bearings which are pretty indestructible, whereas the New Type have a leather seal and phosphor bronze bushes. Once the leather seal wears out it allows sand and grit into the bushes and the bearings wear quickly, allowing the wheels to wobble and destroying the top pinion.
The machine that you have bought should be reasonably trouble free.
Best of luck with the restoration.
September 6, 2020 at 8:17 pm #35360ParticipantHi, could anyone explain the way to find tdc on the Norton engine, is there any markings to line up anywhere? Or is there another method. I haven’t had any experience of setting timings on an engine and the magneto drive chain was off the engine when I got her. Cheers.
September 7, 2020 at 11:23 am #35361trusty220KeymasterThe most certain method is to take the head off but I know how difficult it is on one of these, so no explanation necessary as to why you don’t want to do that!
What I have found in the past is to take out the spark plug so that you don’t fight against the compression, then take off the valve chest cover so that you can see what the valves are doing. Turn the engine in the direction that it runs in (anticlockwise as you look at the RHS engine pulley) and stop when the valves are “on the rock”, i.e. when exhaust is closing and inlet is just opening. Mark across the pulley onto the cowling then this will be your mark for TDC.
Next you can turn the engine one complete revolution and stop at your mark again and the piston should be at TDC on compression stroke. The timing for the Norton should be 3/8″ BTDC, and the points should just be opening at that time. Unfortunately you’ll have to guess the 3/8″ but if the two sprockets for the magneto haven’t been messed about with you should be able to find which tooth is closest. That’s one advantage with this version of the Big Four Norton- the Wico magneto has a positive location for the drive sprocket, unlike the Big Four used on the Steed which has a BTH mag and you have to set it up exactly then tap the sprocket so it sits on a taper.
Points gap should be 15 thou and don’t mess up the screw holding the drive sprocket onto the magneto- it’s a left hand thread and the cast aluminium washer underneath it has a “pip” that locates into the end of the drive shaft of the mag.
Best of luck.
GeoffSeptember 7, 2020 at 8:44 pm #35364ParticipantThat’s great, I’ll give it a try, thanks for your time Geoff.
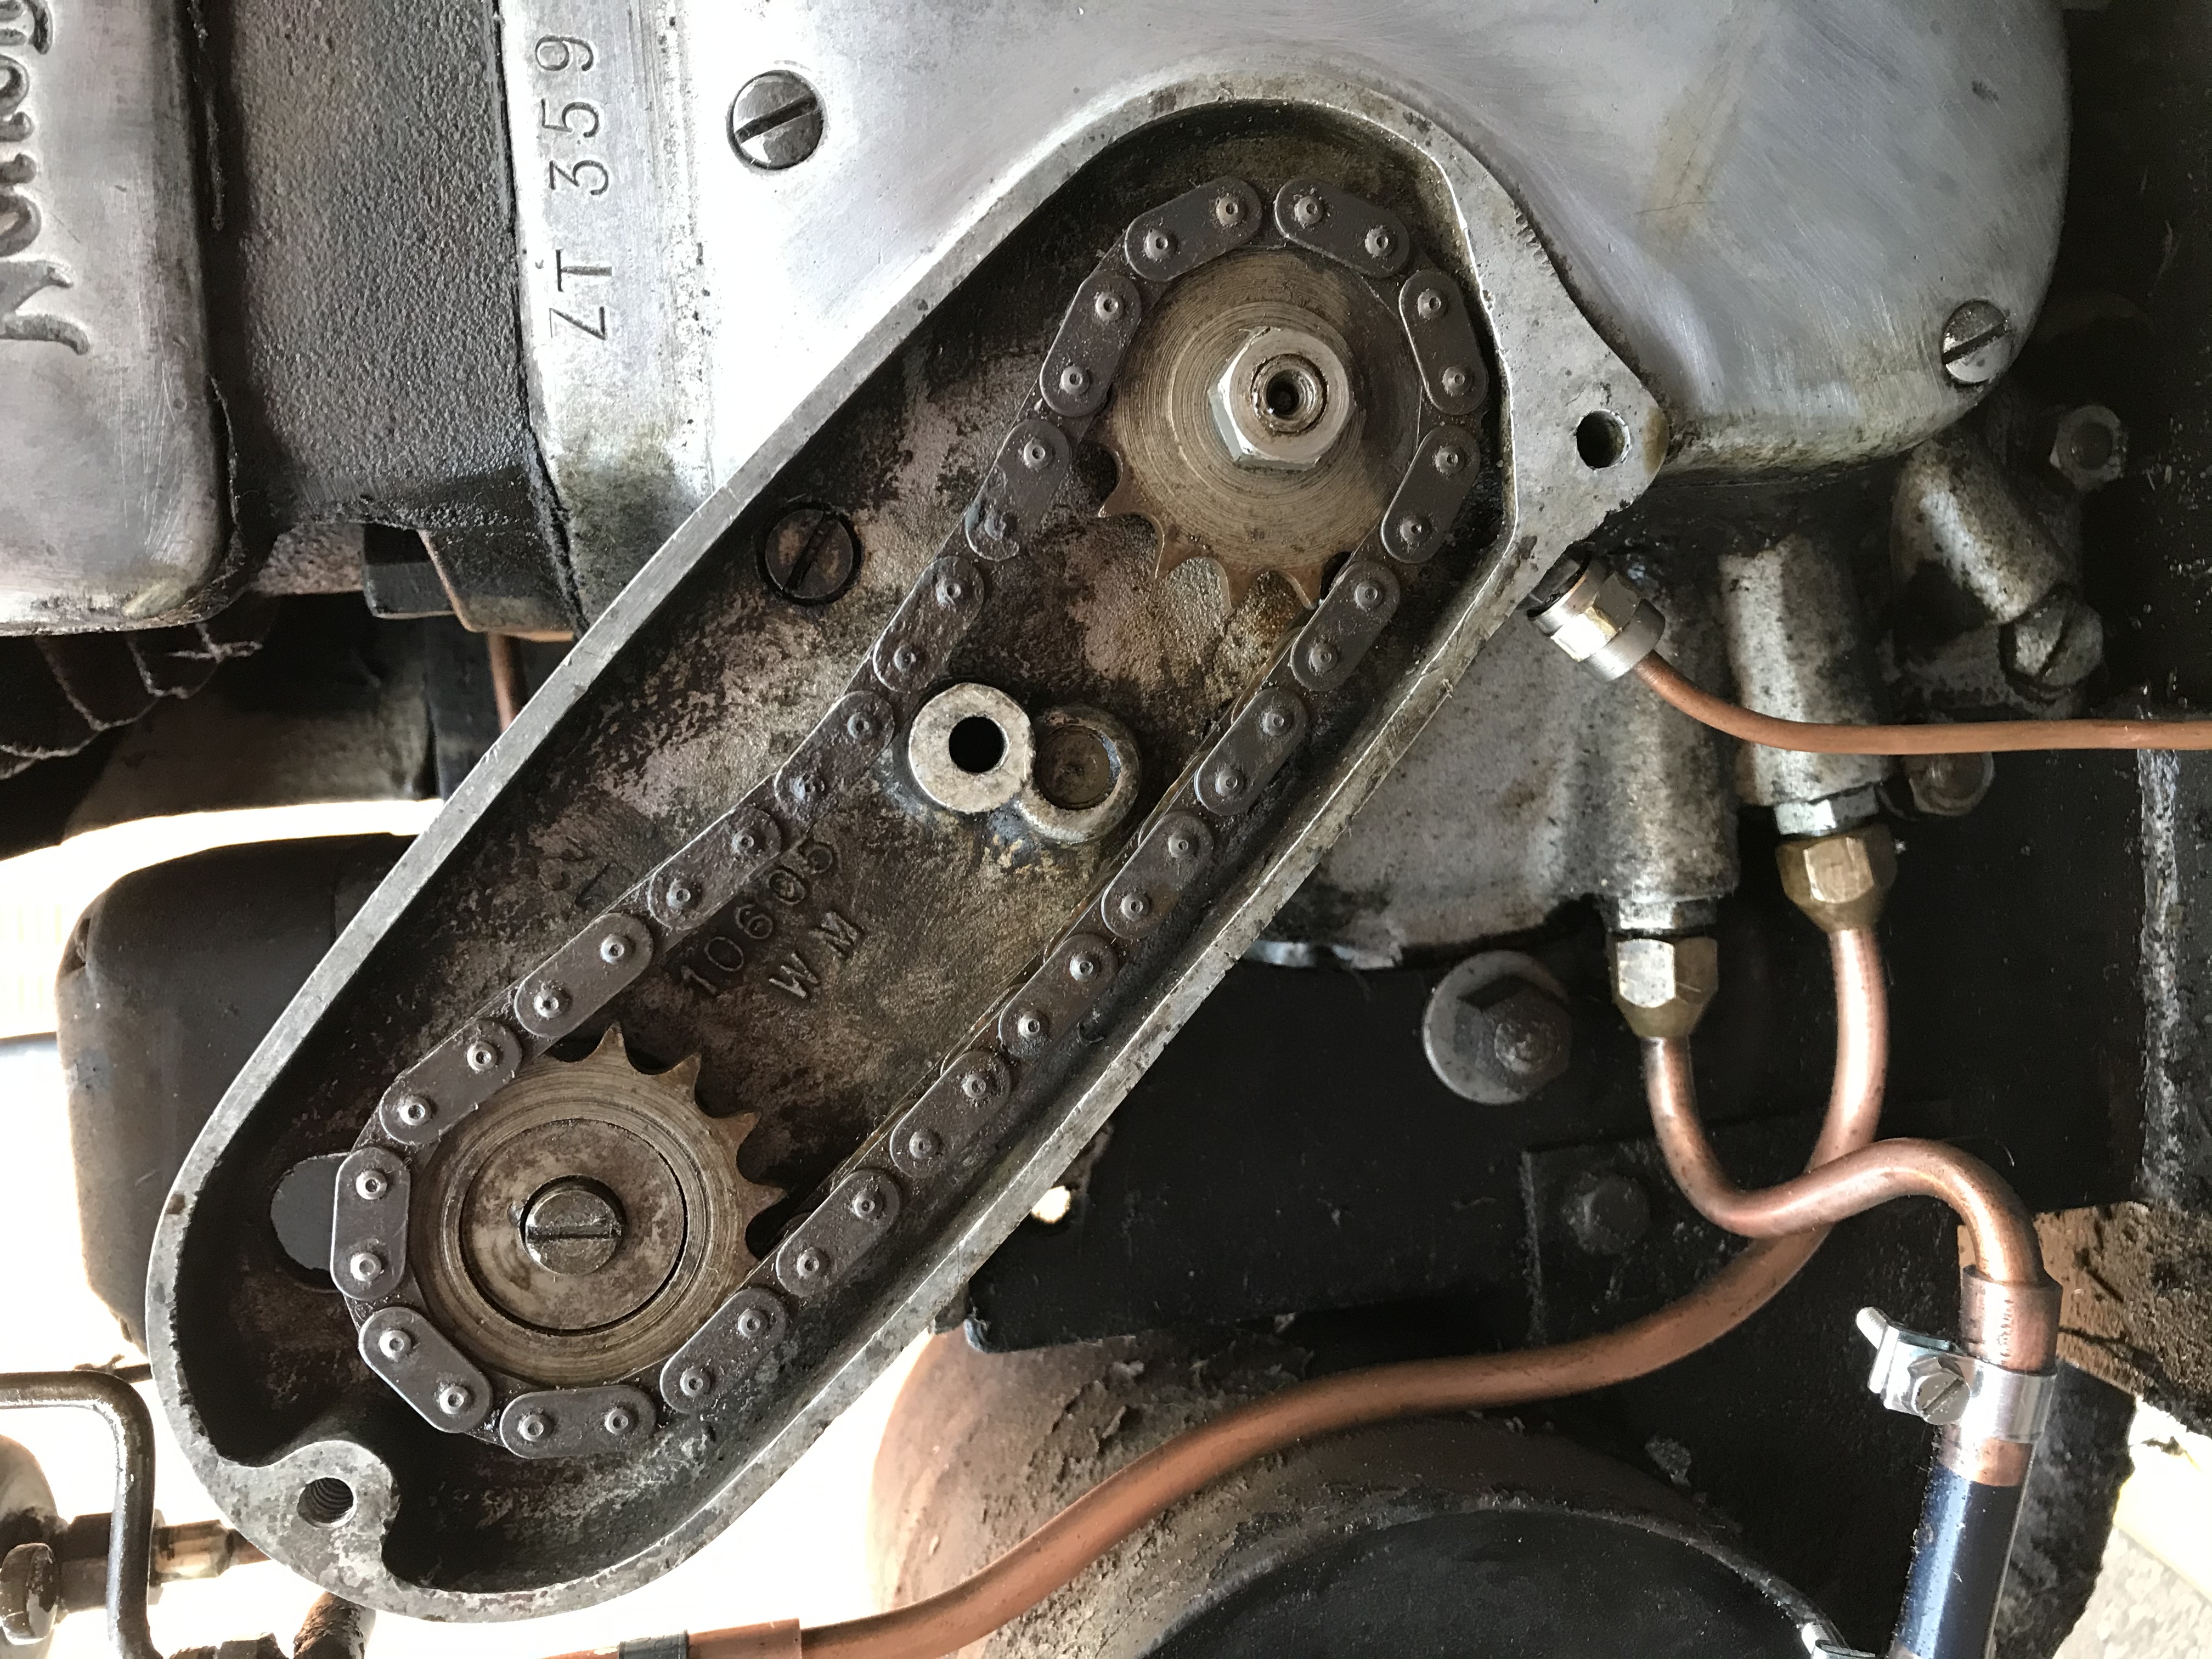
September 12, 2020 at 6:02 pm #35376ParticipantHad the engine running very erratically for 10 seconds today, during which it blew a mouse nest all over the place from the exhaust. But then nothing else, I guess either a fuel issue (as the spark is good). But I also think it could possibly be a timing issue as the chain looks too slack? Can anyone tell me the pitch or code of the chain so I can replace it. Or any other ideas would be greatly received as pulling the Norton over multiple times with the compression it has, has done me in !! Cheers.
Attachments:
September 14, 2020 at 8:40 am #35385trusty220KeymasterFrom your picture I would say that the chain is definitely too slack; to adjust it slacken off the two large bolts underneath the magneto base and slide the magneto forwards (i.e. towards the front of the tractor). Don’t put too much tension on the chain as it will accelerate wear in the magneto bearings if it’s too tight. Just slide the mag forward enough to take the sag out of the chain, but not enough that you can play a tune on it!
The carburettor will definietely need a good clean out if there is any rust inside the petrol tank. The holes and clearances in the main jet tube are tiny and will block up very quickly with even small amounts of rust. Don’t forget to take the blanking plugs out of the slow running jet alongside the venturi either and give them a good blow out with the airline.
Before dismantling the carb screw the main jet in until it stops, counting how many turns in it goes. At least then you will have some idea of the previous setting of it. Do the same with the slow running jet as well and you shouldn’t have too much trouble starting it up again once you’ve finished.
Another little tip I can give you is that the slow running jet is actually controlling the flow of air that the engine is running on at tick-over. The more you screw it out the weaker you make the mixture. This is exactly opposite to what you do with the main jet which is used to control the amount of fuel going to the engine at working speed- the more you screw it out the richer the mixture, which is the normal convention for such items.
Best of luck and I hope your back gets better- mine always plays up after a few rounds with my Norton on a bad day!
September 16, 2020 at 8:18 pm #35395ParticipantHi Geoff, thanks for the great advice, cleaned carburettor which was full of muck, 2 of the 3 holes were blocked. Re set the points and cleaned again. Then 3 pulls later she fired up and ran great ! I used your settings from a previous topic on Amal 225 carb. I ended up with the tick over screw out 3 turns and the main jet just over 1 turn out. The tick over running is perfect but the only thing is that it does massive backfires when shutting the throttle after revving up a bit. Is there an adjustment I can make to stop this or is it just a case of giving it a bit of a run to let it clear itself. Cheers.
September 18, 2020 at 4:09 pm #35407trusty220KeymasterThe backfires will be caused by an excess of unburnt fuel so my guess is that it’s running slightly too rich. It may be worth trying a lower float height- there are three grooves on the float needle but I forget which one mine runs on- so what ever groove it is in try dropping it down to the next one, but you will need to re-set the carburettor again, but you should be quite a way to becoming an expert at that by now!
Just a thought- did you slide the magneto forward to take the slack out of the timing chain?
September 18, 2020 at 8:35 pm #35410ParticipantI’ll have a look at the float over the weekend. Yes I did move the magneto forward on the bolts but it was an awkward old job as when you think you have the correct tension you then tighten up the bolts and it pulls it tighter still thus becoming too tight it’s a very fine adjustment that is required but we got there in the end, haven’t started her since. The last time I ran her she sucked some aluminium corrosion through from the inside of the float bowl which stopped the engine from running on tick over. I’ve installed an in line filter to stop the tank rust coming through. I need to fabricate a bracket to hold an air filter next and also some wheel spacers so I can get her on a set of rubber tyres as these big iron wheels are not practical for what I need.
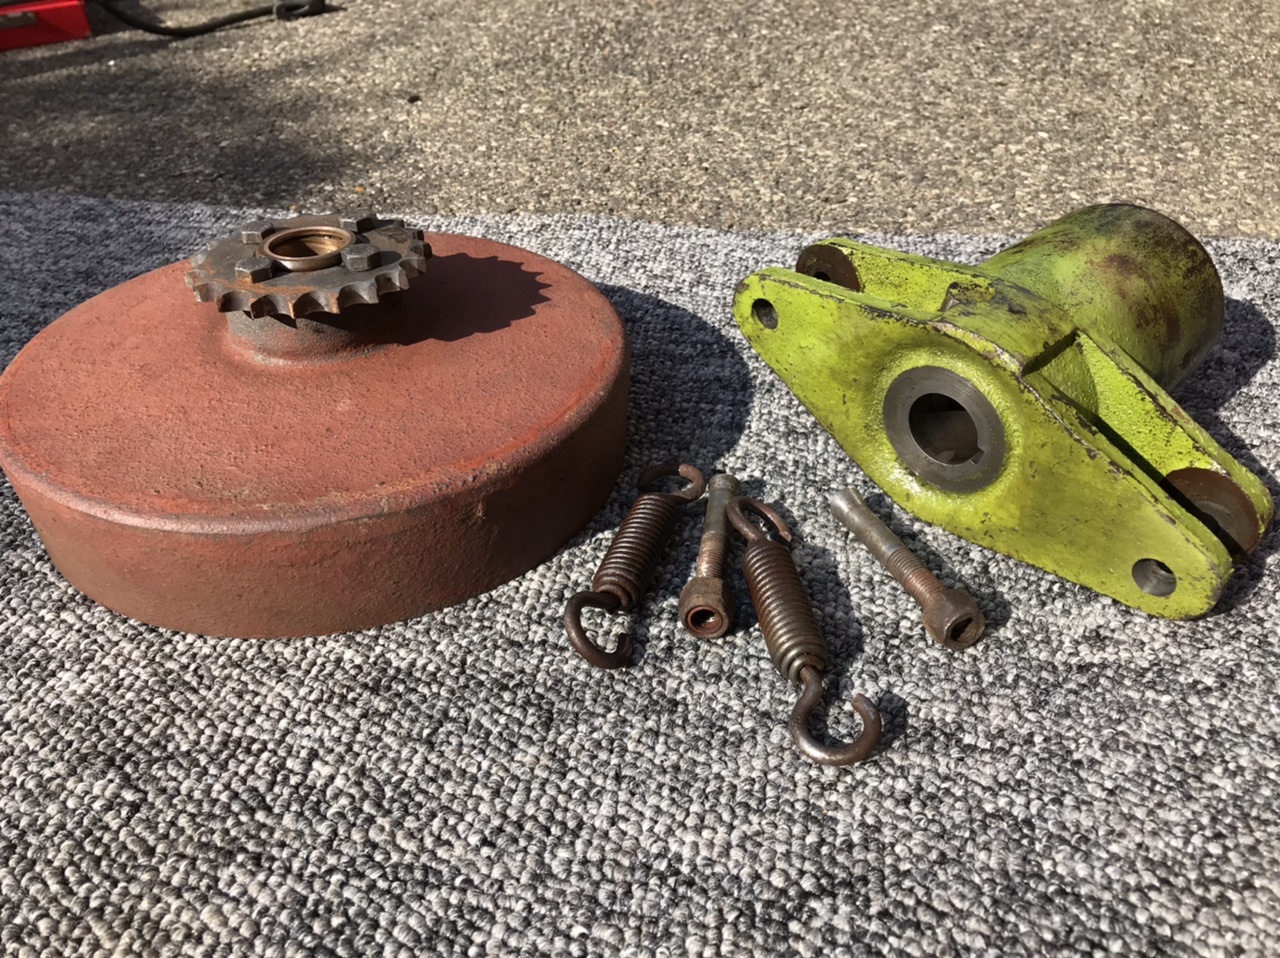
September 20, 2020 at 7:00 pm #35414ParticipantRan great today started on the first pull on the strap, the slack in the chain did have a small effect on timing. The clutch assembly had a bath for a couple of hours in the parts washer today. Can’t believe how it came up, the quarter of an inch of grease and soil must have protected it well as once rinsed off the machined surfaces look like they were done last week.
September 20, 2020 at 7:13 pm #35415ParticipantClutch
September 21, 2020 at 6:41 pm #35416ParticipantPhoto
Attachments:
-
AuthorPosts
- You must be logged in to reply to this topic.