Home › Forums › The Main Forum Area › Projects › Early Trusty Rebuild
- This topic has 101 replies, 14 voices, and was last updated 1 year, 11 months ago by
 trusty220.
-
AuthorPosts
-
January 19, 2019 at 6:50 pm #30104
 trusty220Keymaster
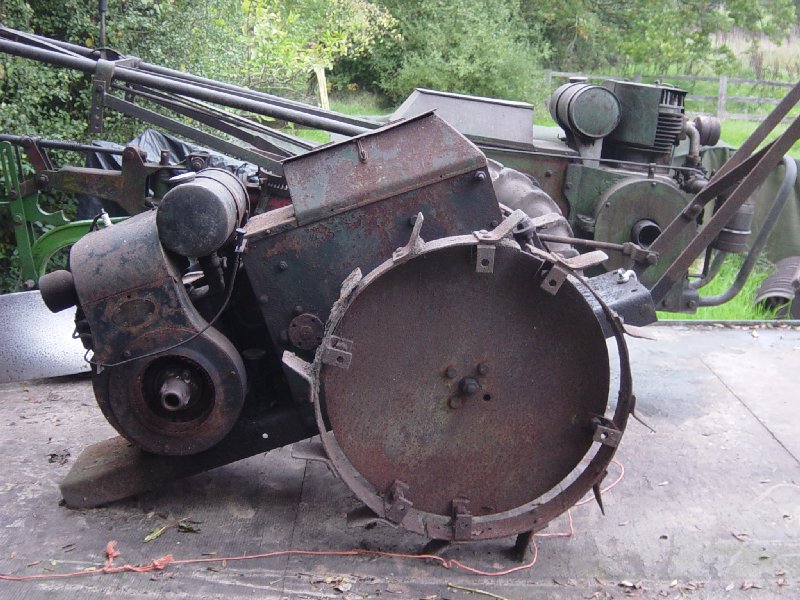
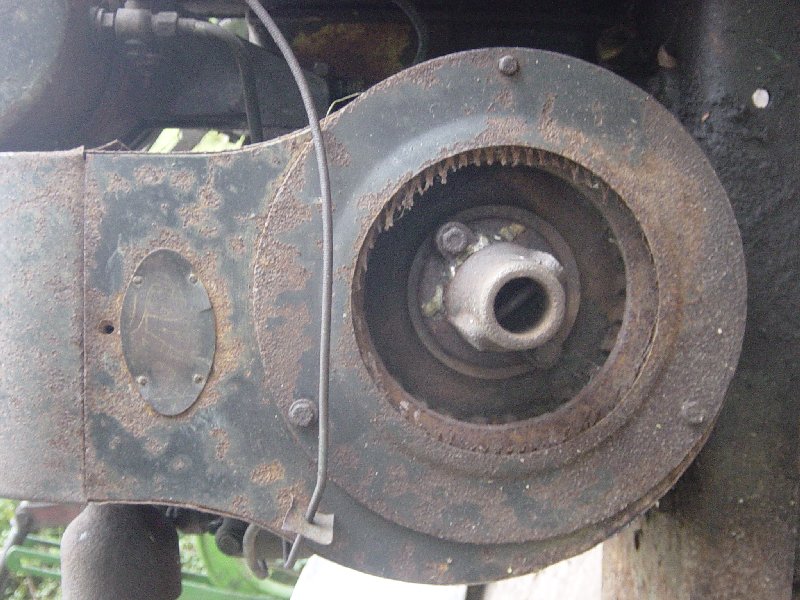
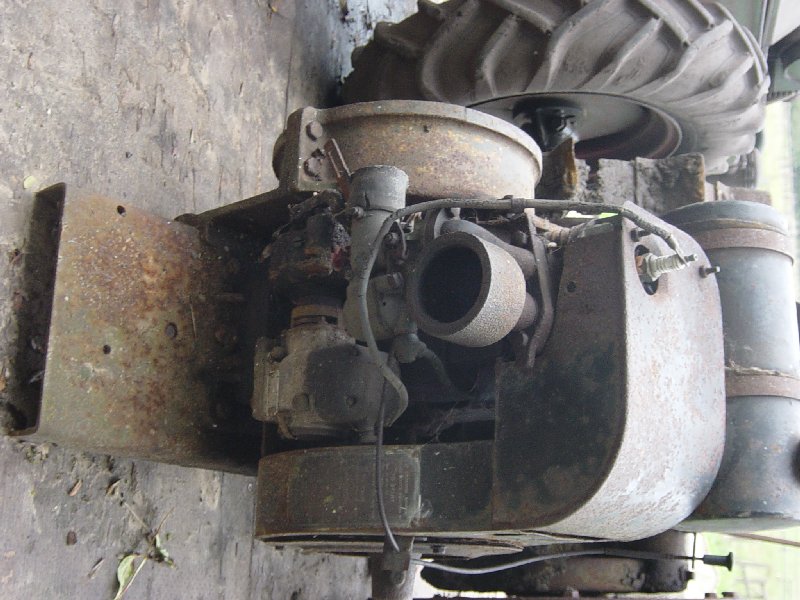
This is a tractor that I’ve had for a few years now; I bought it because it fills the gap between my old Trusty, number 220, and the later ones with a swinging drawbar. This is very much the “Missing Link” because it still has the old style implement hitch and older straked wheels as well as the original type handlebars. Where the difference lies is in the very early JAP5 engine and the repositioned toolbox on top of the transmission casing, so it is very much an intermediate model that fills a hole in my collection.
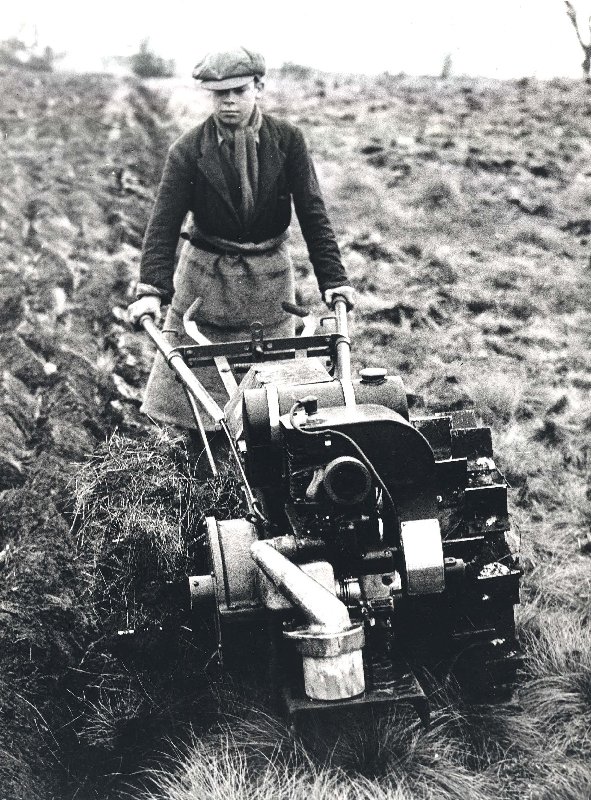
Here are the pictures from when I first brought it home. I have also added an original factory photo of this model of tractor to show the distinctive air filter.
Attachments:
January 20, 2019 at 9:28 am #30118 daveParticipant
The theme for Weeley this year is anything Trusty. Is there any chance
that we will see this missing link in action in September?
Dave.January 20, 2019 at 1:55 pm #30119daveParticipantQuestion.
Did chairperson work at the Trusty factory as a lad?
The works picture looks Chair Geoff as a lad.January 20, 2019 at 9:43 pm #30121 vhgmcbuddyMember
Fair amount of work there Geoff
January 21, 2019 at 12:33 pm #30122trusty220KeymasterDave- it should be finished by September but I won’t be getting it dirty (not yet, anyway!). I’m investing far too much time on it in order to get it right and I intend using it for shows to start with, but I will bring it if you want it. The only problem is that I can’t get the Trusty Roller and a Trusty Tractor on the same load, so which do you want?
More pictures to follow soon……….
January 21, 2019 at 3:16 pm #30123oddhatuk
ParticipantDid chairperson work at the Trusty factory as a lad?
The works picture looks Chair Geoff as a lad.Either that or the Chairperson’s father had a bicycle!!!
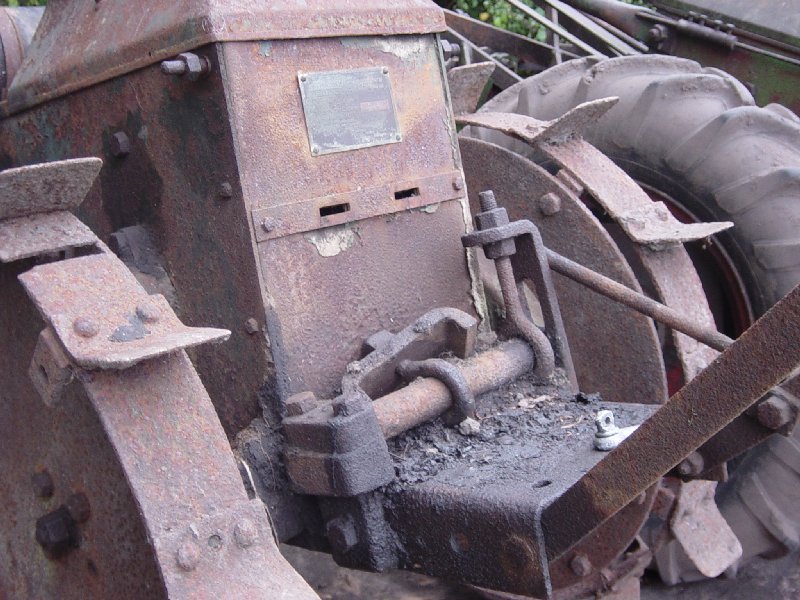
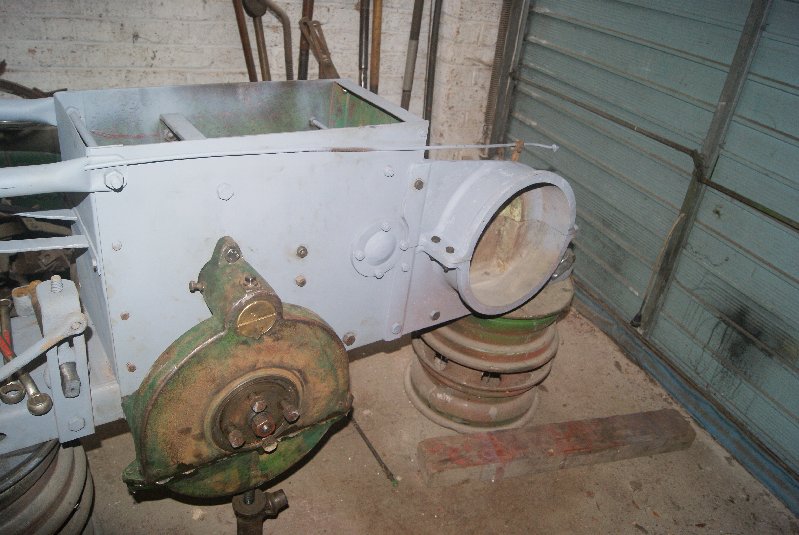
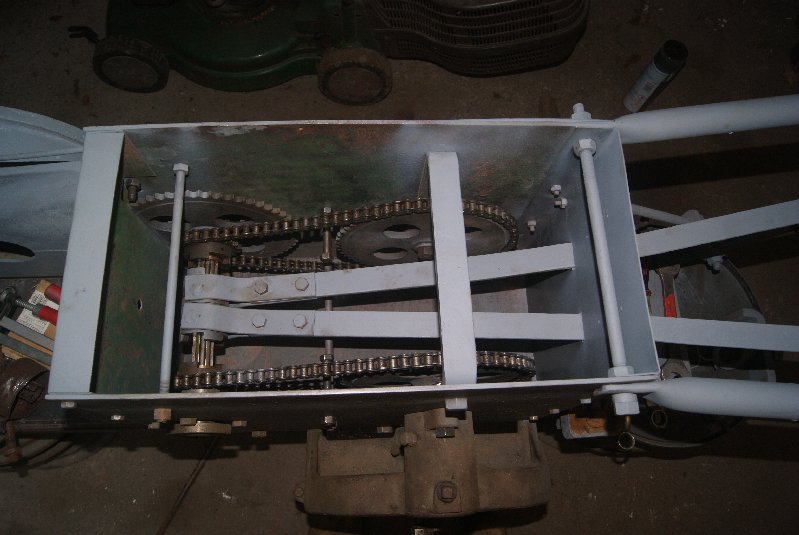
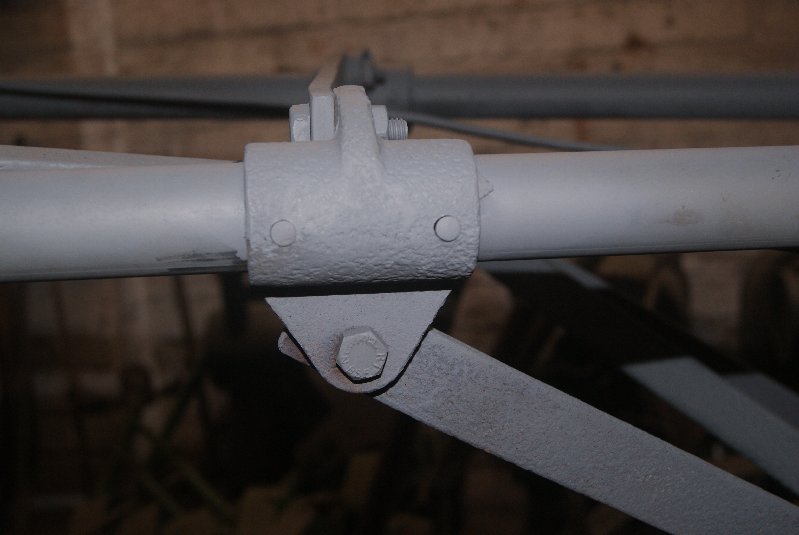
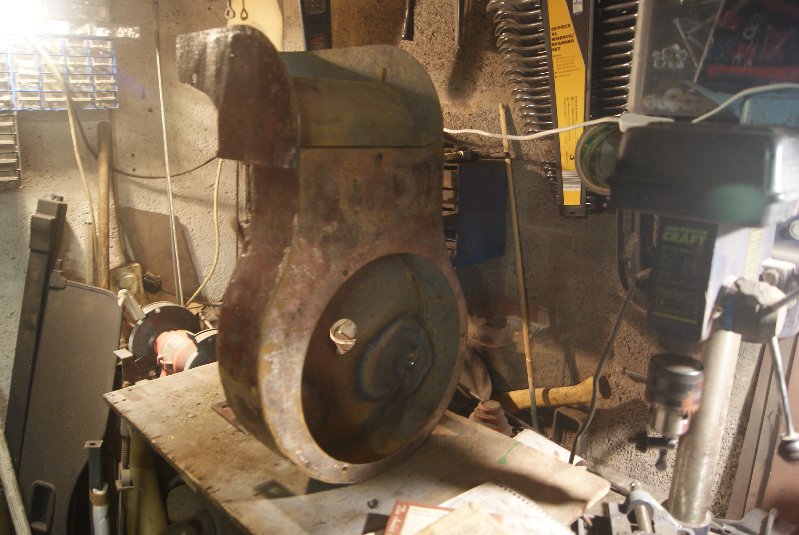
January 21, 2019 at 8:42 pm #30124trusty220KeymasterHere are some more pictures. As you can see, I have been doing quite a bit of work on it already. I was surprised how little wear was on the moving parts and the most trouble I’ve had is with corrosion and deep pitting in certain places, mainly where soil had been left to build up and was stuck on.
My normal procedure is to soak the affected parts in brick cleaner for a few days, then a weak solution of bicarbonate to neutralise the acid, finishing off with a hard wire wheel in an angle grinder. The steel comes out bright silver rather than brown, without a trace of rust anywhere. It also has the effect of freeing rusted together components when heat or force would destroy the part.
Anyway, here are the pics….
Attachments:
January 22, 2019 at 1:53 pm #30140daveParticipantI will settle for the roller again this year Geoff.
How big is the tank you use for the brick cleaner?
You are making a very good job of it so far, looks good.January 22, 2019 at 3:26 pm #30141trusty220KeymasterHi, Dave,
Last time I used it I put 20 ltrs of brick acid in and there was still more space available. What you have to watch is the fumes coming off it- it gives off Hydrogen Sulphide which smells like rotten eggs and can be flammable in an enclosed space, so do it in a well ventilated shed not in the corner of the lounge.
The results are well worth it, though, when you see the metal come out bright and shiny (but with lots of pit holes from the rust). At least when I fill the rust pits I’m not trapping any rust underneath to come back later.
I will make sure that the roller is coming to Weeley.January 26, 2019 at 6:44 pm #30168trusty220KeymasterI may have forgotten to mention that I actually started this rebuild some time ago but had to put it to one side when my father passed away. I kept the engine in my workshop and started to overhaul it, only to put it to one side at the same time; I have recently dug it out and have started to attend to the “tricky bits”.
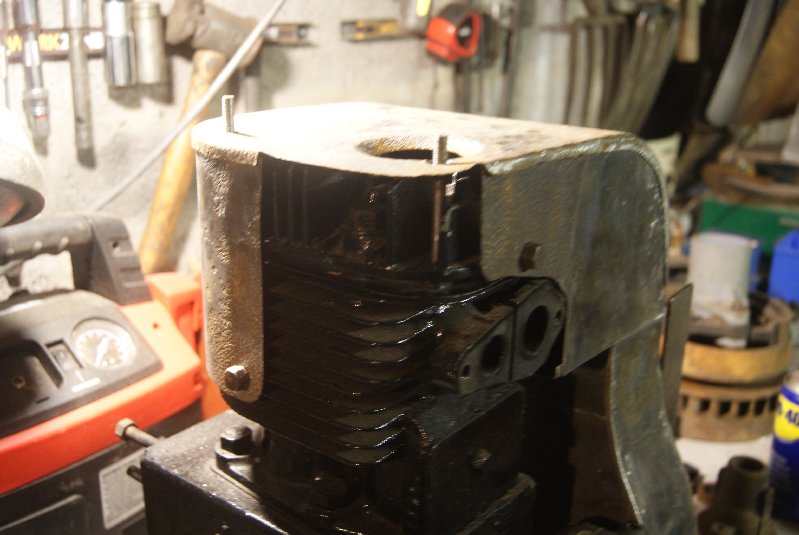
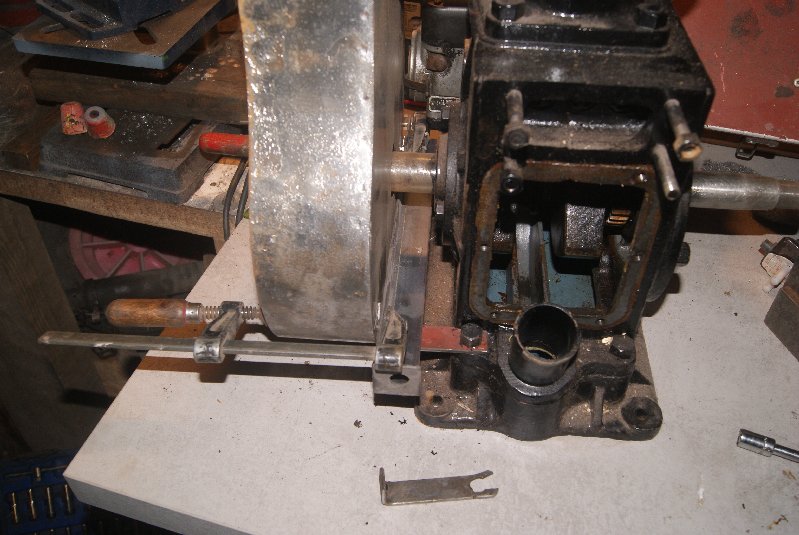
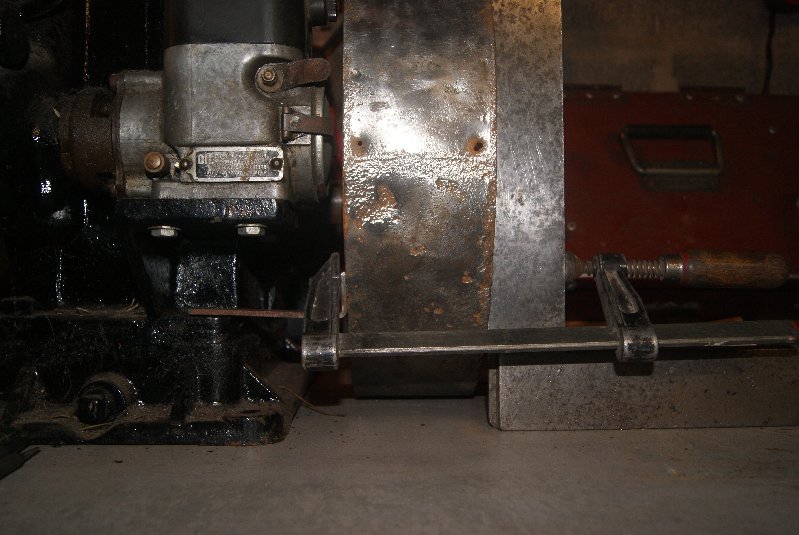
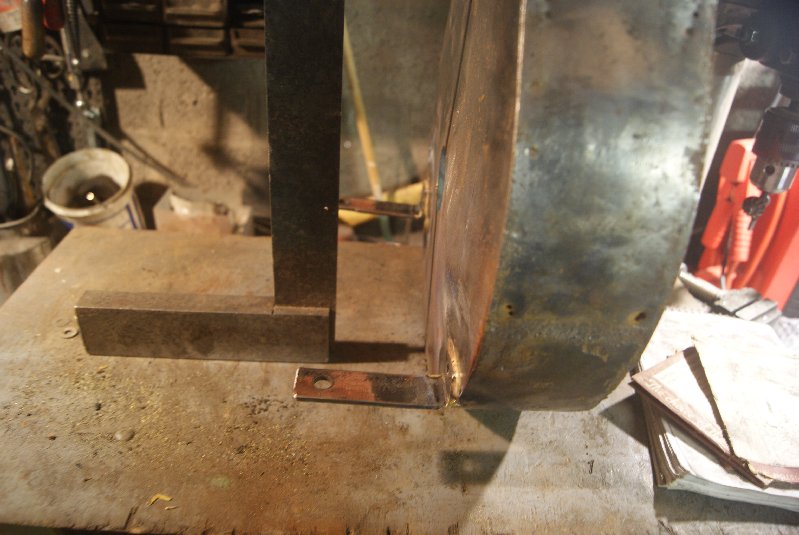
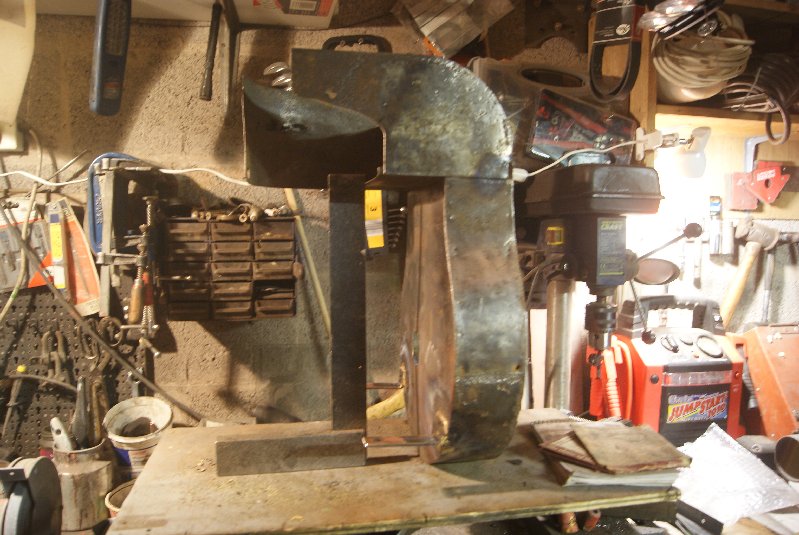
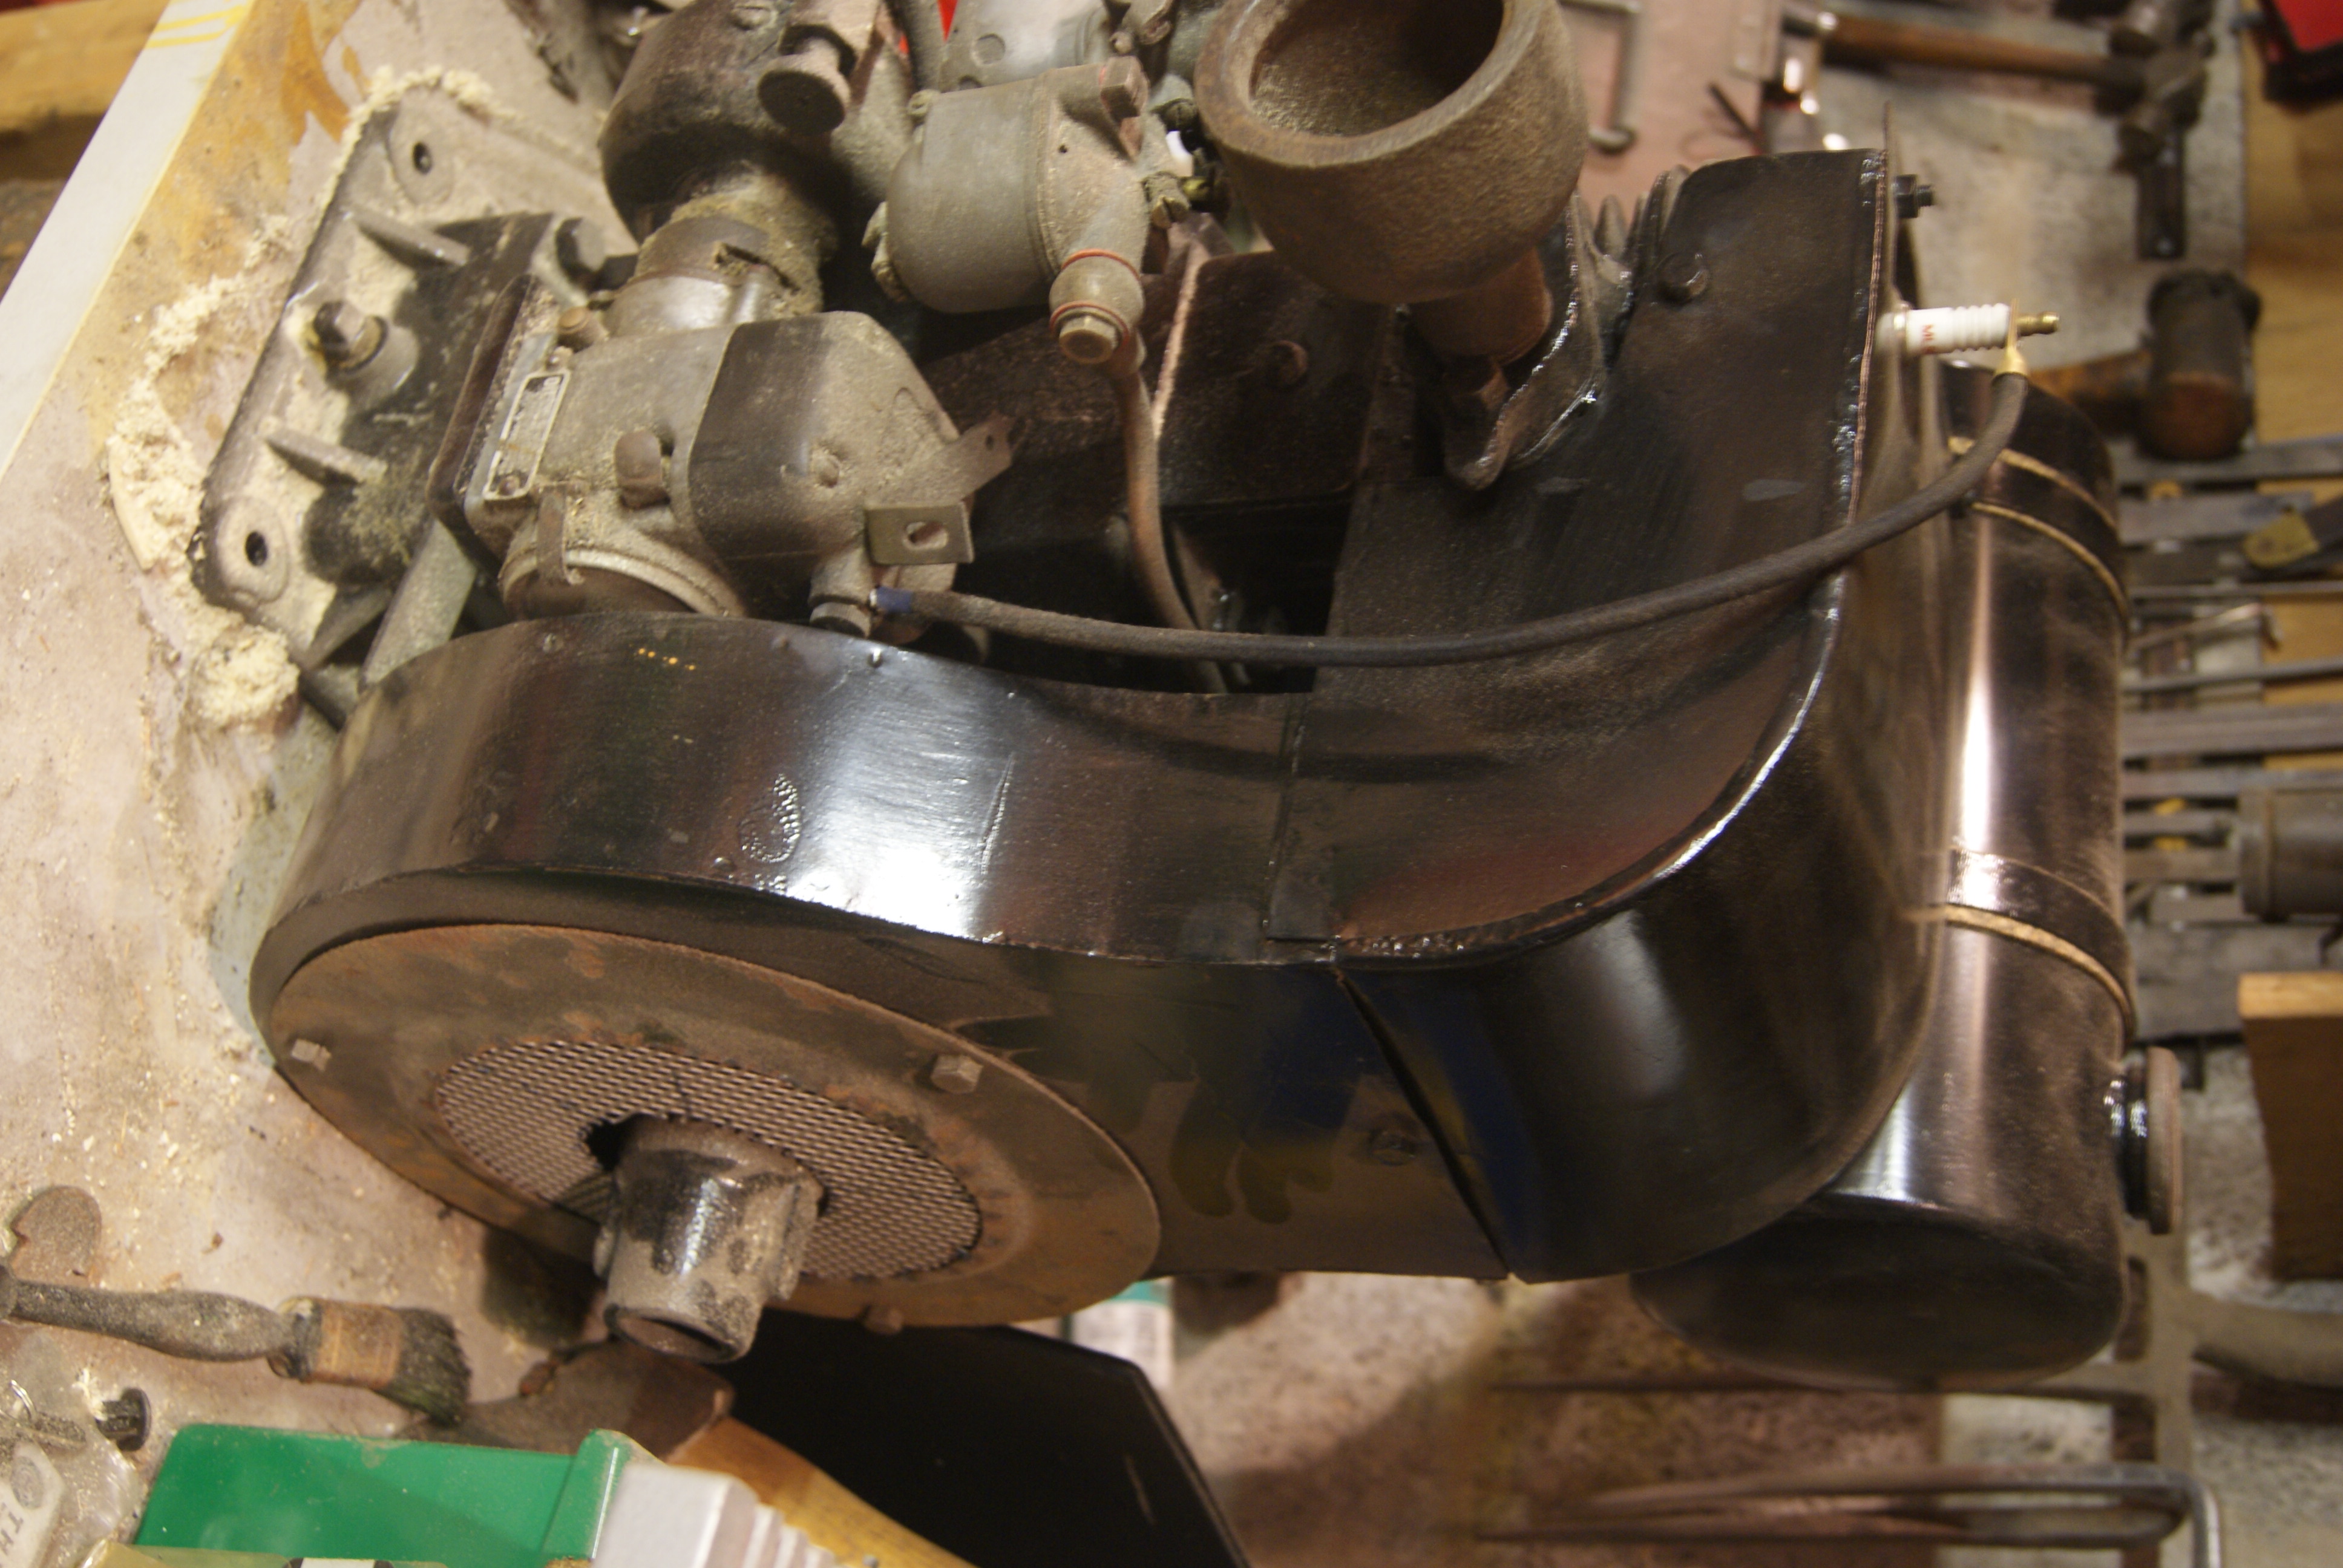
From the pictures you will see that I have given the cowlings the treatment with brick acid. It has removed all of the old black paint and the rust as well, returning everything to shiny silver steel but with pit marks in it.The original legs that hold the bottom of the cowling had seen better days and needed to be replaced, so they were cut off and new ones fabricated. As you can see from the pictures it is important to ensure that these legs are the correct length so that the outer face of the cowling is vertical otherwise all of your hard work will look bad. The large square is lining up the outer face whilst the top is lined up by the studs in the head; all I needed to do then is to measure the distance to the holes for the sump bolts and everything should work. I haven’t brazed the legs on yet so that is still a “work in progress”, more later.
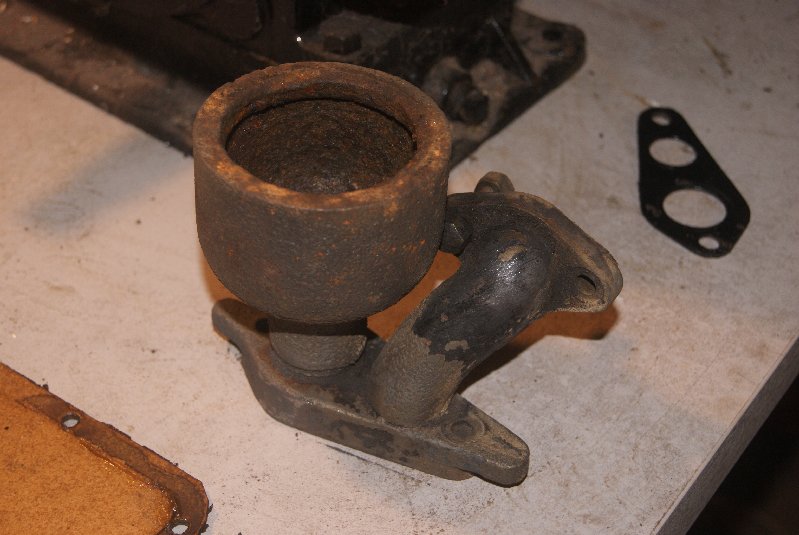
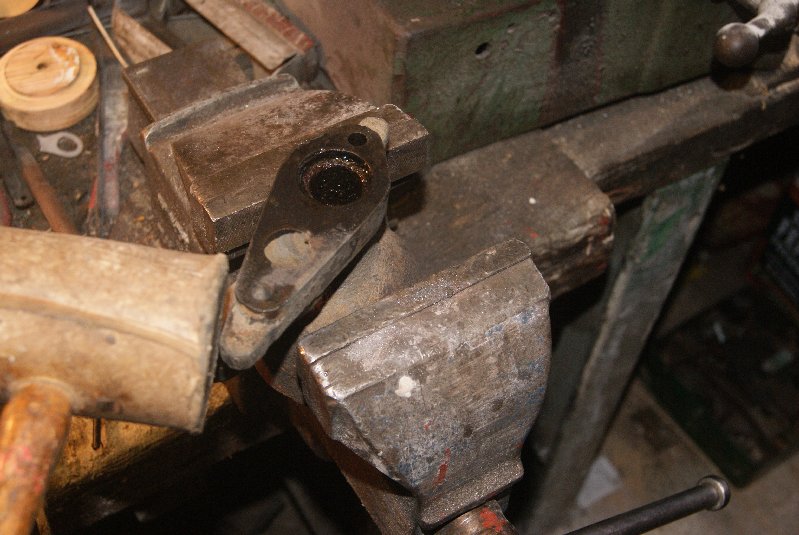
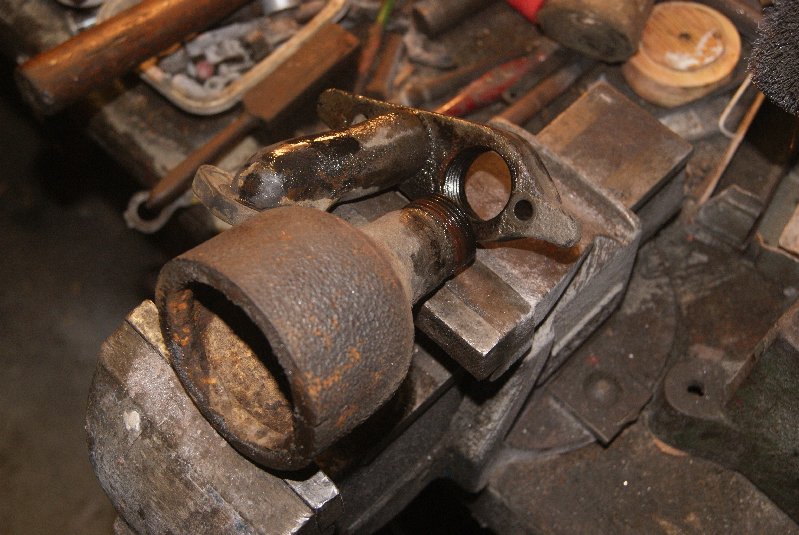
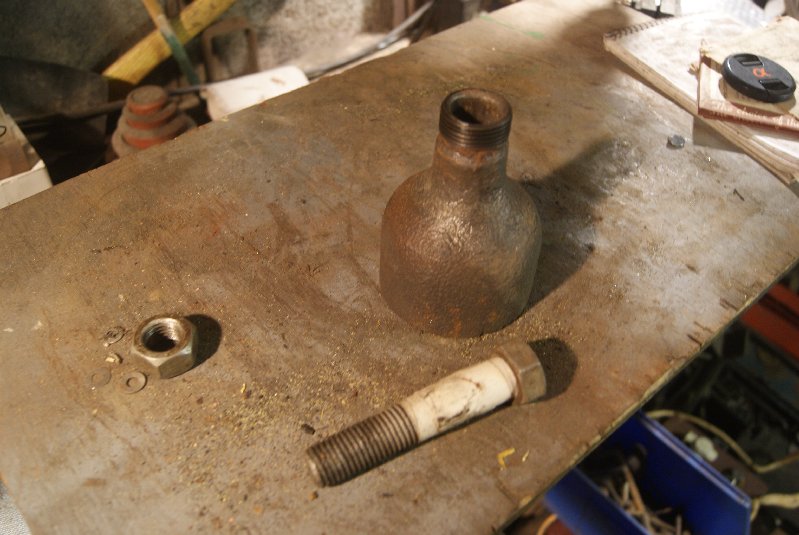
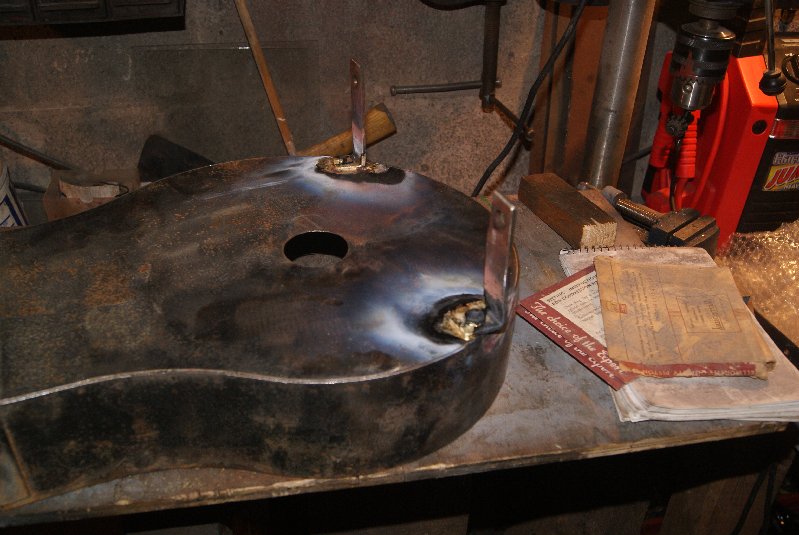
Another unusual feature of this engine is the inlet manifold that spans both the inlet and exhaust ports. The later JAP 5 engines had separate inlet and exhaust manifolds, but this one was to give me a headache because the cast iron “bottle” type exhaust was screwed into the manifold and trapped the bolt that holds the manifold to the barrel. The exhaust simply had to come out but it was rusted in through years of weathering,
Out came the brick acid again for a whole week’s worth of chemical soaking, then (just as Mrs. Geoff was moaning about the strange smell) I clamped the exhaust in the vice and gently tapped the manifold backwards and forwards with a hide mallet. Eventually it started to move after much persuasion, bearing in mind that it is made of cast iron and is therefore as brittle as a Toffee Crisp. Surprisingly the thread was like new when completely unscrewed, so I will be able to turn the outer edge on the lathe and make another closure plate and retaining ring to restore it’s originality.
Enhjoy the photo’s, more to come soon.
Attachments:
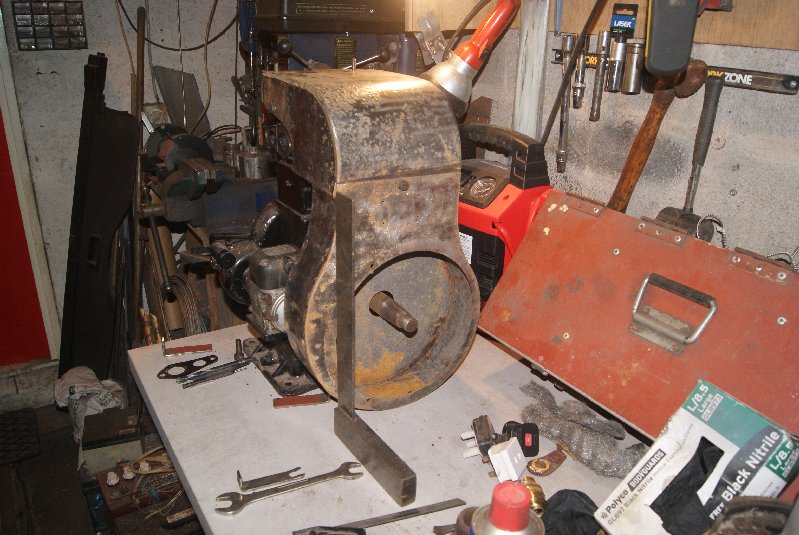
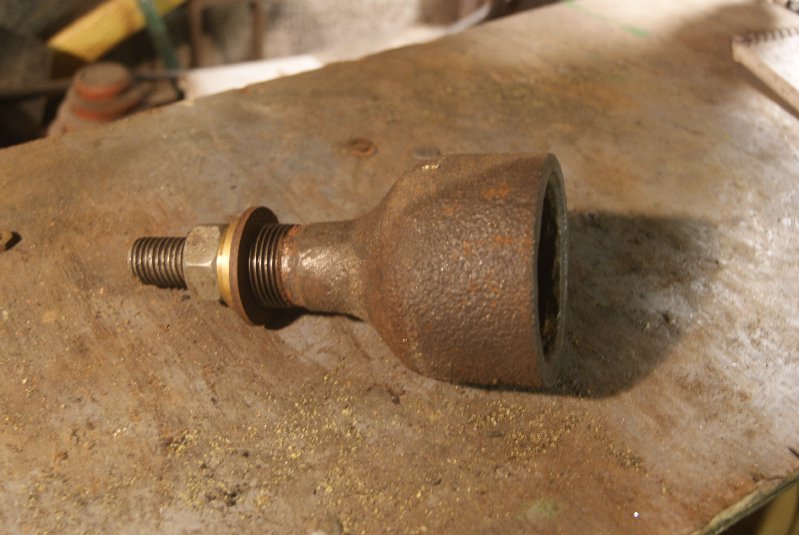
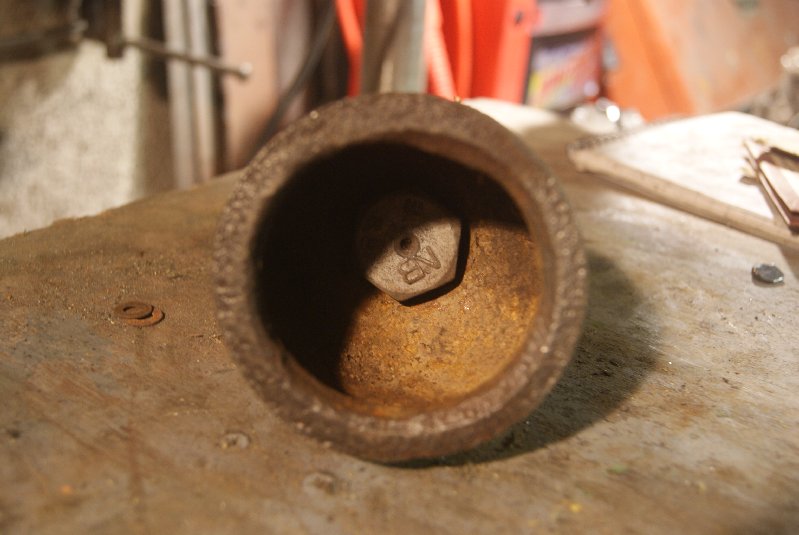
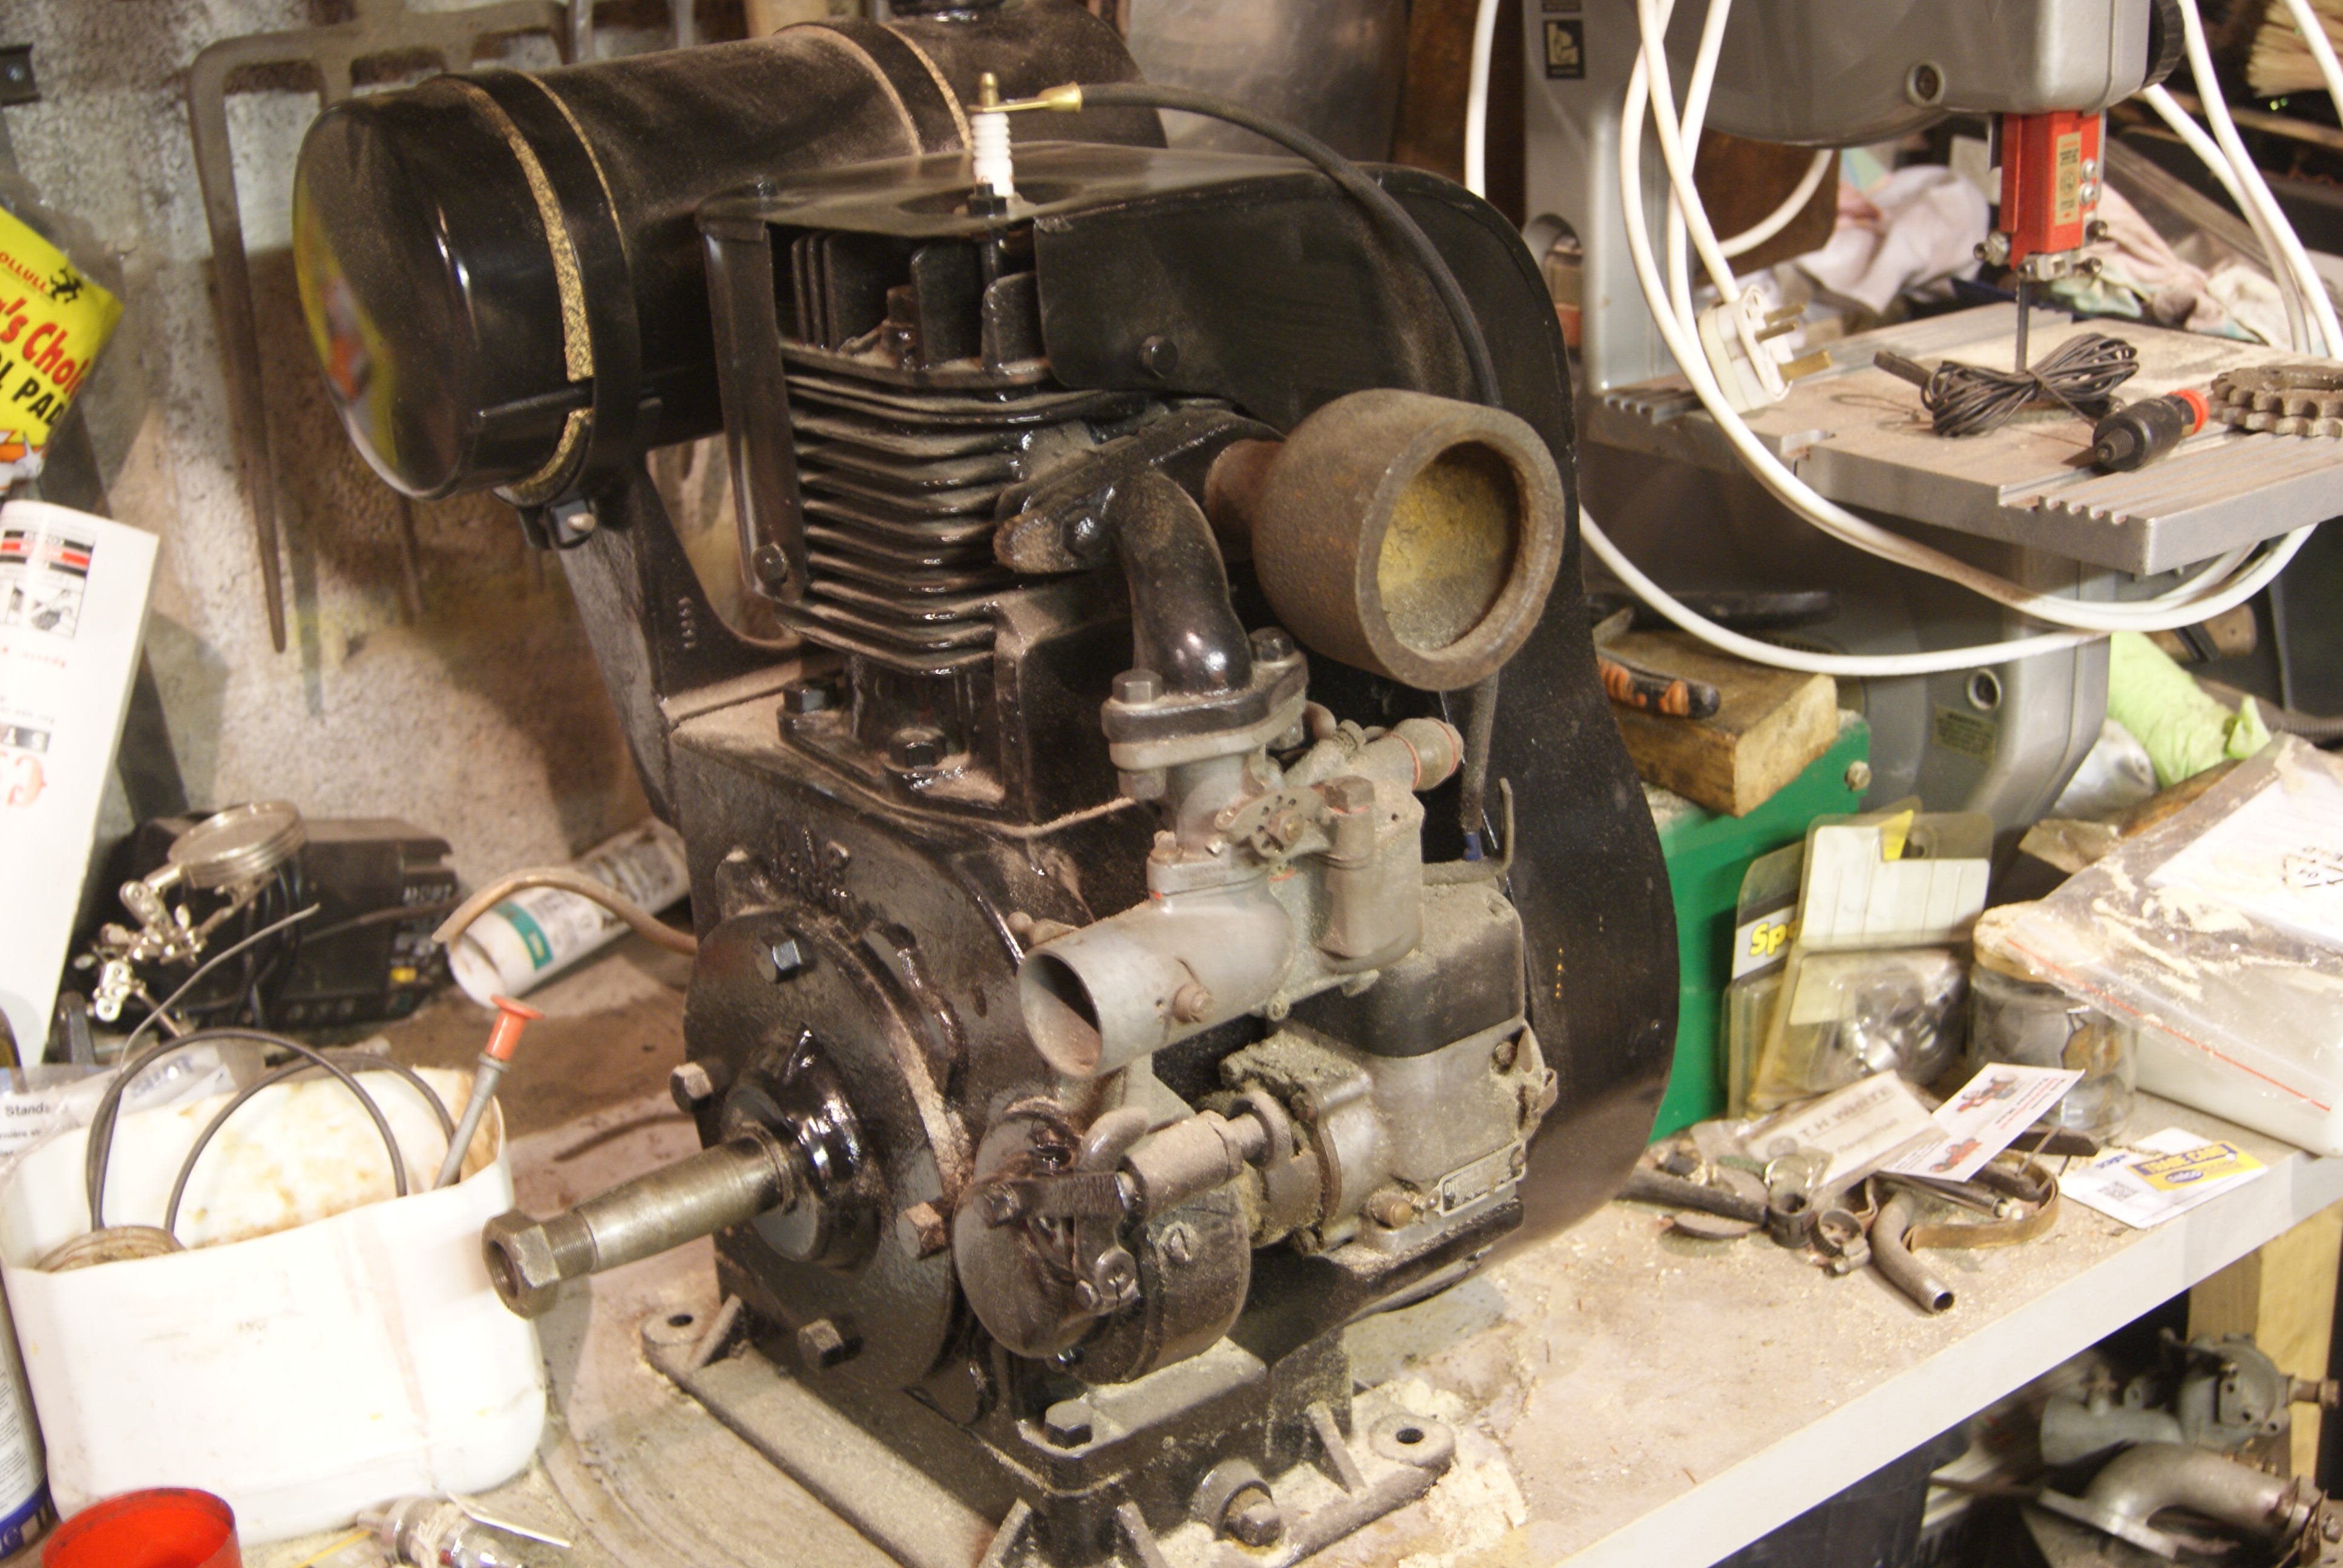
February 3, 2019 at 4:47 pm #30261trusty220KeymasterIt’s been a bit cold for the workshop recently, but I braved the cold to do a little more today. The exhaust I have mounted on a rather large bolt so that I can turn the end flat and true. The intention is to make a ring to go on the outside with a small lip on the inside edge that will hold some pierced steel sheet; the ring is held on with three or four small screws. At least it will look like a new one then.
The feet have been brazed back onto the cowling and the whole lot tidied up including a small amount of panel beating. Next step will be etch primer then a thin smear of P38 to fill the craters that the rust left behind, then a top coat of gloss black. At least, that’s when the weather warms up a bit!
Attachments:
April 17, 2020 at 3:16 pm #33857trusty220KeymasterHello, All,
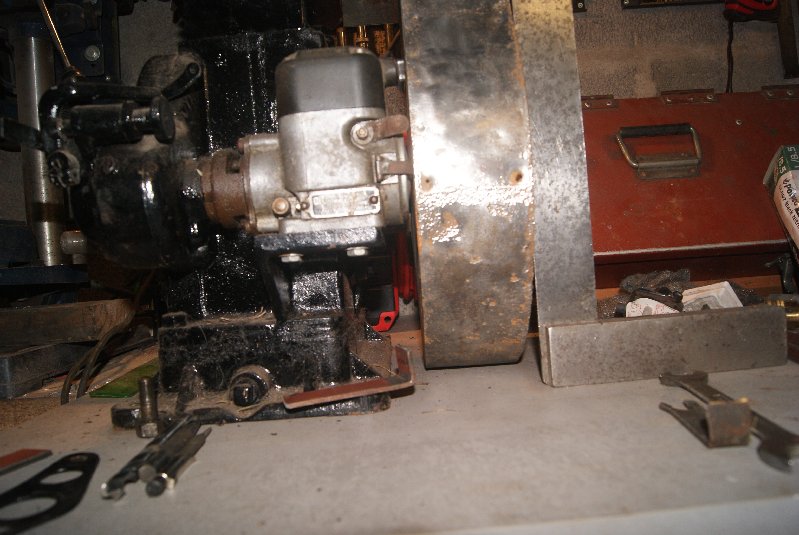
I’m just kick-starting this project for the fourth time. Let’s hope that I can see it through to the finish this time without anything going wrong!
Here are a few photo’s to be getting along with so you can see how far I’ve got since the last time I posted.
Attachments:
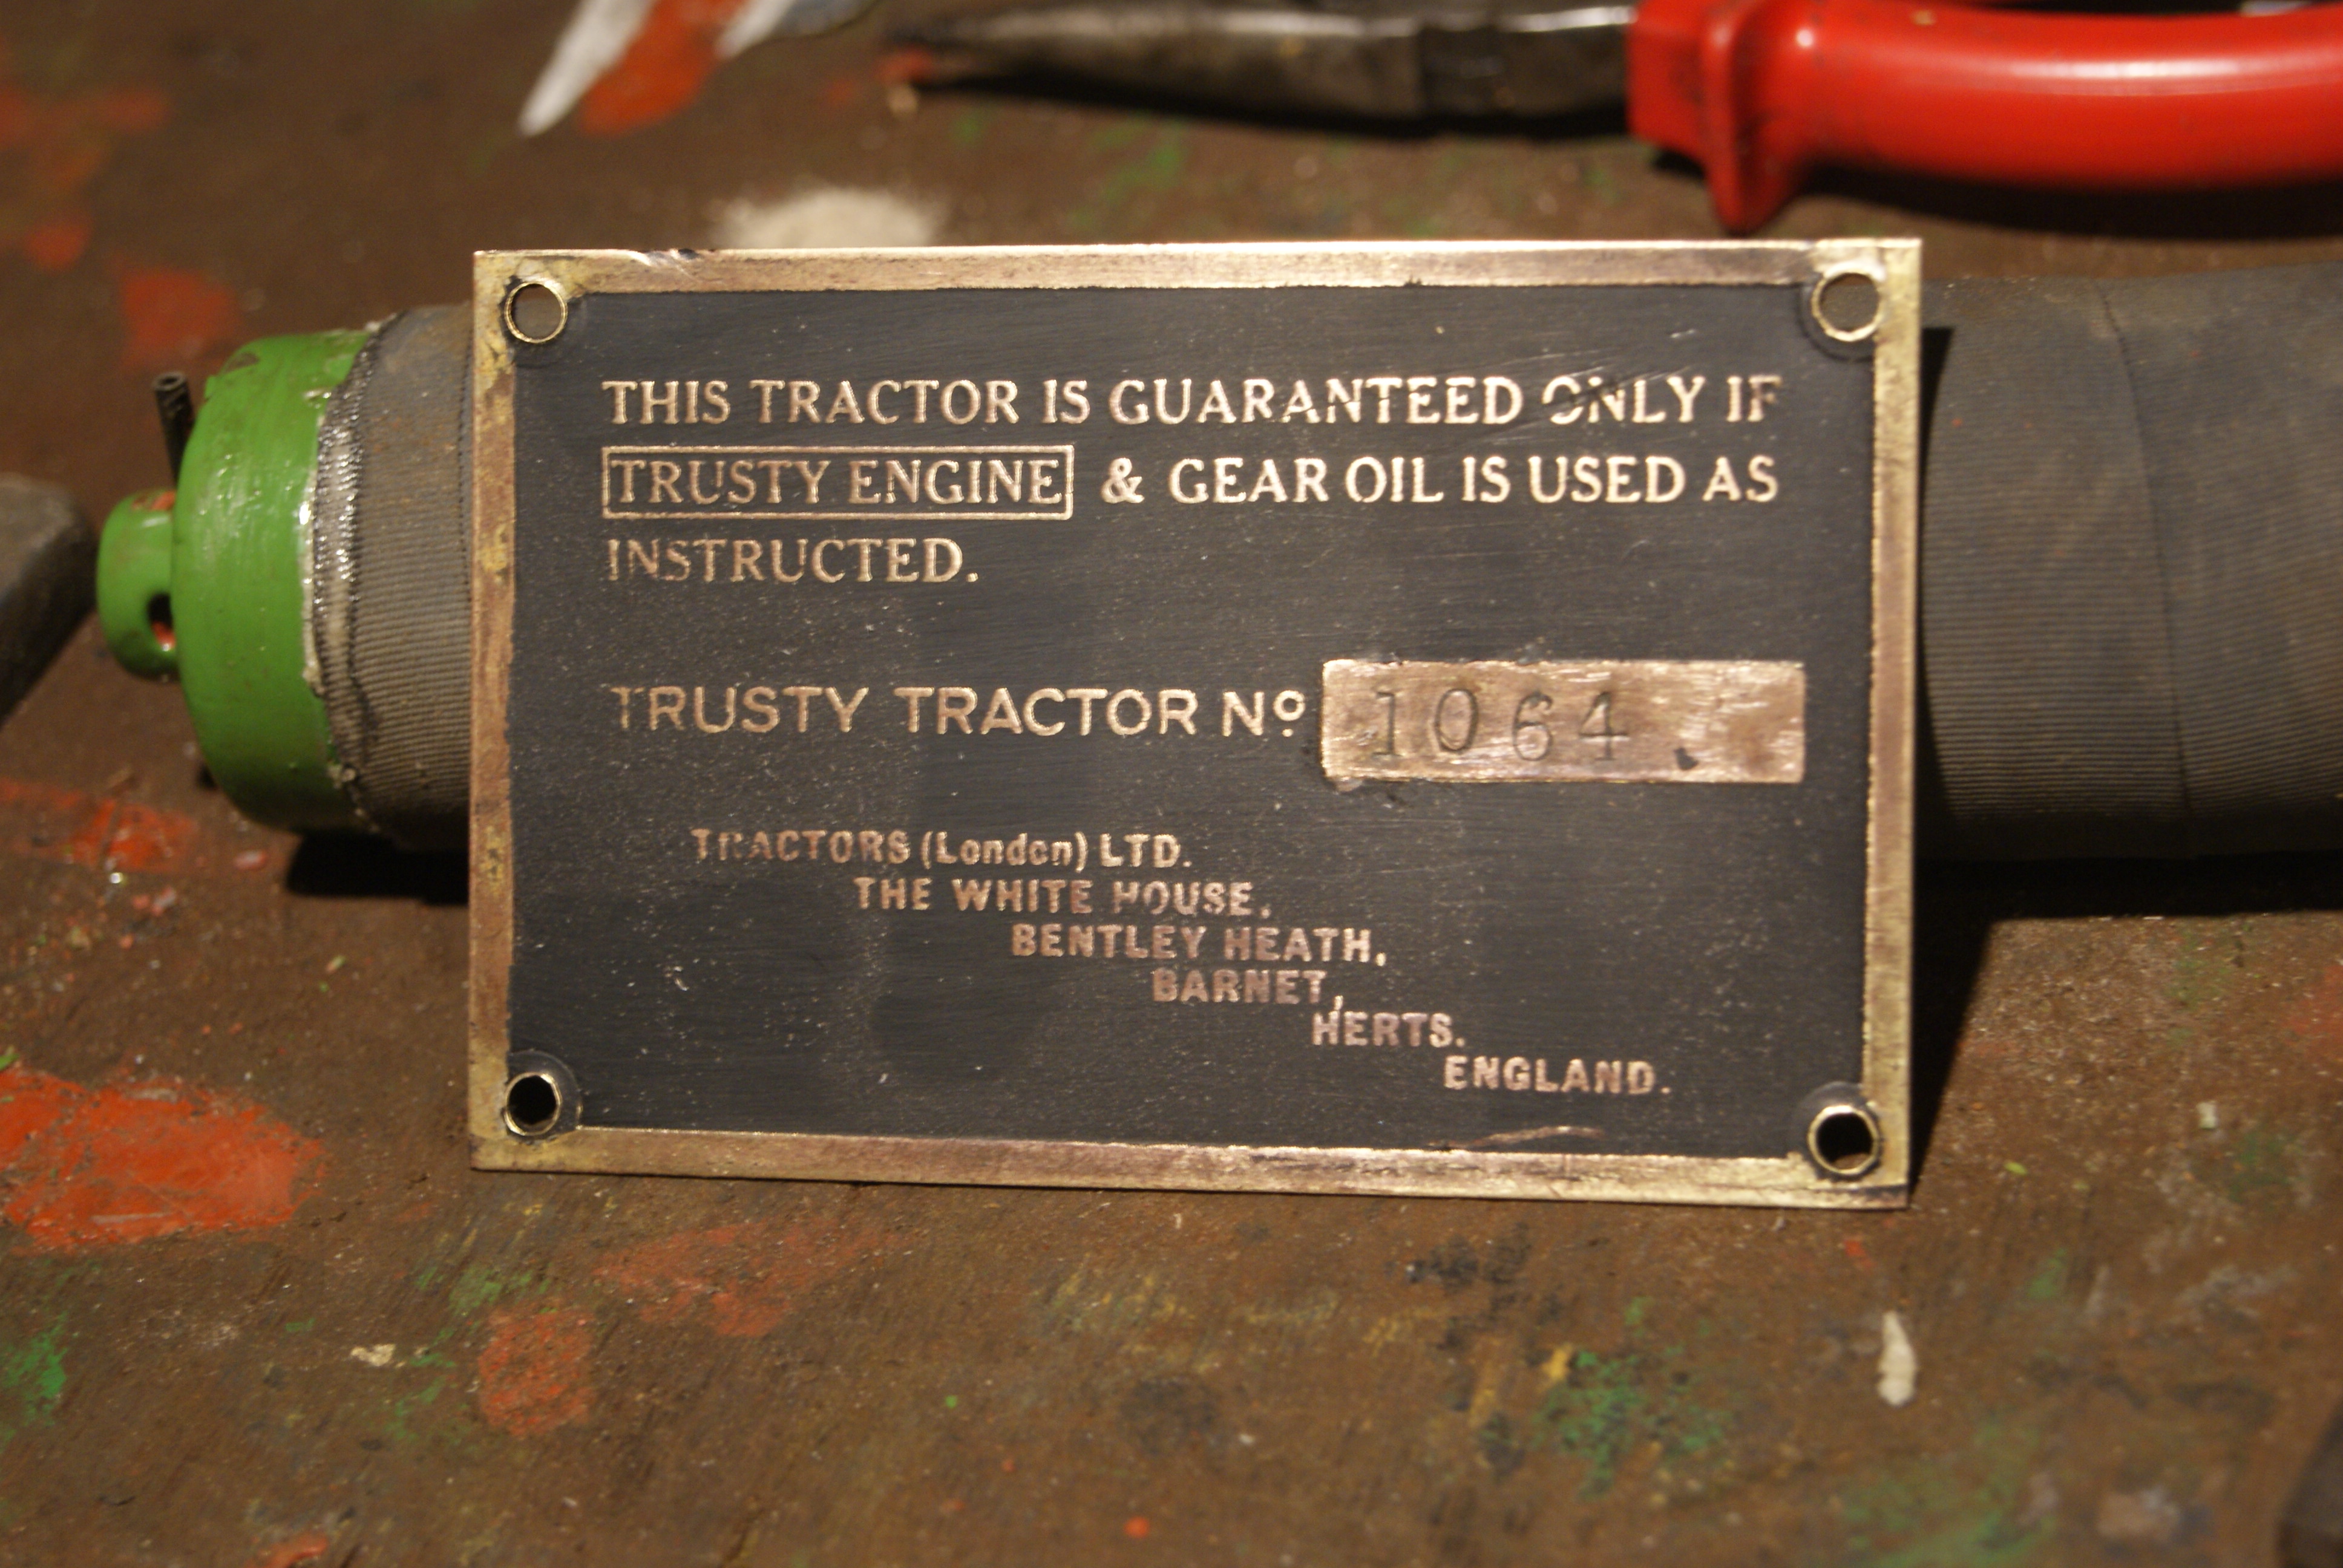
April 17, 2020 at 5:23 pm #33866trusty220KeymasterExperimenting over Christmas I came across a great way of restoring serial number plates. You can see the result in the previous post; if I’m being brutally honest it should be chrome plate for the letters and border with a gloss black background, but with all of the chrome gone I thought it looked just as good with brass coloured letters. Either way, it’s better than a polished brass plate I thought!
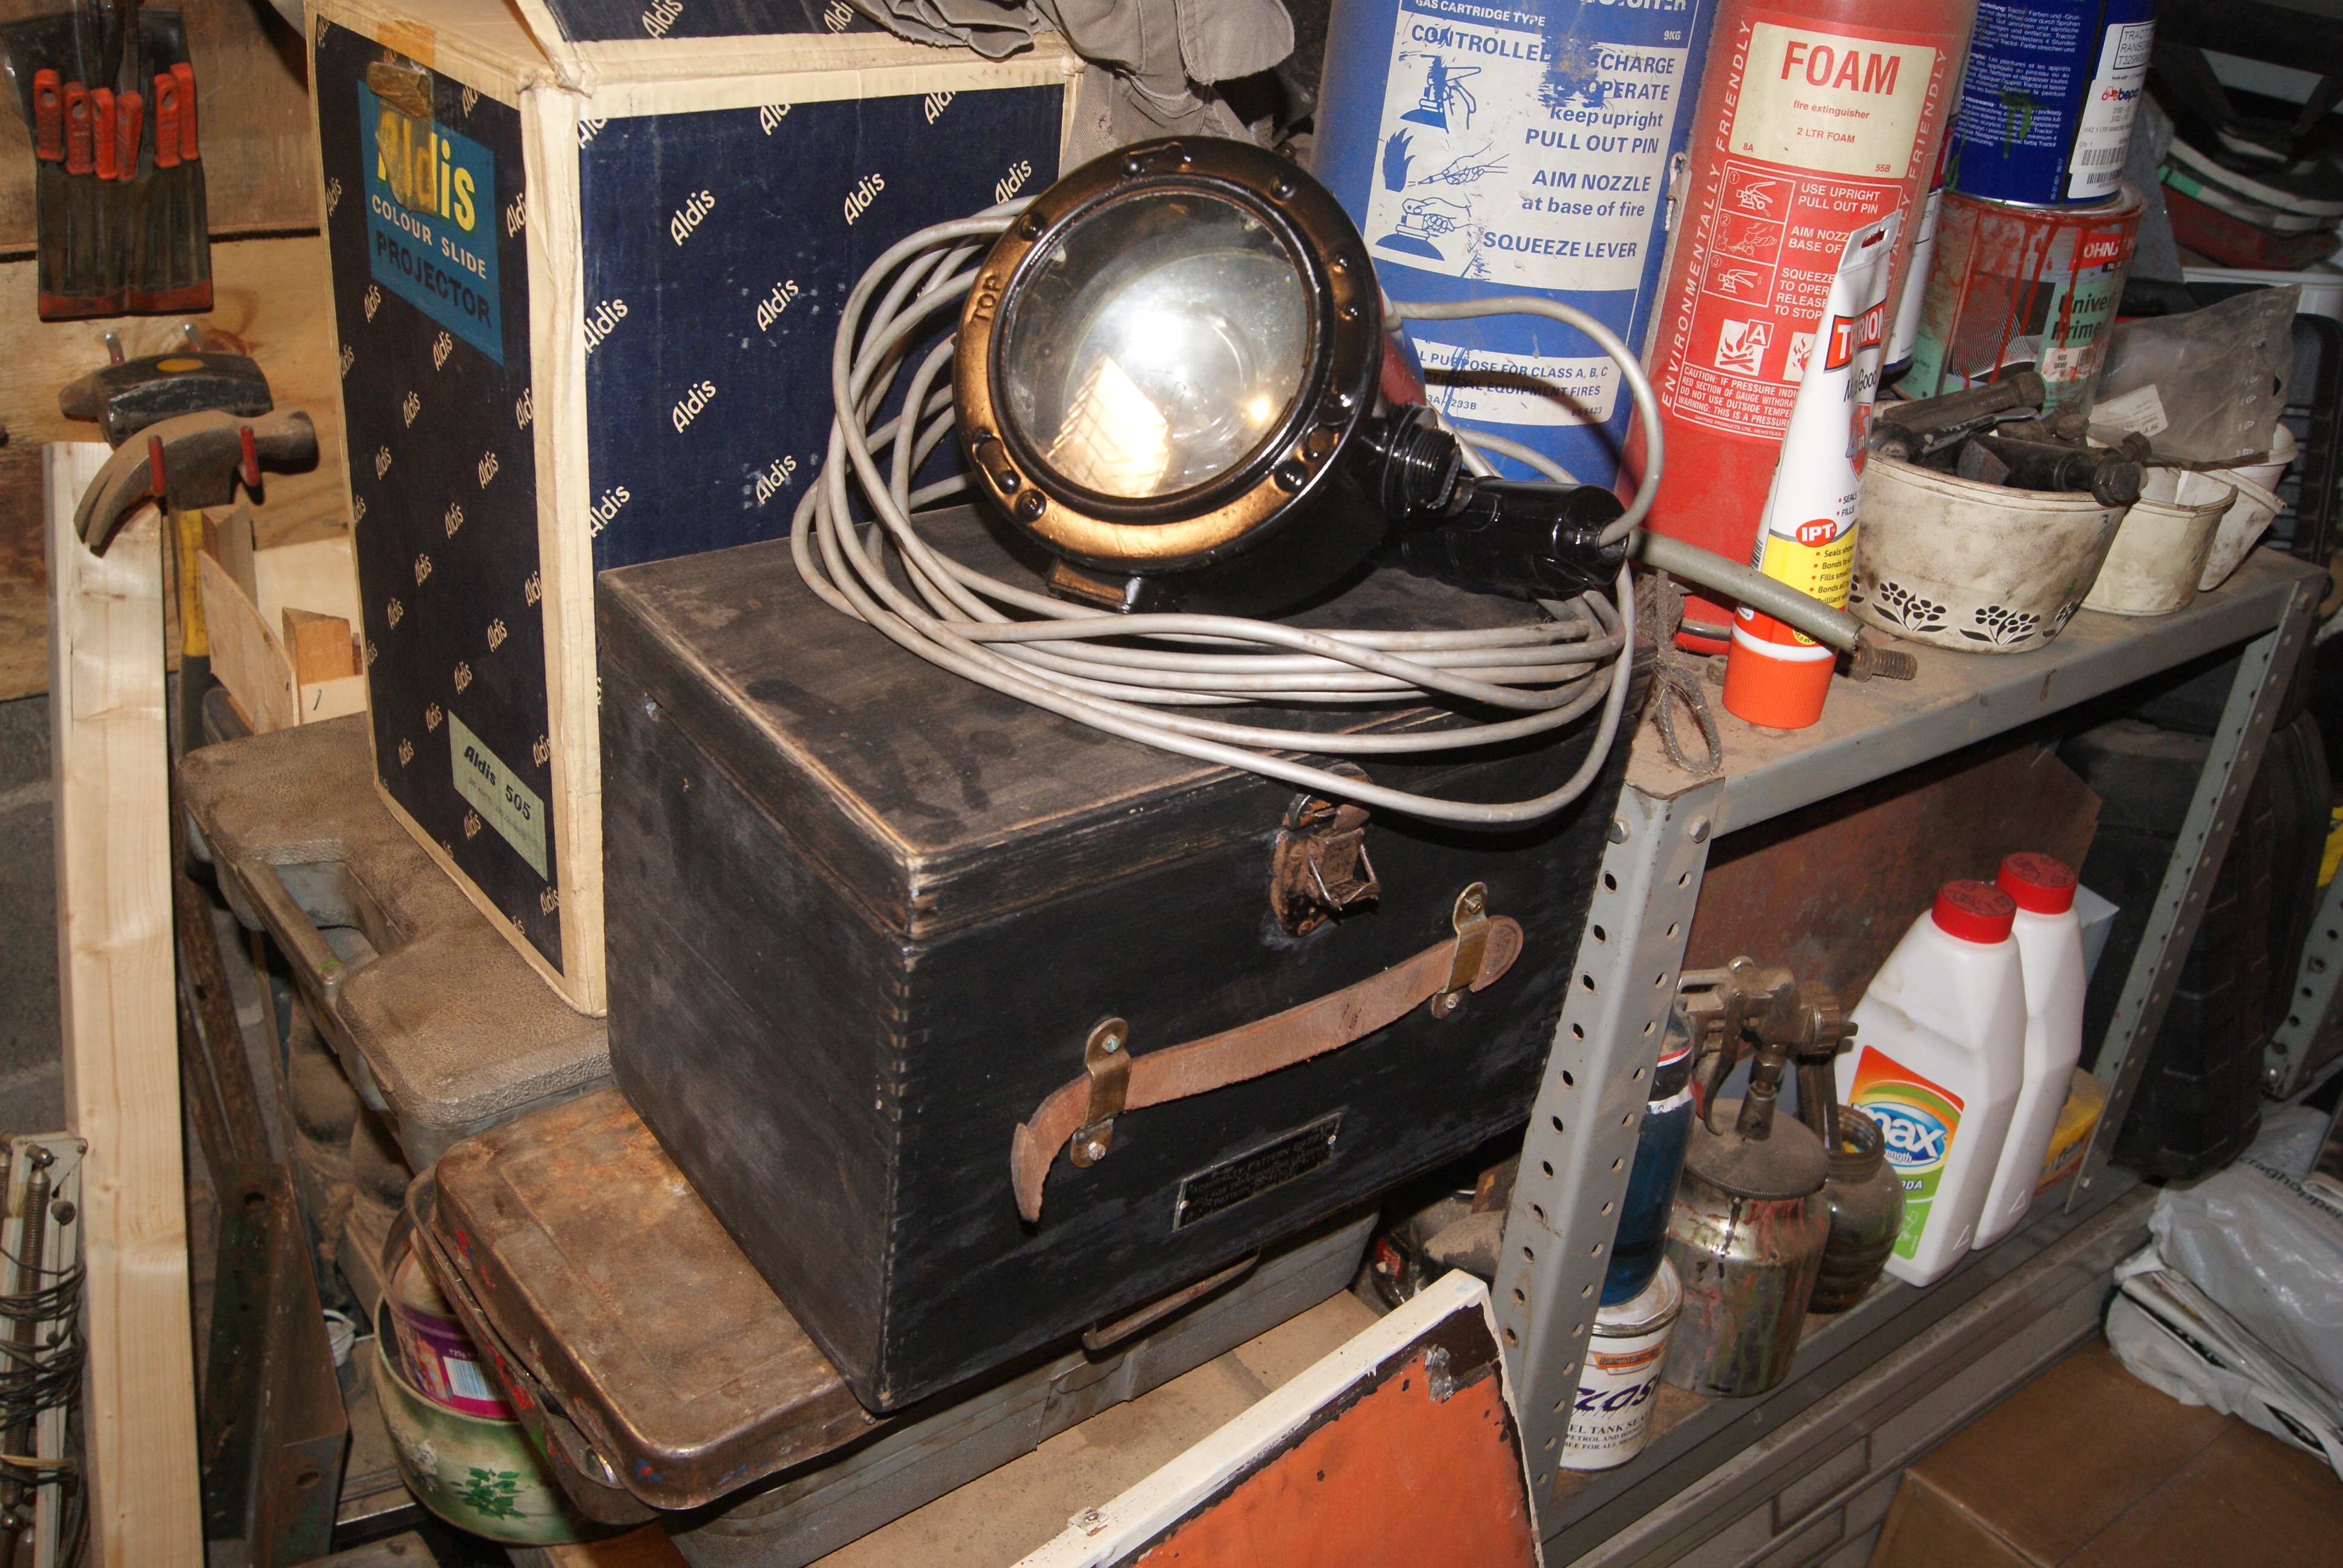
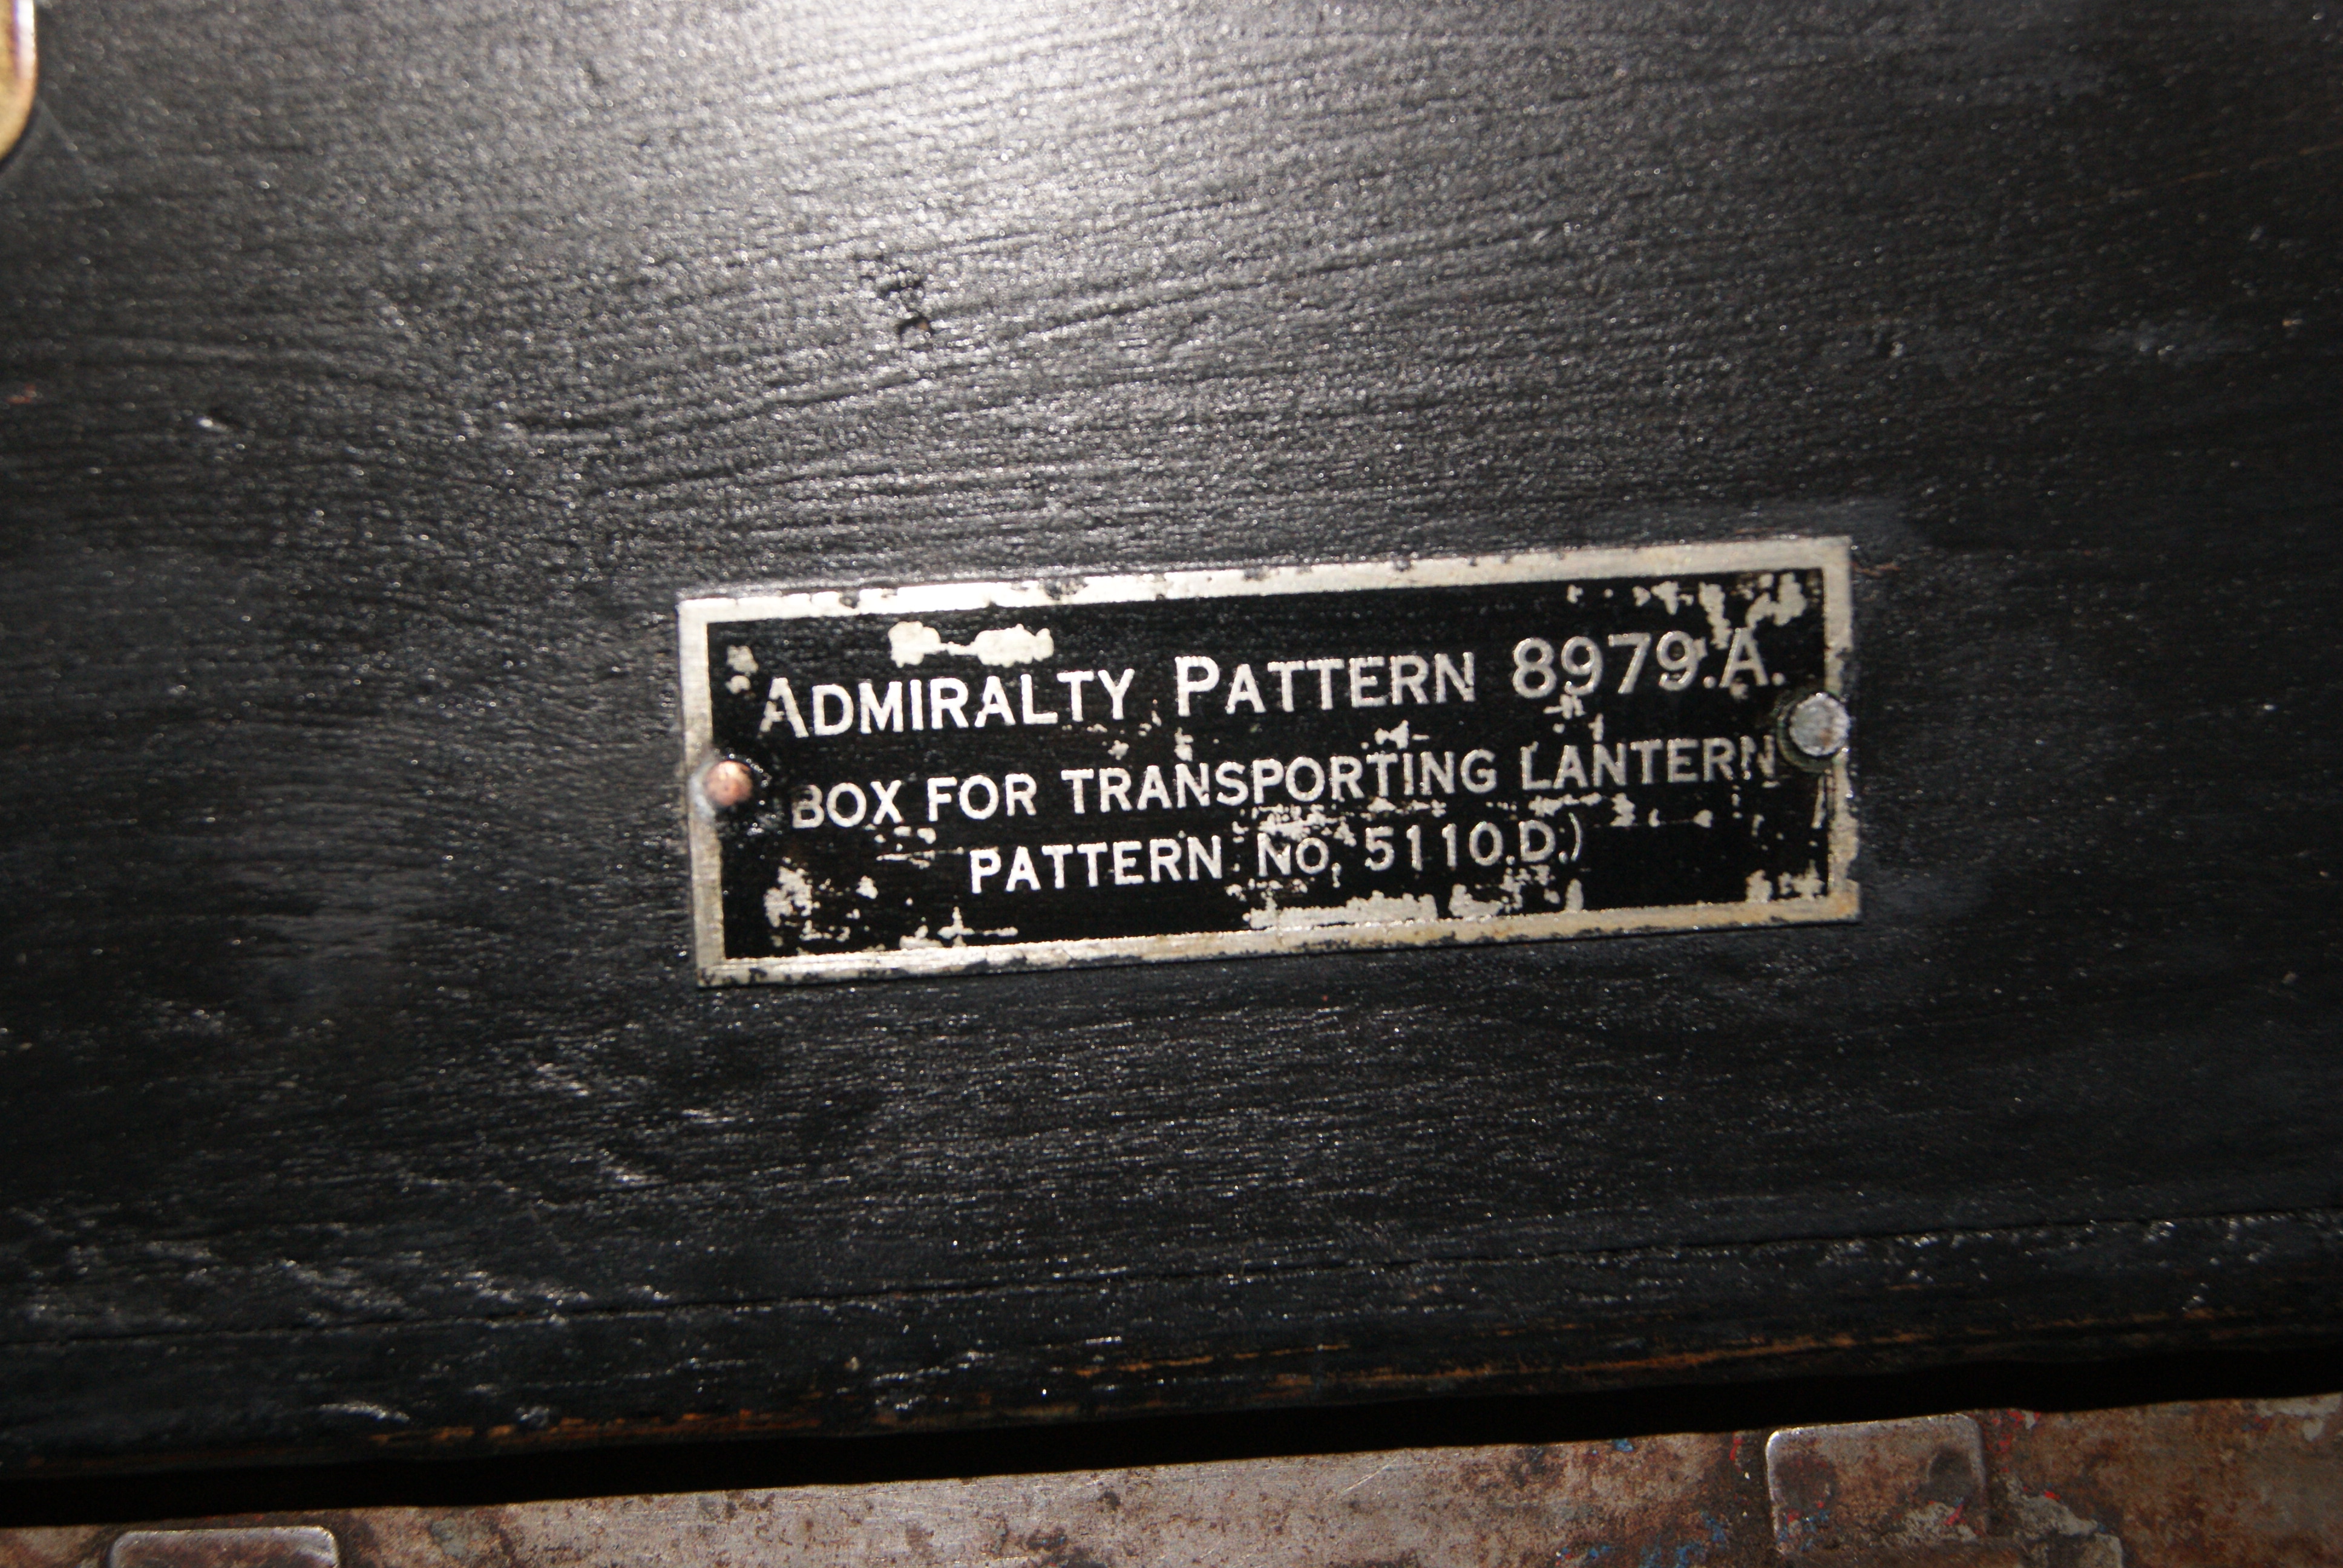
The story started when I was clearing out my late mother’s house about twelve months ago. In the loft I came across an old wooden box that me and my brothers had all played with as kids and we had kept wooden building blocks in it. On the front it had an Admiralty plate and it looked military-ish, so I did a bit of digging and it turns out it was used for storing an Aldis sognalling lamp in- that took me back to my gliding course at RAF St Athan when we used one to signal the winch drivers. I just had to have a lamp to put in it!
Restoring the box was easy- I had to replace one side and reproduce the combed joins at the corners, but when it came to the plate on the front I was in new territory. Taking it off I cleaned it up and gave it two coats of gloss black. Screwing it down to the workbench I then rubbed it over with fine steel wool and the letters shone through silver leaving the black background intact. Sorted!
Sometimes you can rub too hard and go through the black paint, but if that happens all you do is put more paint on and wait for it to dry. Simples!
Attachments:
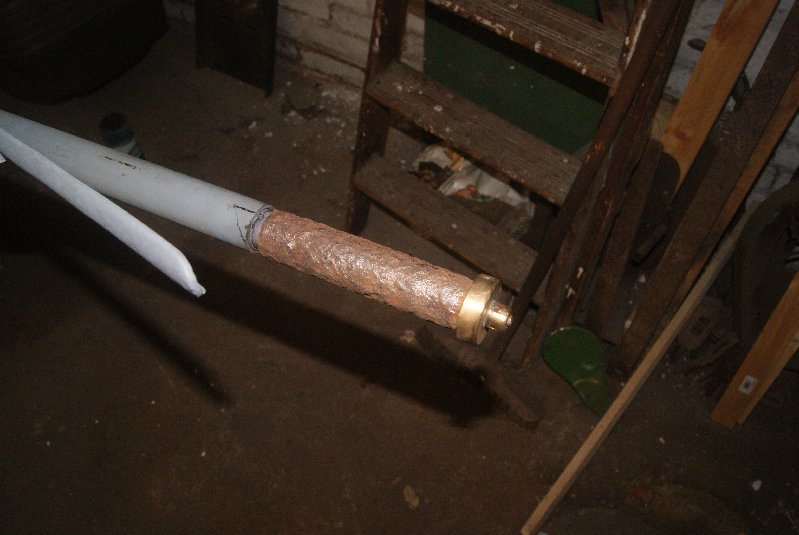
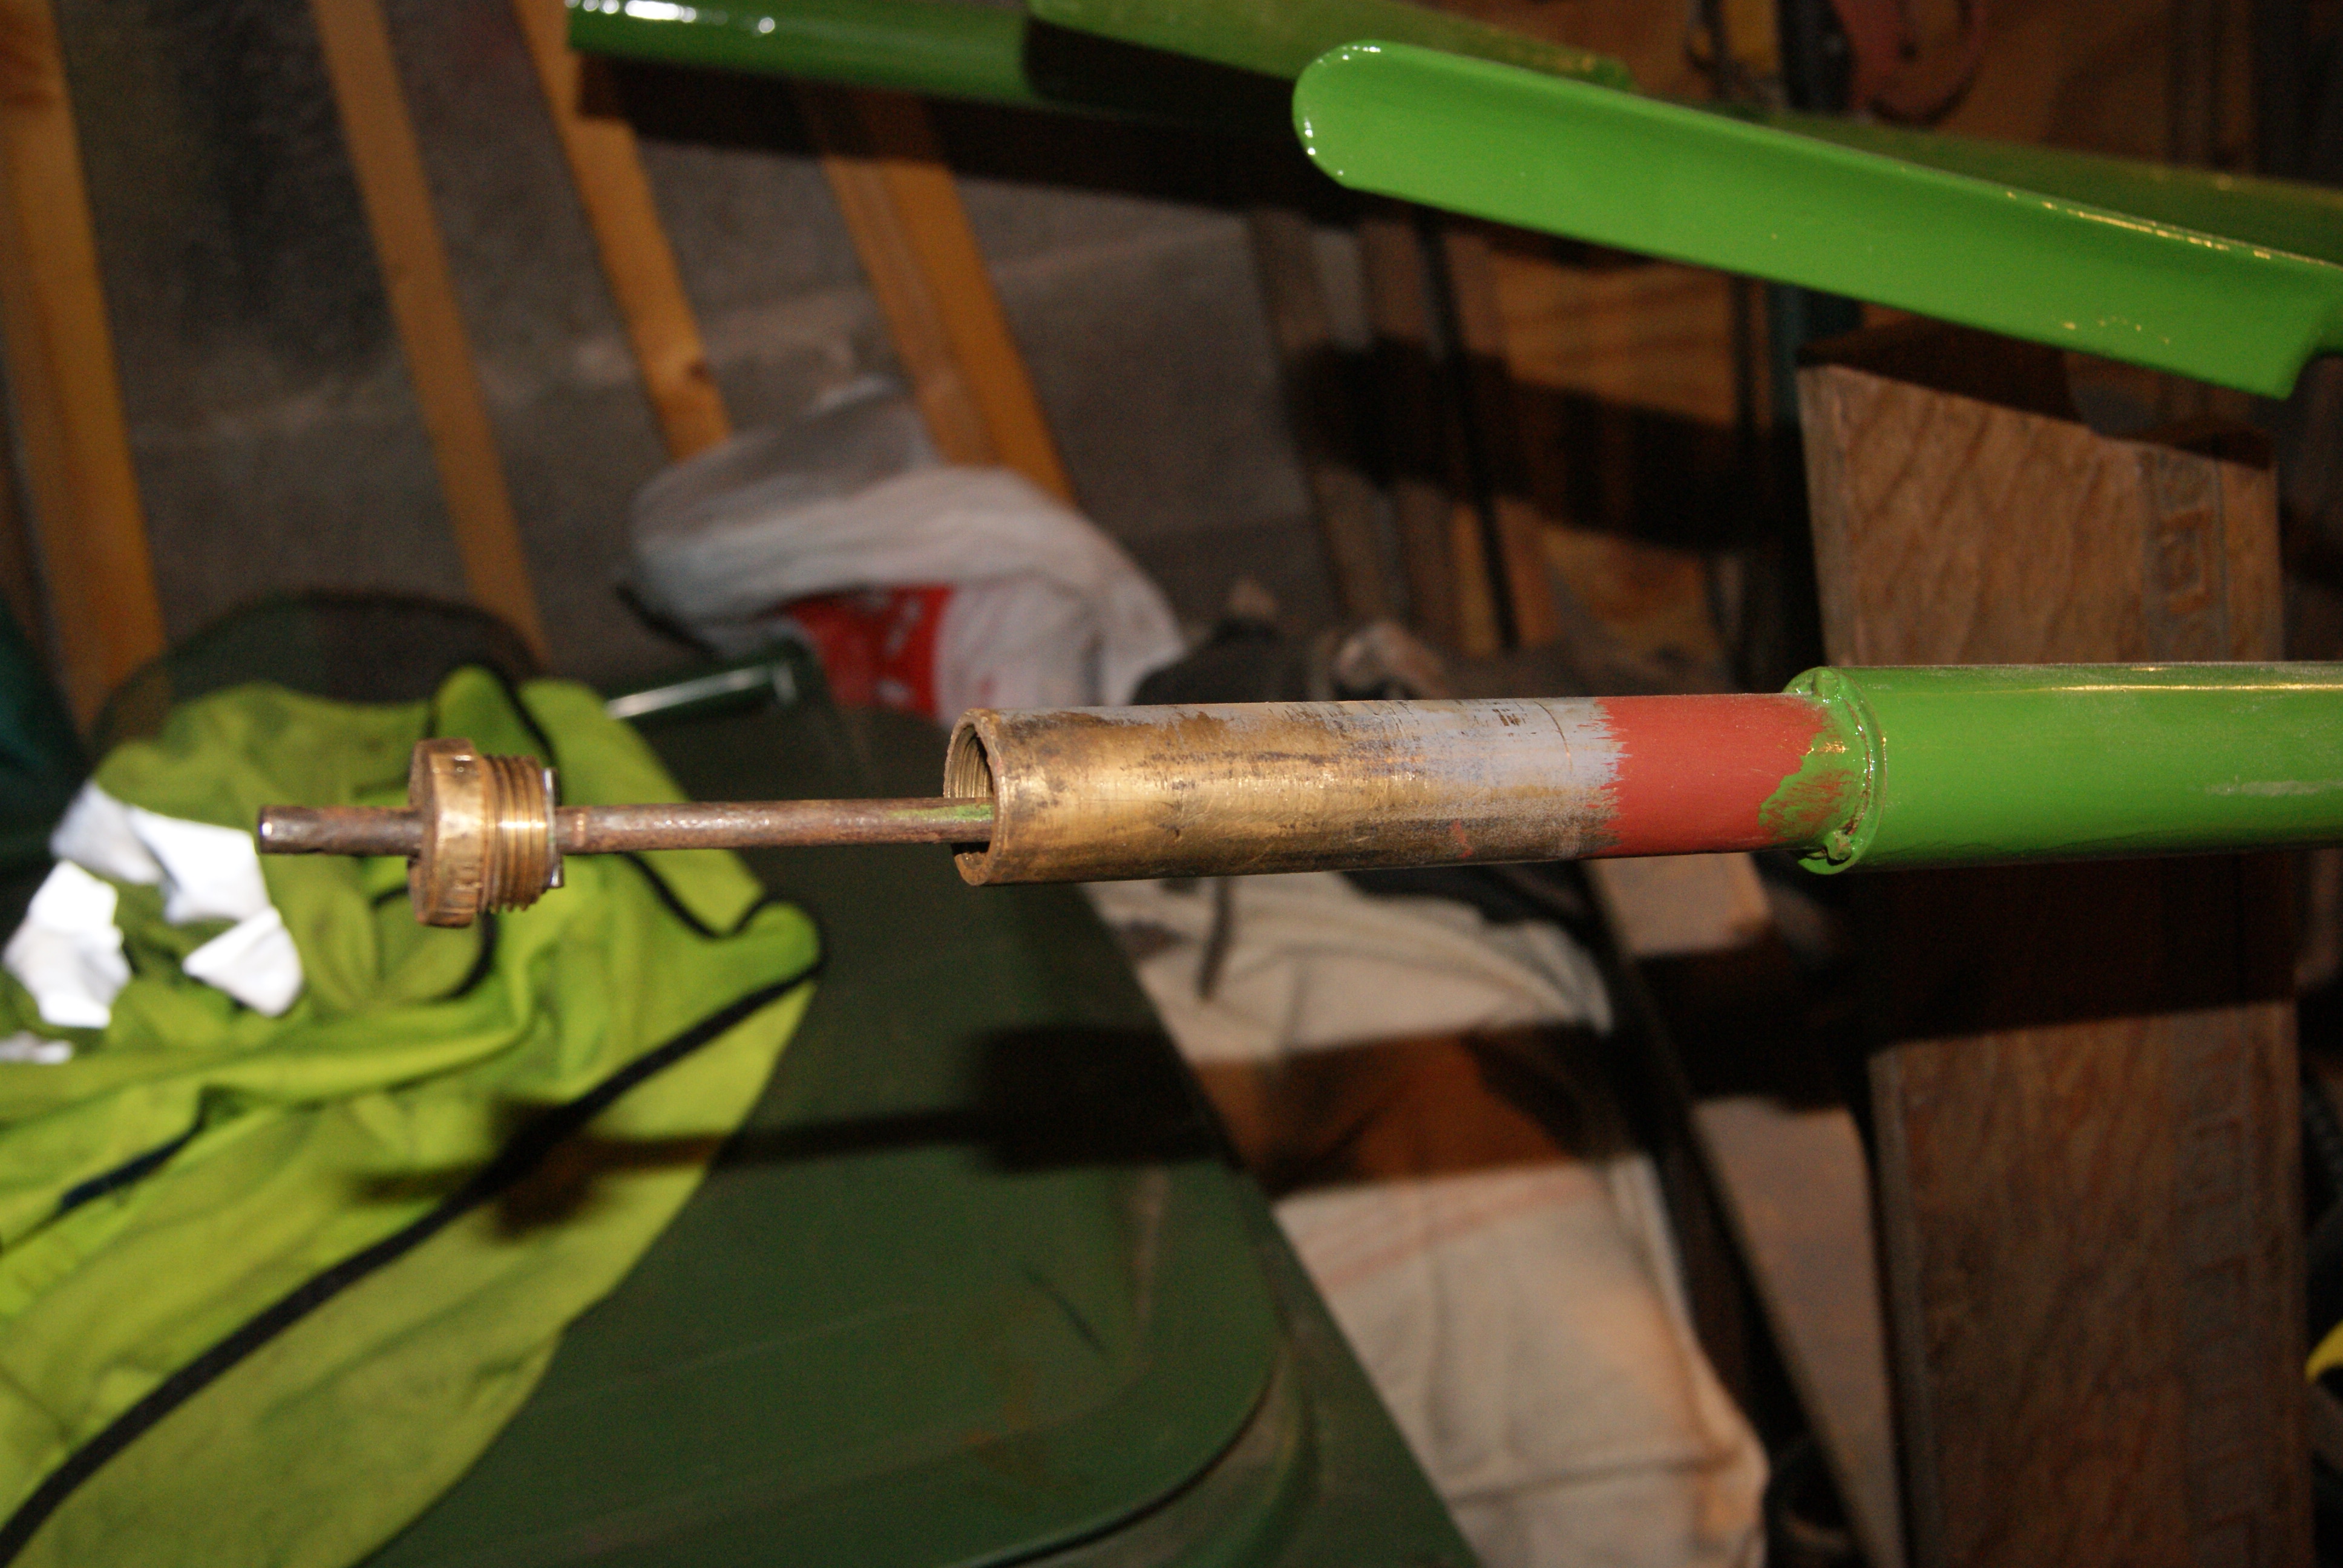
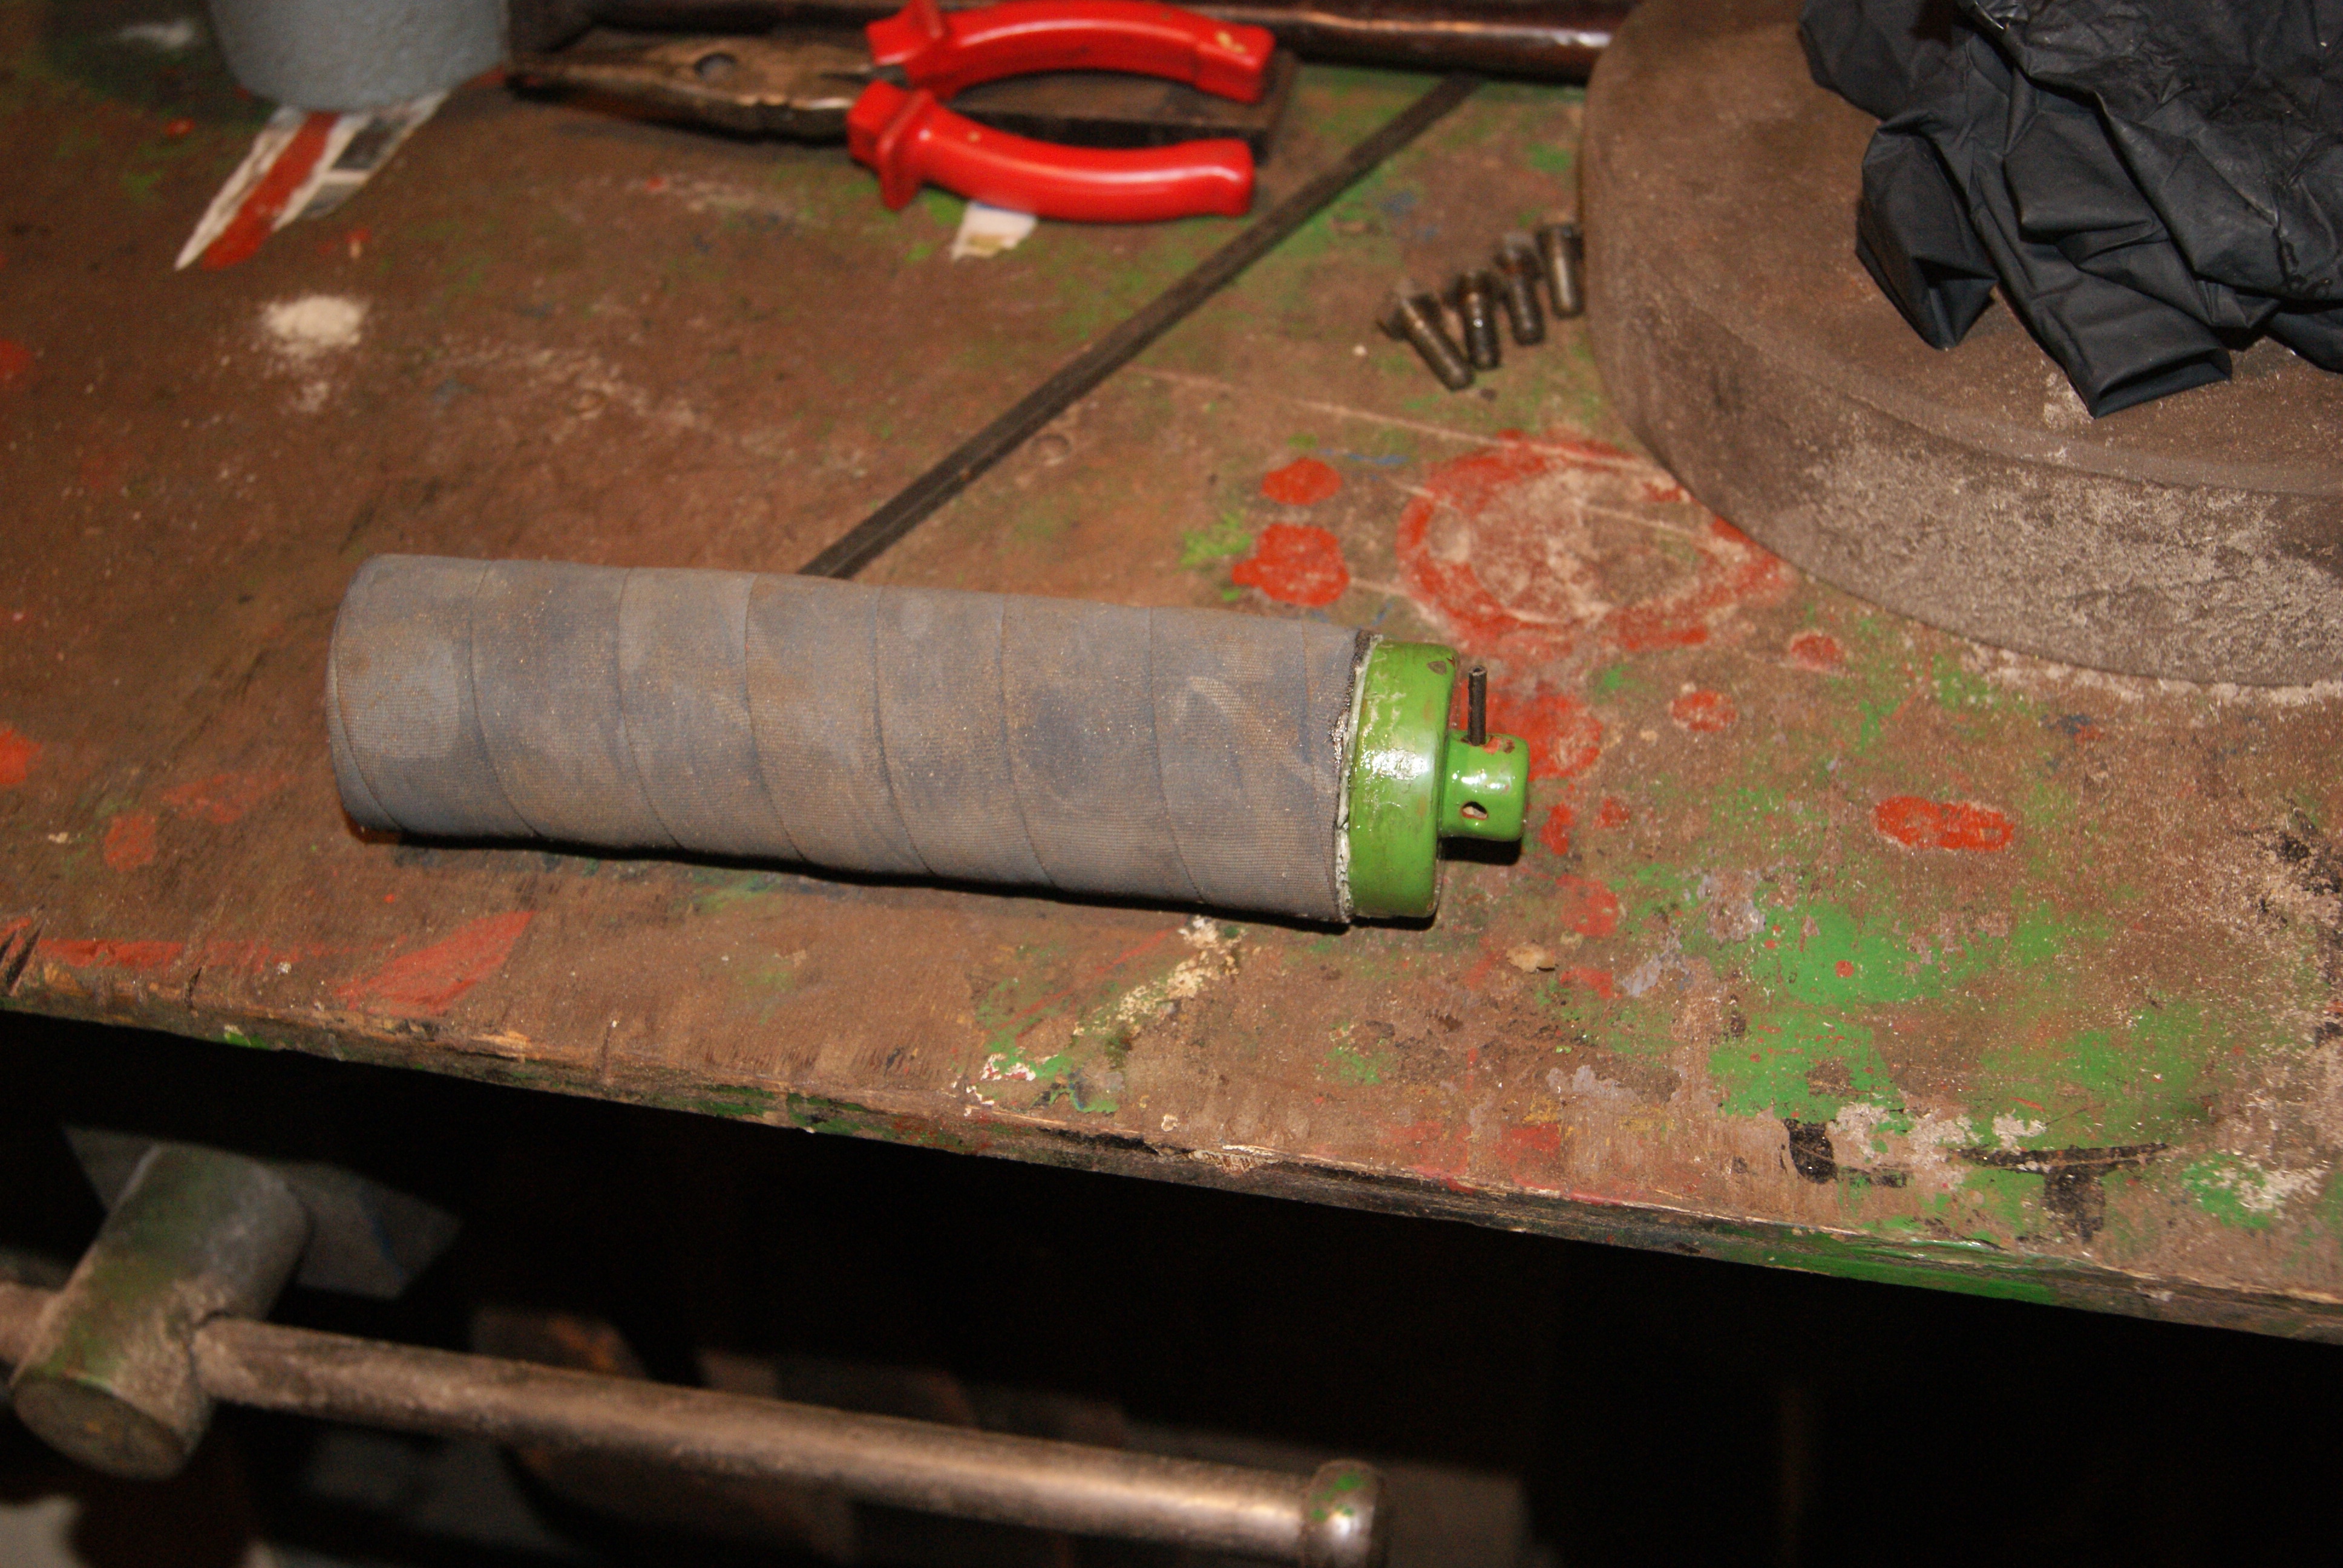
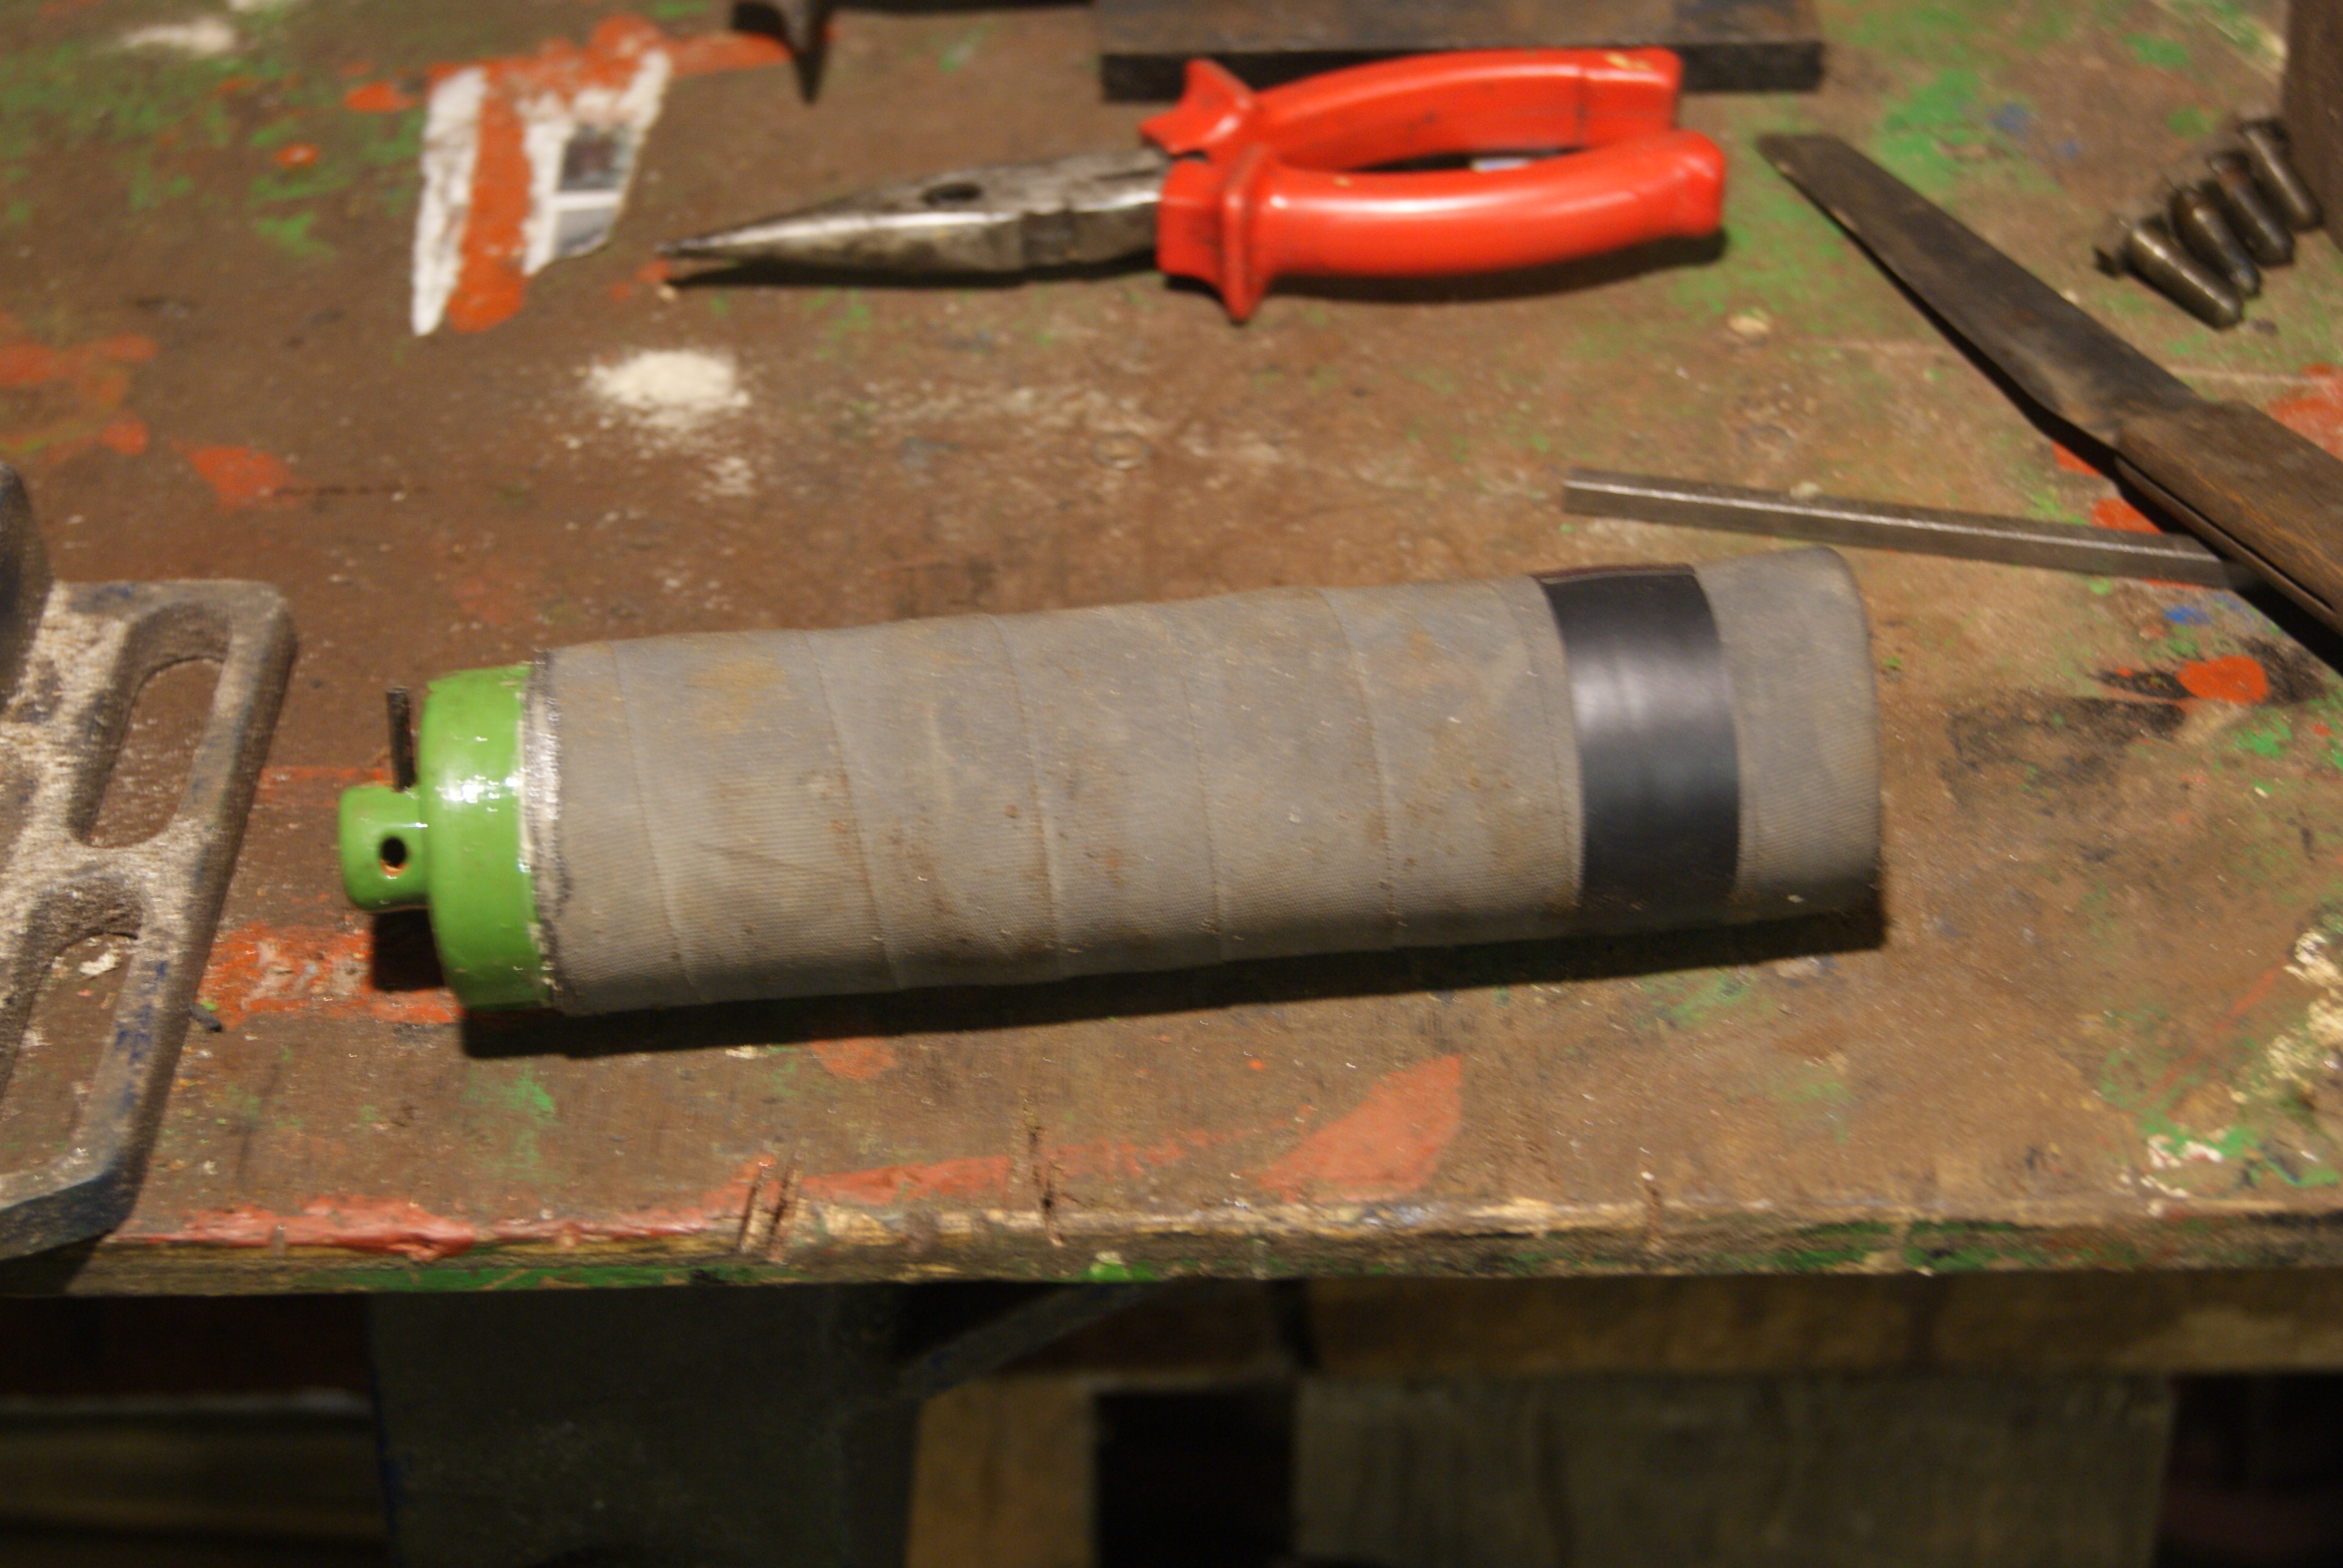
April 17, 2020 at 5:38 pm #33870trusty220KeymasterThe throttle control on this early model is quite well engineered in comparison with the later tractors. It was probably discotinued because it used up too much raw material as well as production time, but it deserves a mention here just in case any of you come across anything like it and don’t know how it works (or comes apart).
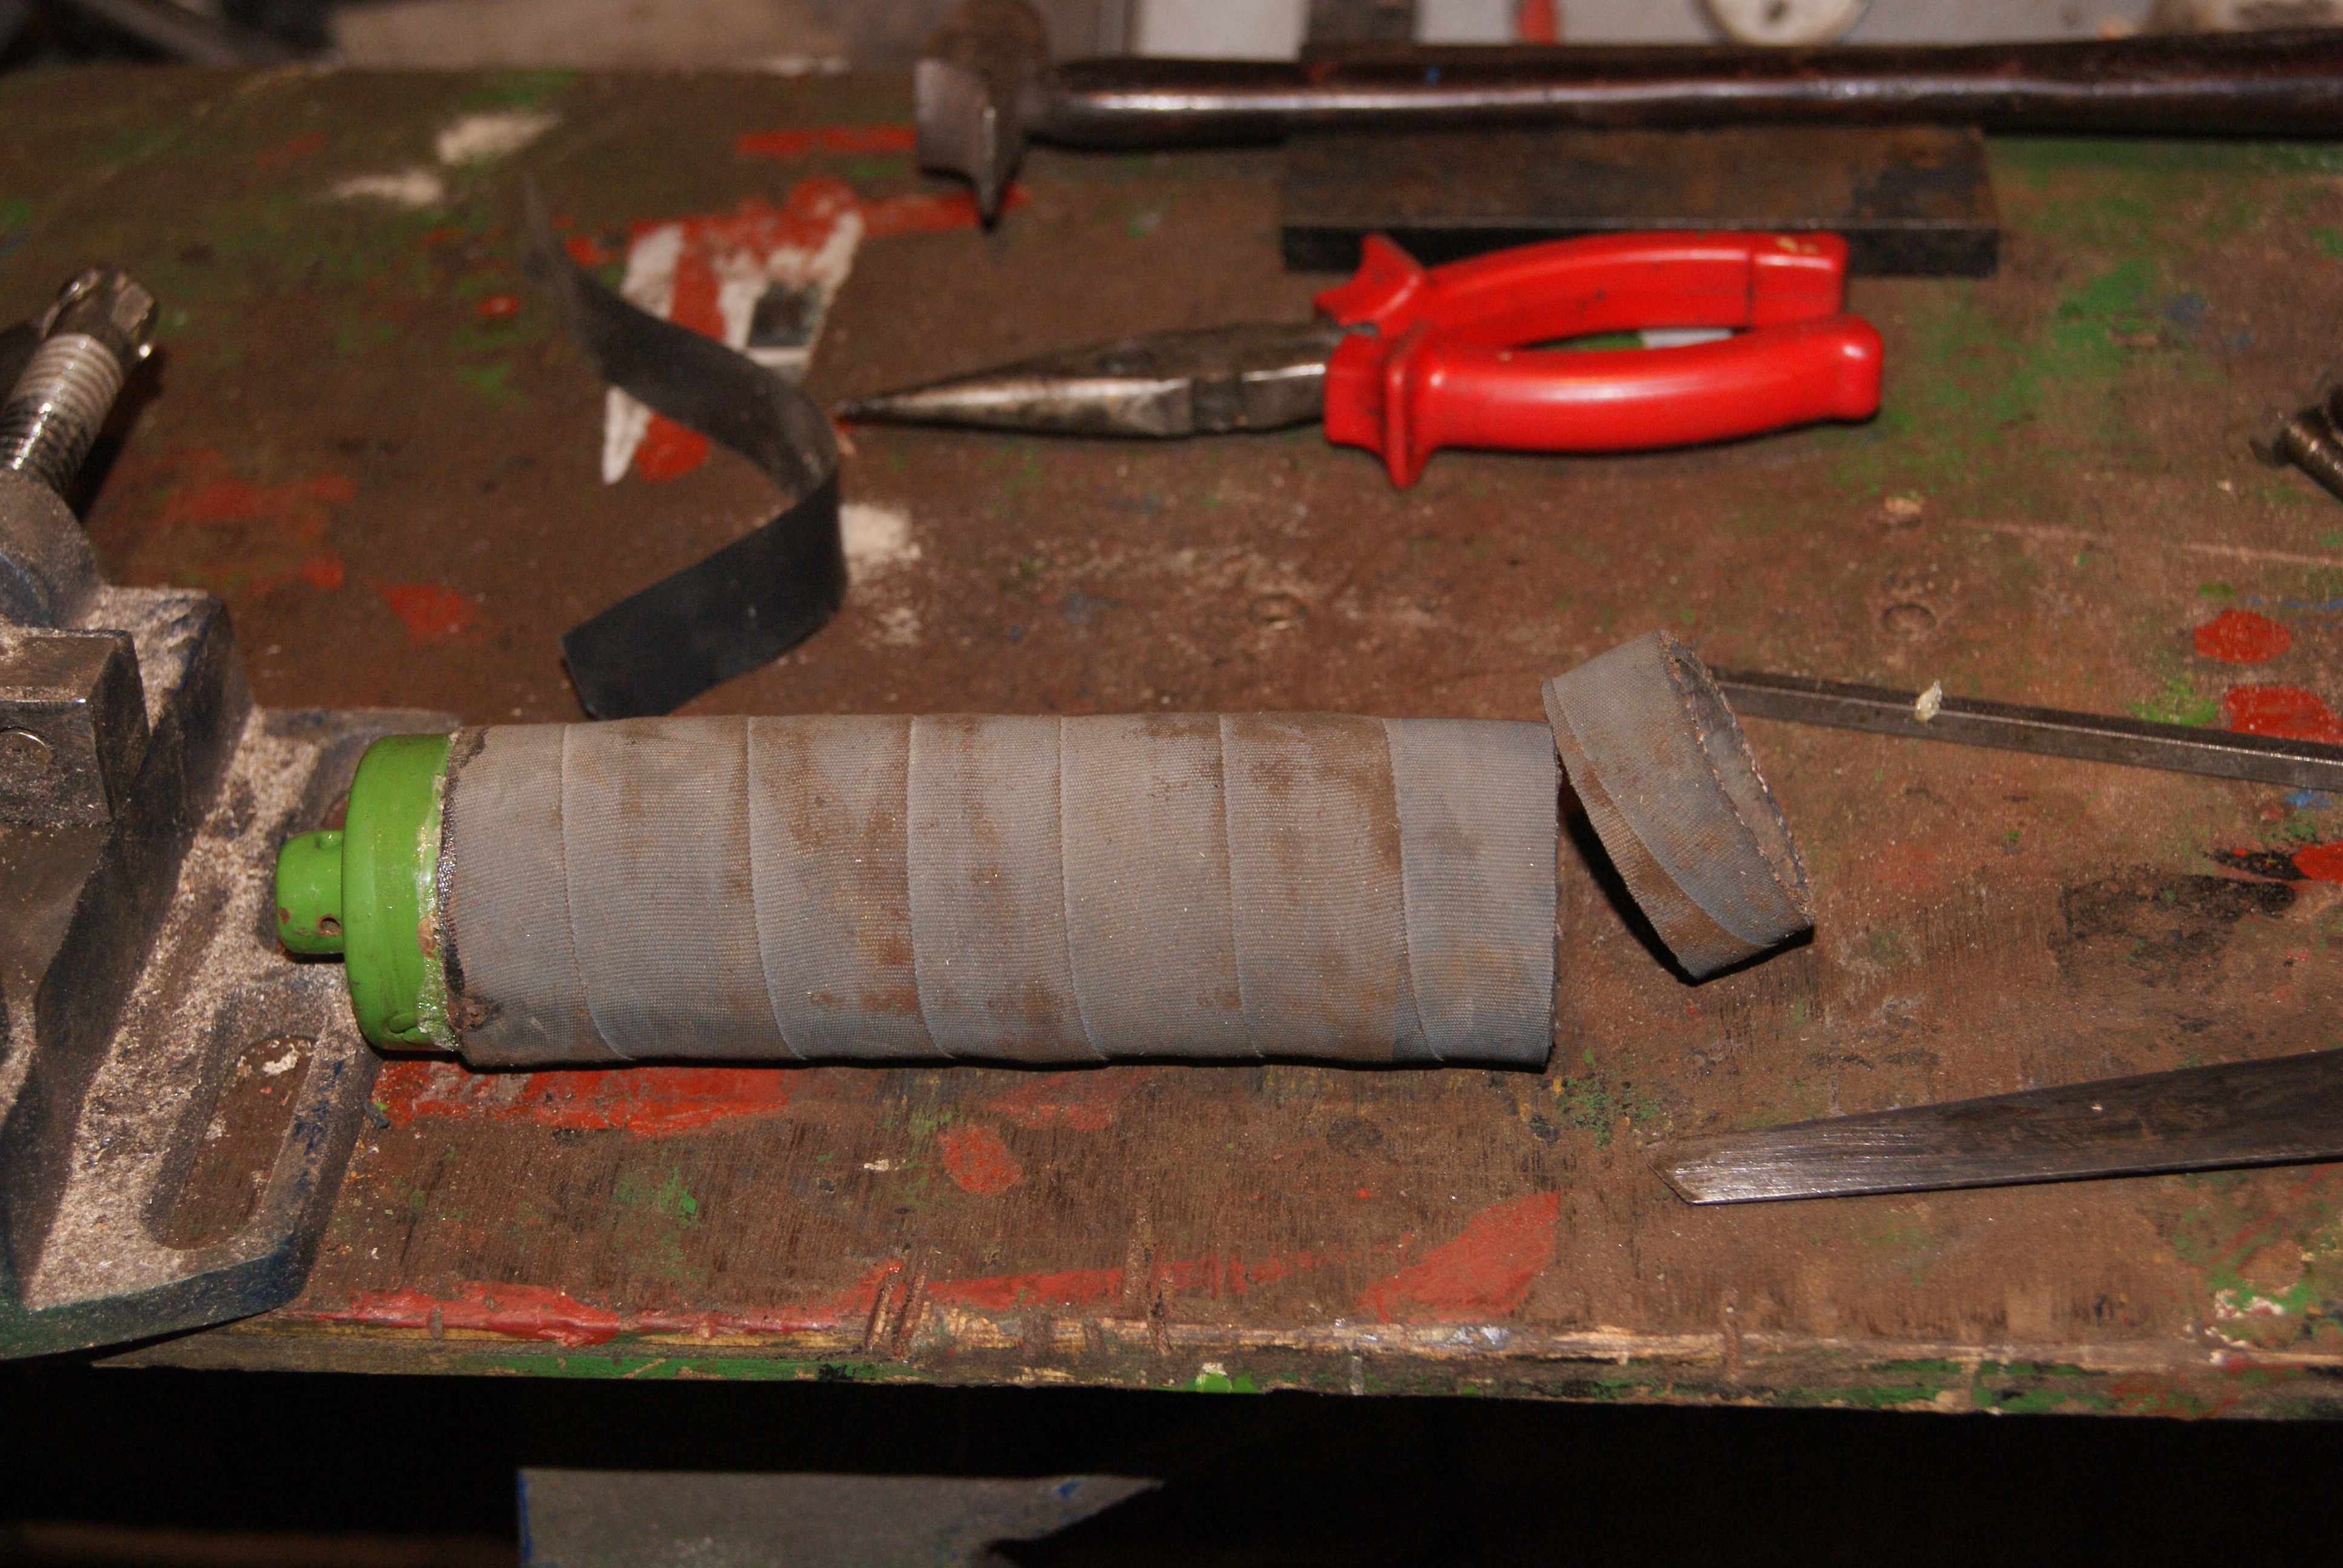
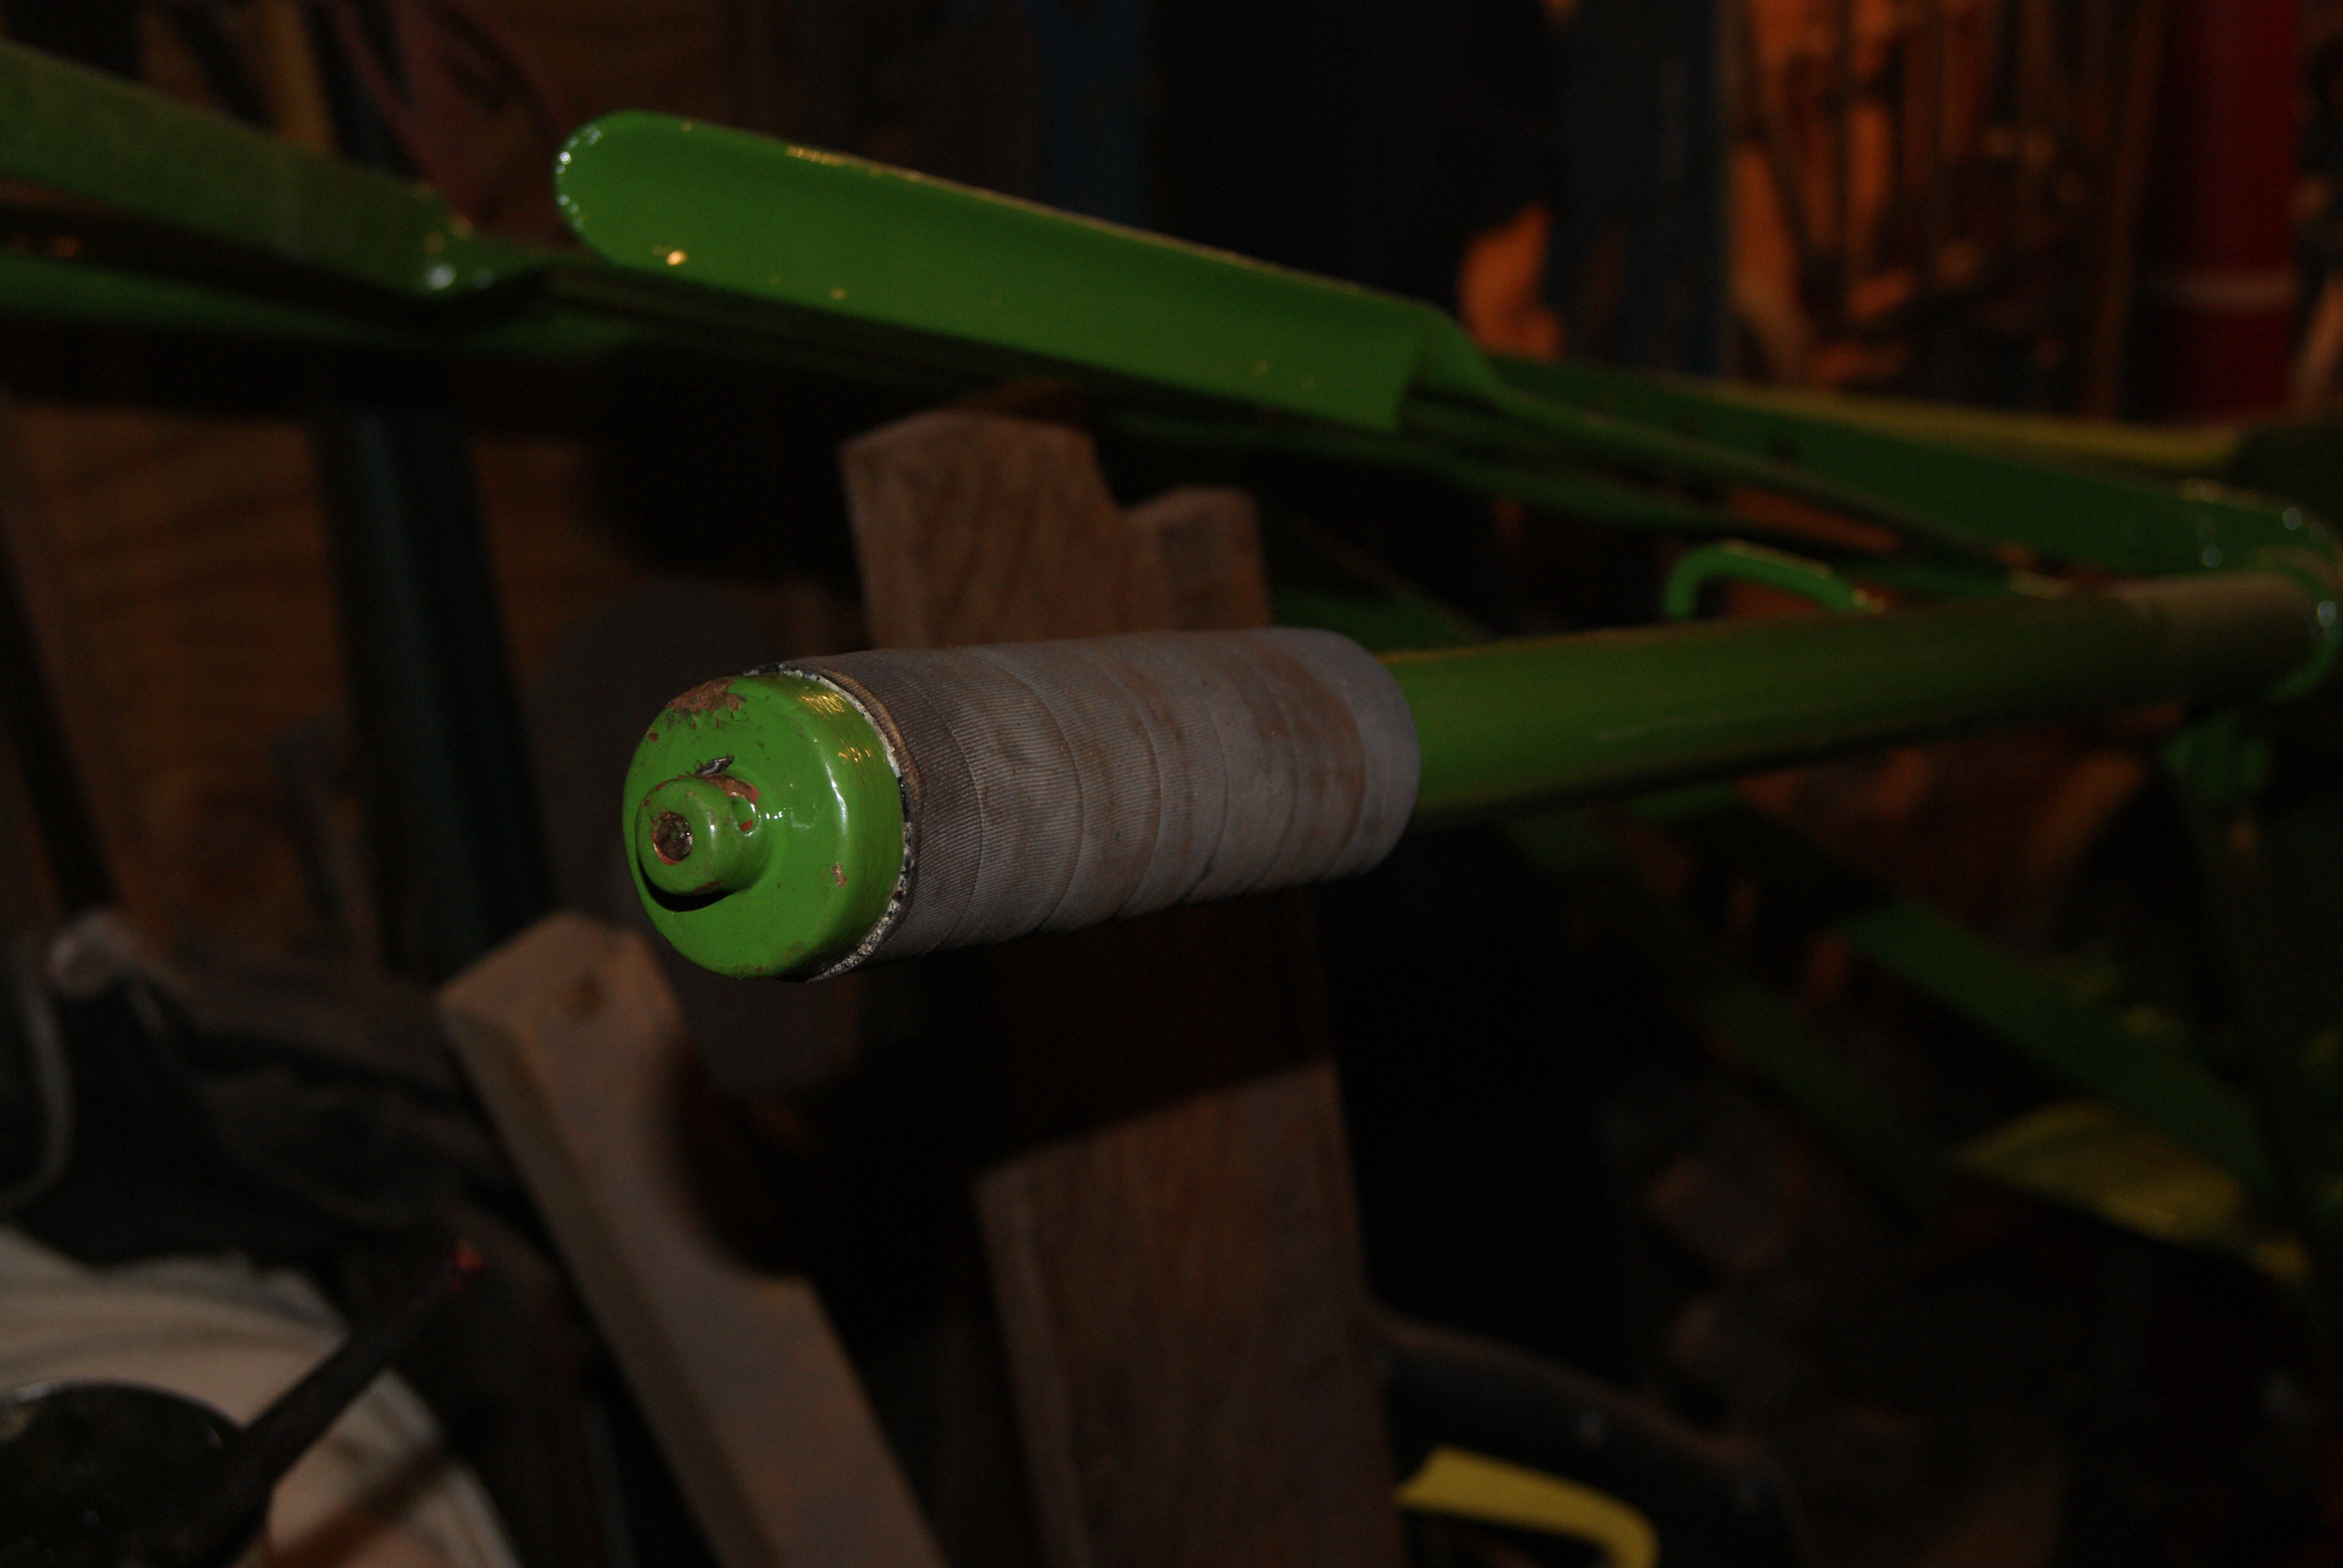
The photo’s will show the assembly in better detail and I’ll leave you to look at them. Suffice to say that the whole assembly is made from brass to prevent corrosion and the throttle rod passes through a screwed-in ferrule at the outer end of the stationary part of the mechanism. The twist grip rotates around that and is secured to the rod with a roll pin at it’s outer end, so the twist grip turns the throttle rod directly and the motion is transferred to the front of the machine.
A handy little tip for those of you making your own Trusty hand grips- I always use car radiator hose from our local motor factor who sell it in straight lengths 1 metre long. This is similar to what the factory used and it does cut down the vibration quite a bit, so it’s worth doing. The only trouble is, if you put it in the vice and saw it off with a hacksaw it looks awful and you get a far from straight cut; if you put a length of tape around it, though, and cut it with a long, sharp knife just on the edge of the tape you get a straight cut that is perpendicular to the handles (i.e. it doesn’t wander off and look like Stevie Wonder did it).
Now, where did I put that First Aid kit………..?
Attachments:
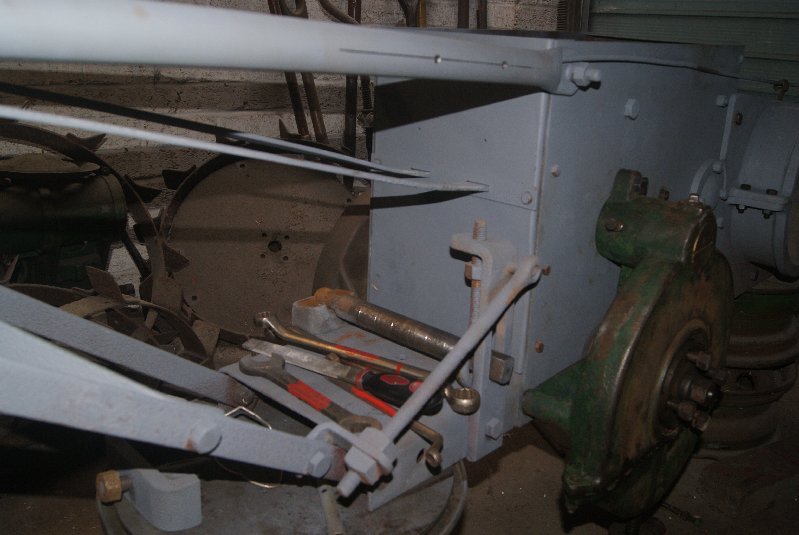
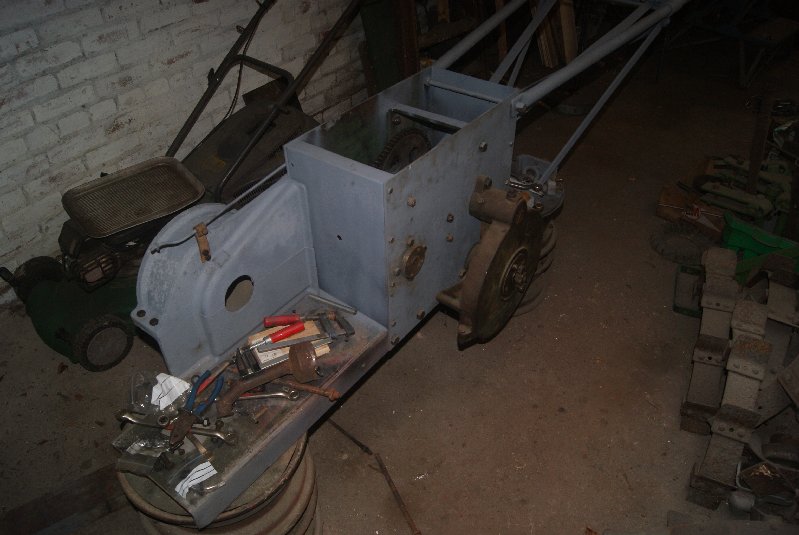
April 18, 2020 at 2:57 pm #33894trusty220KeymasterAnother day, another step closer to finishing!
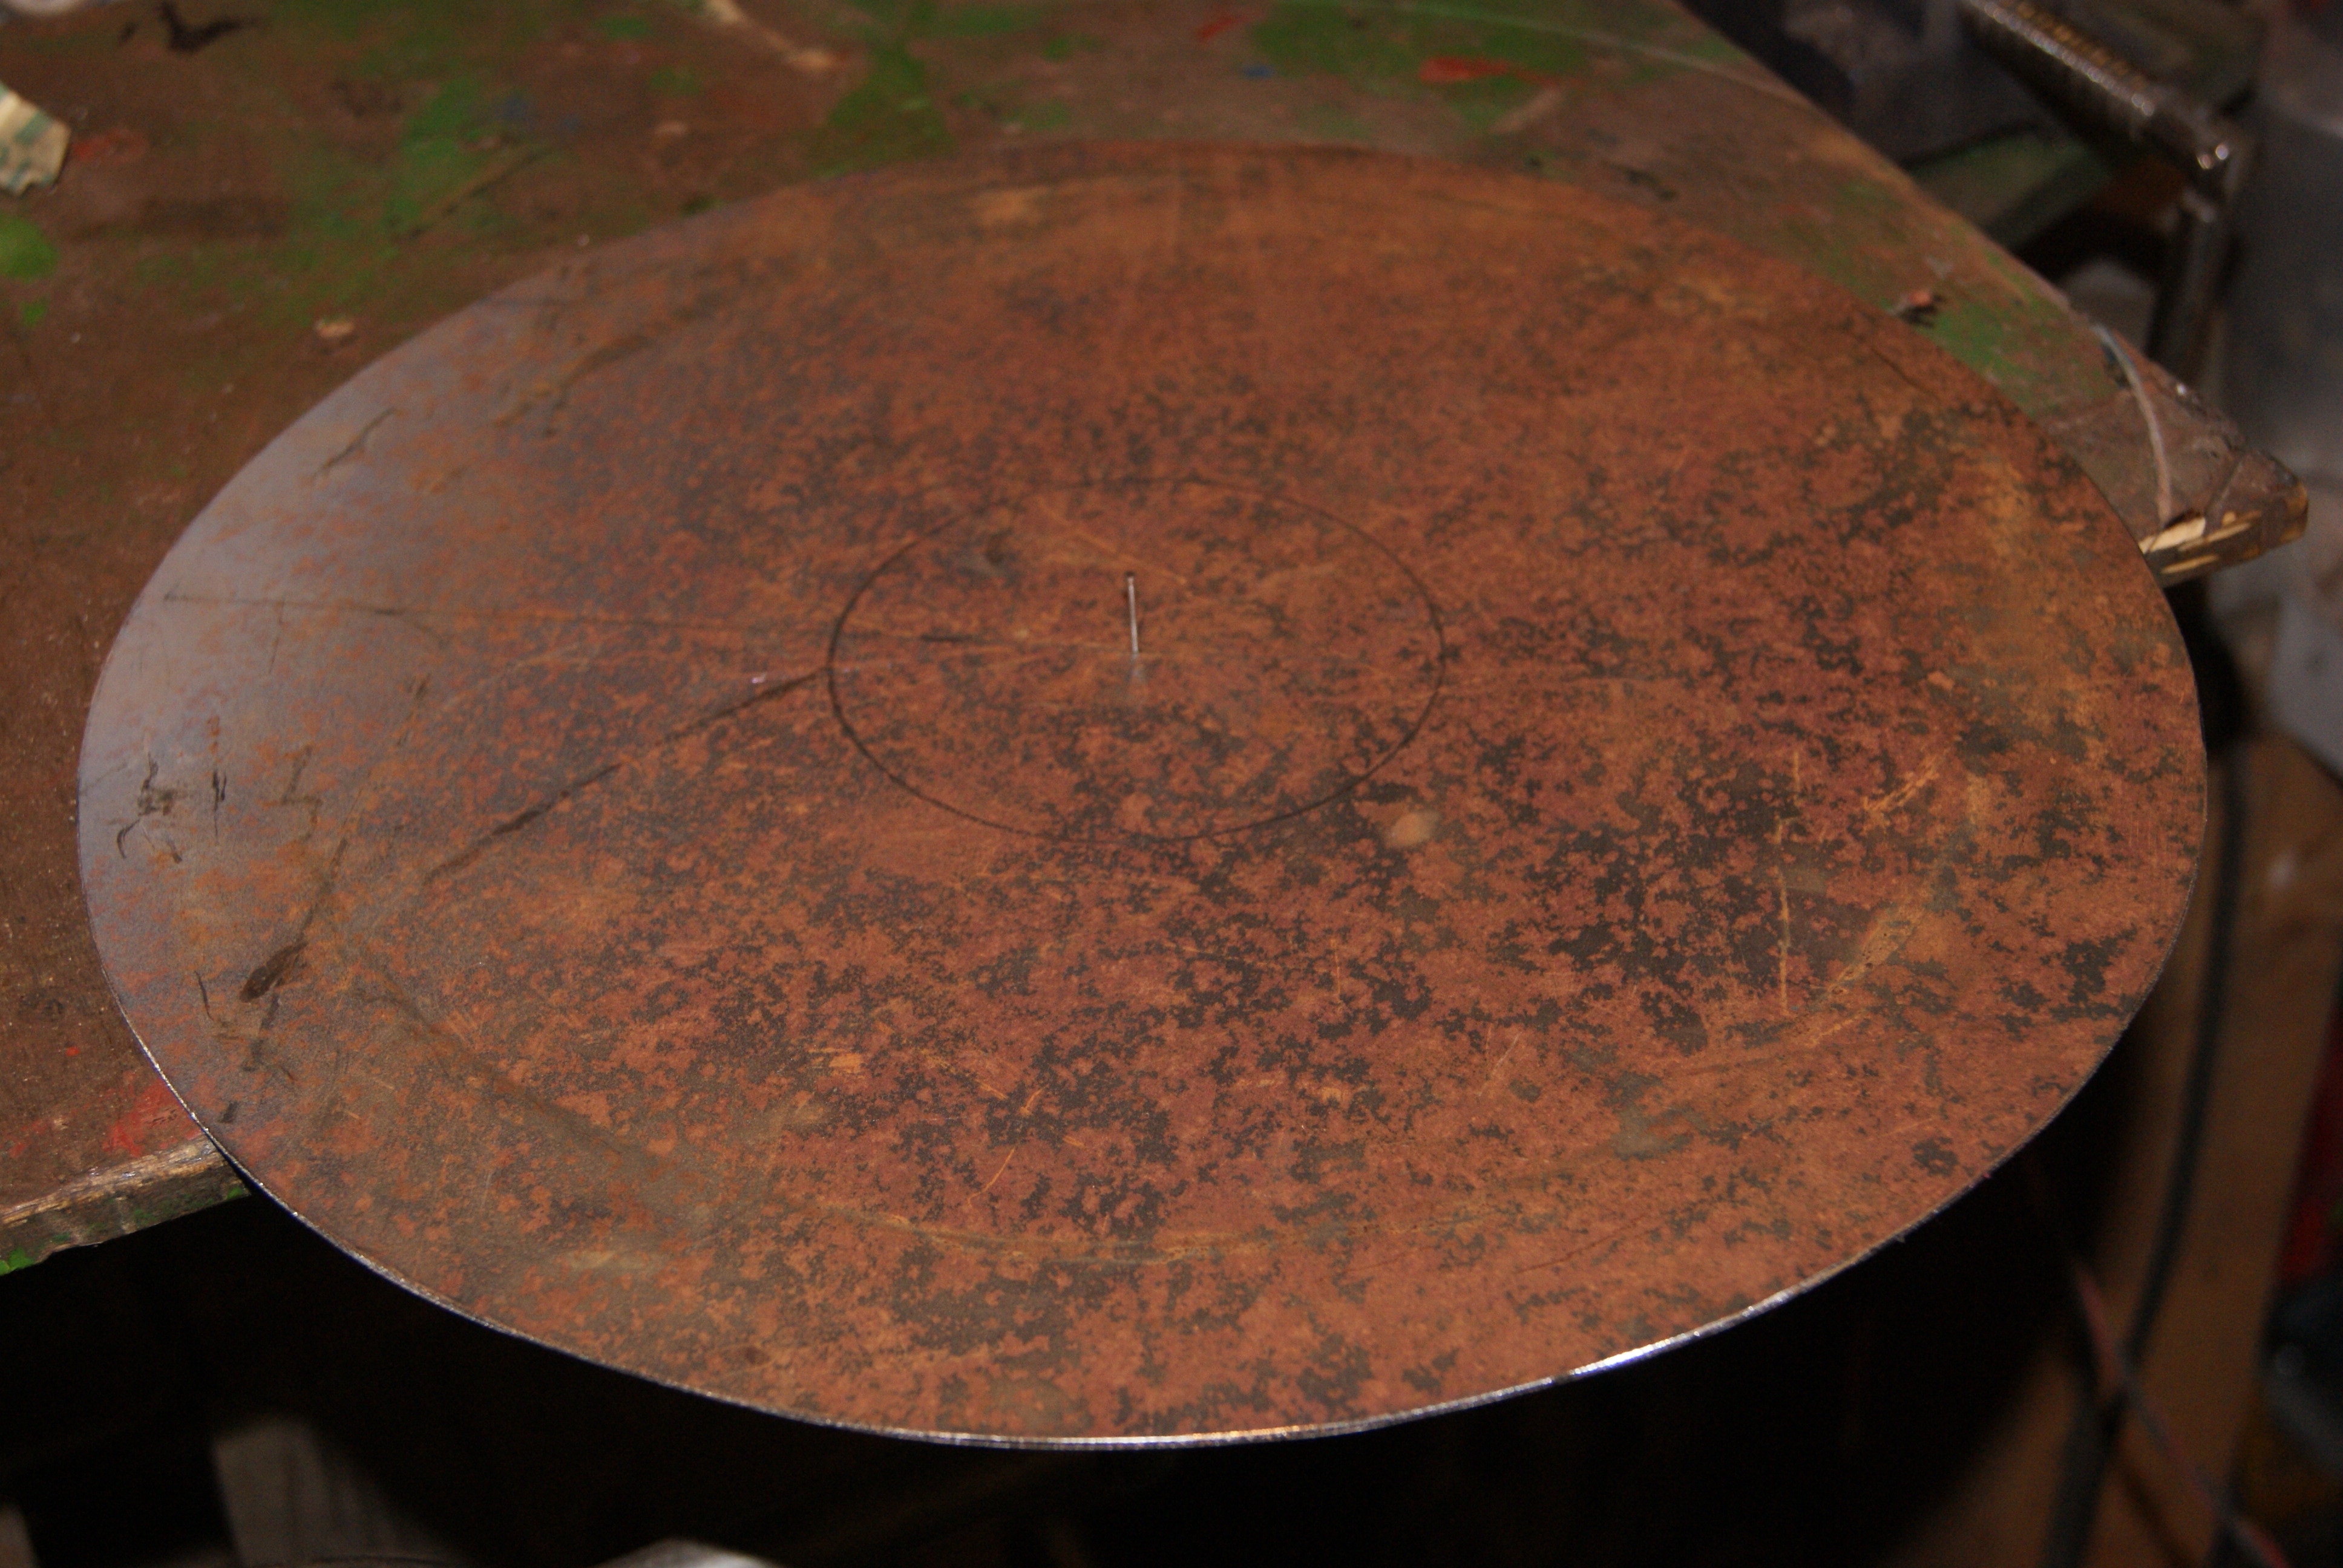
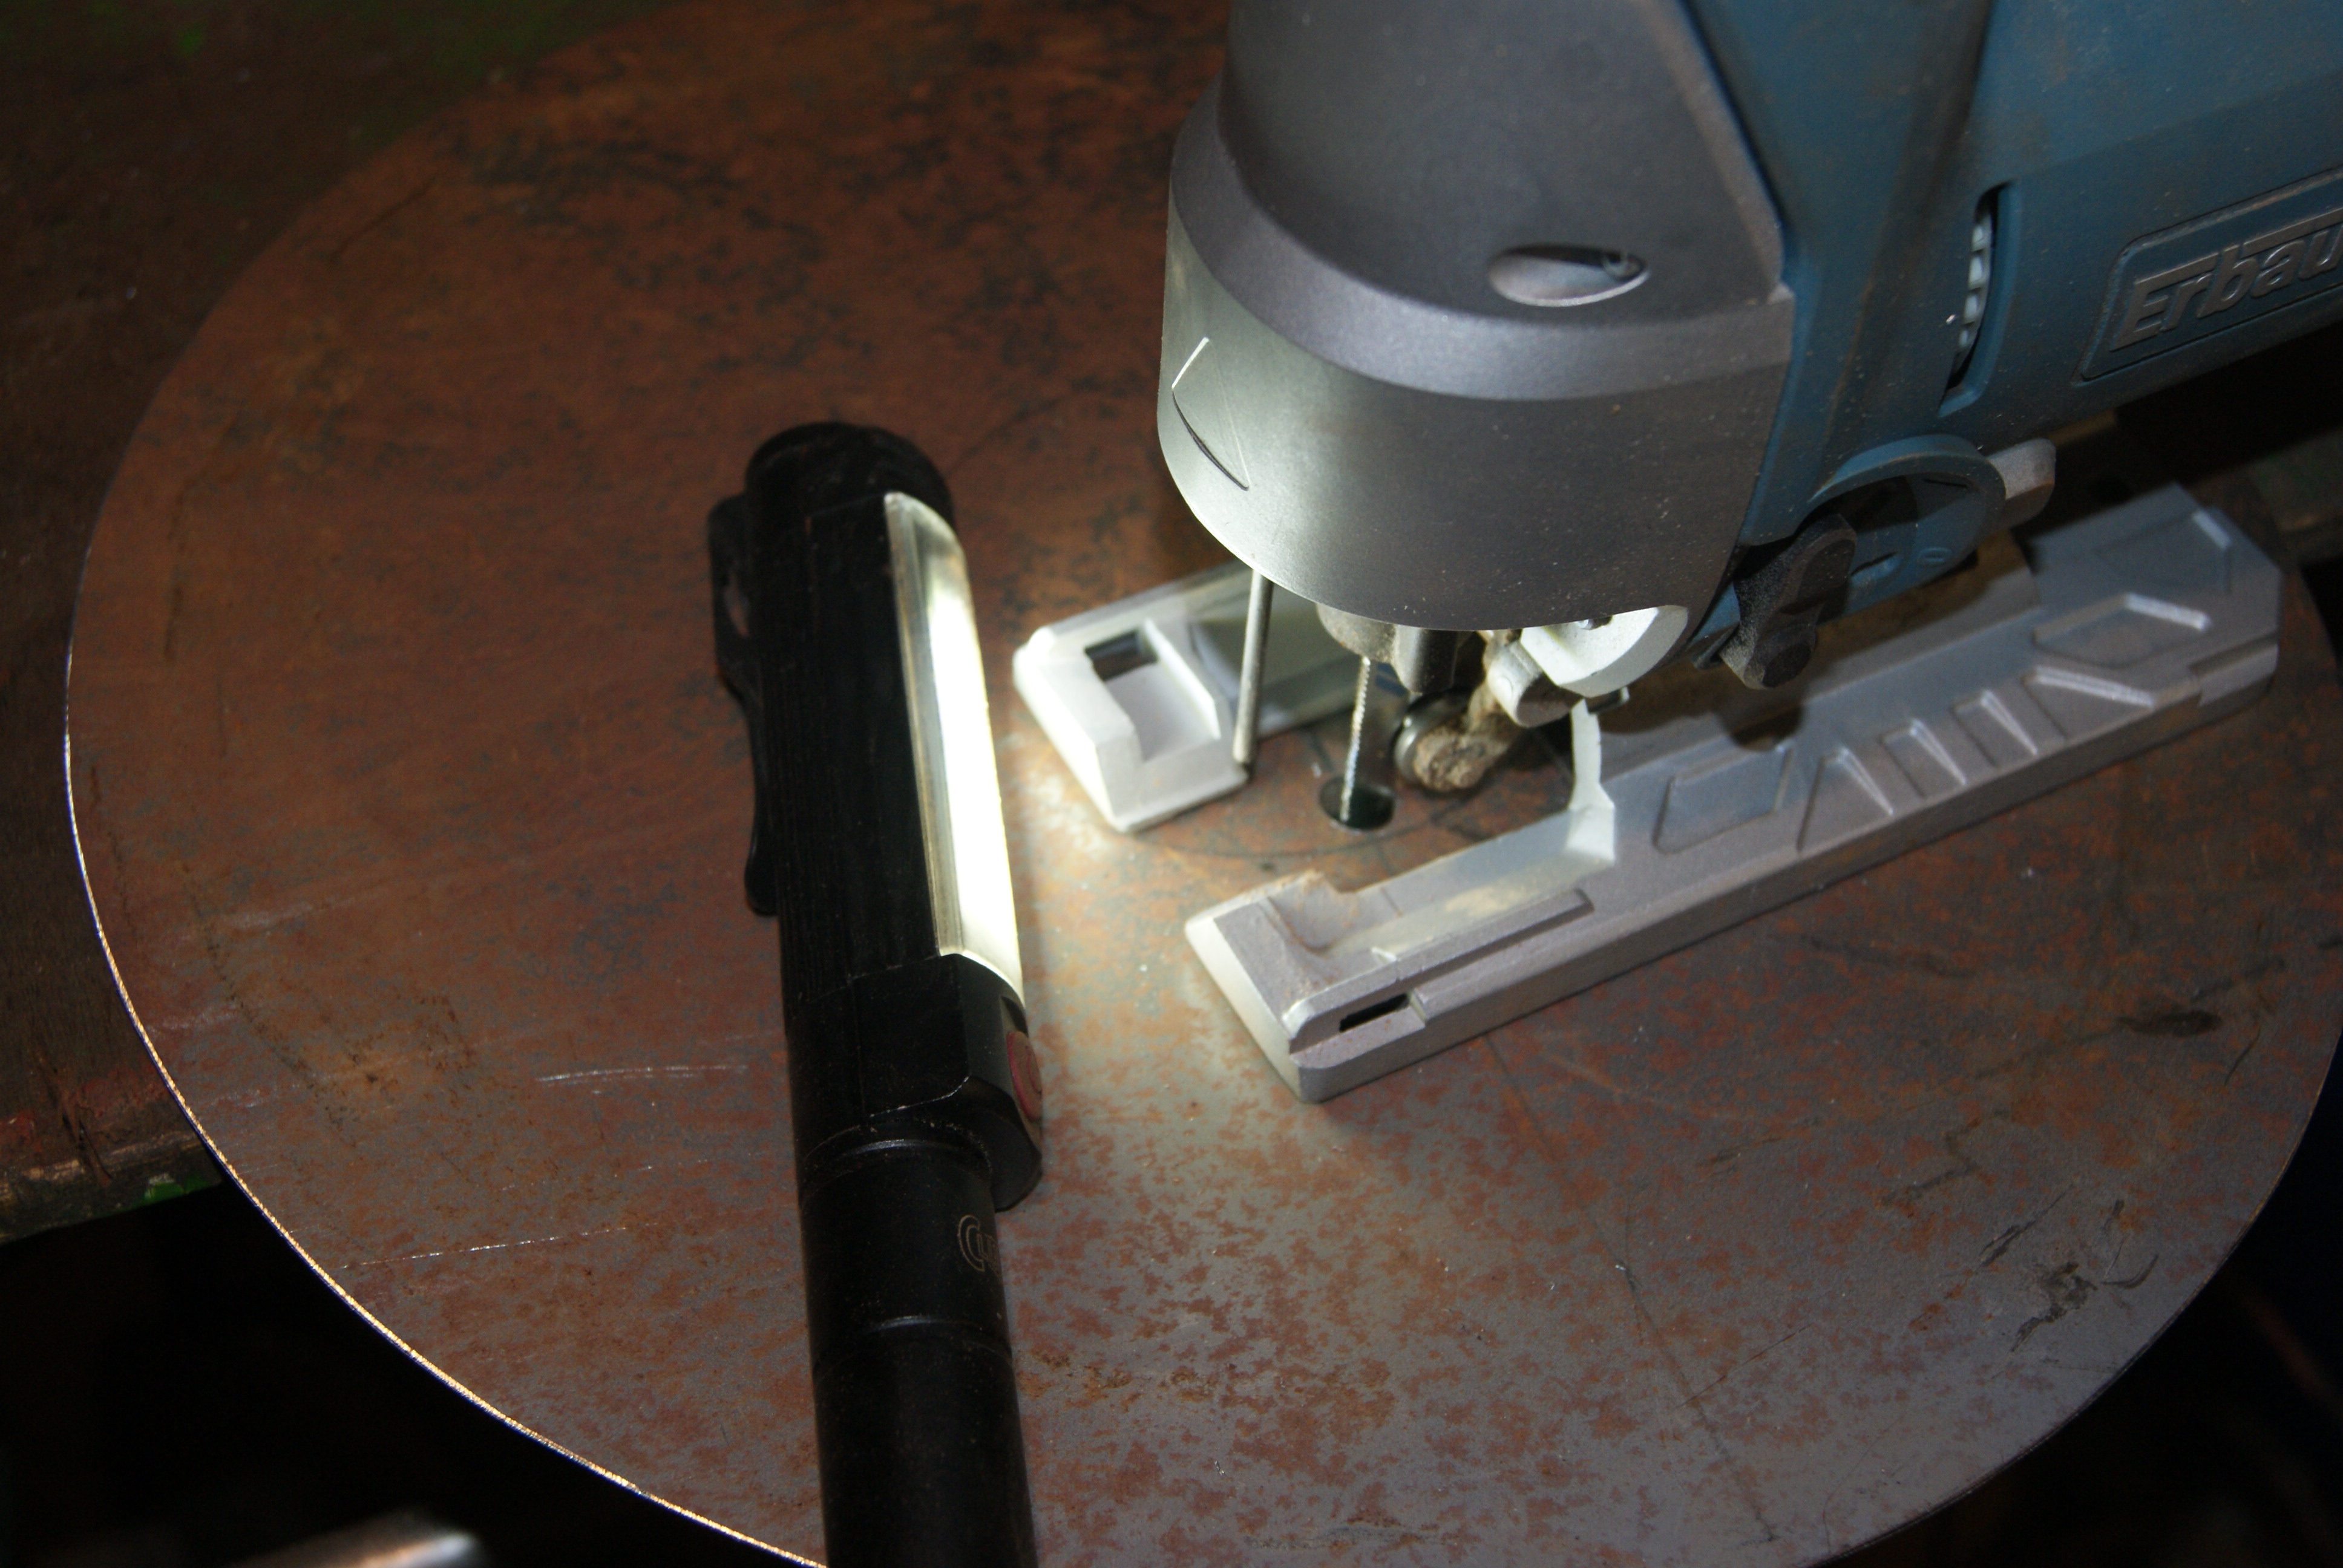
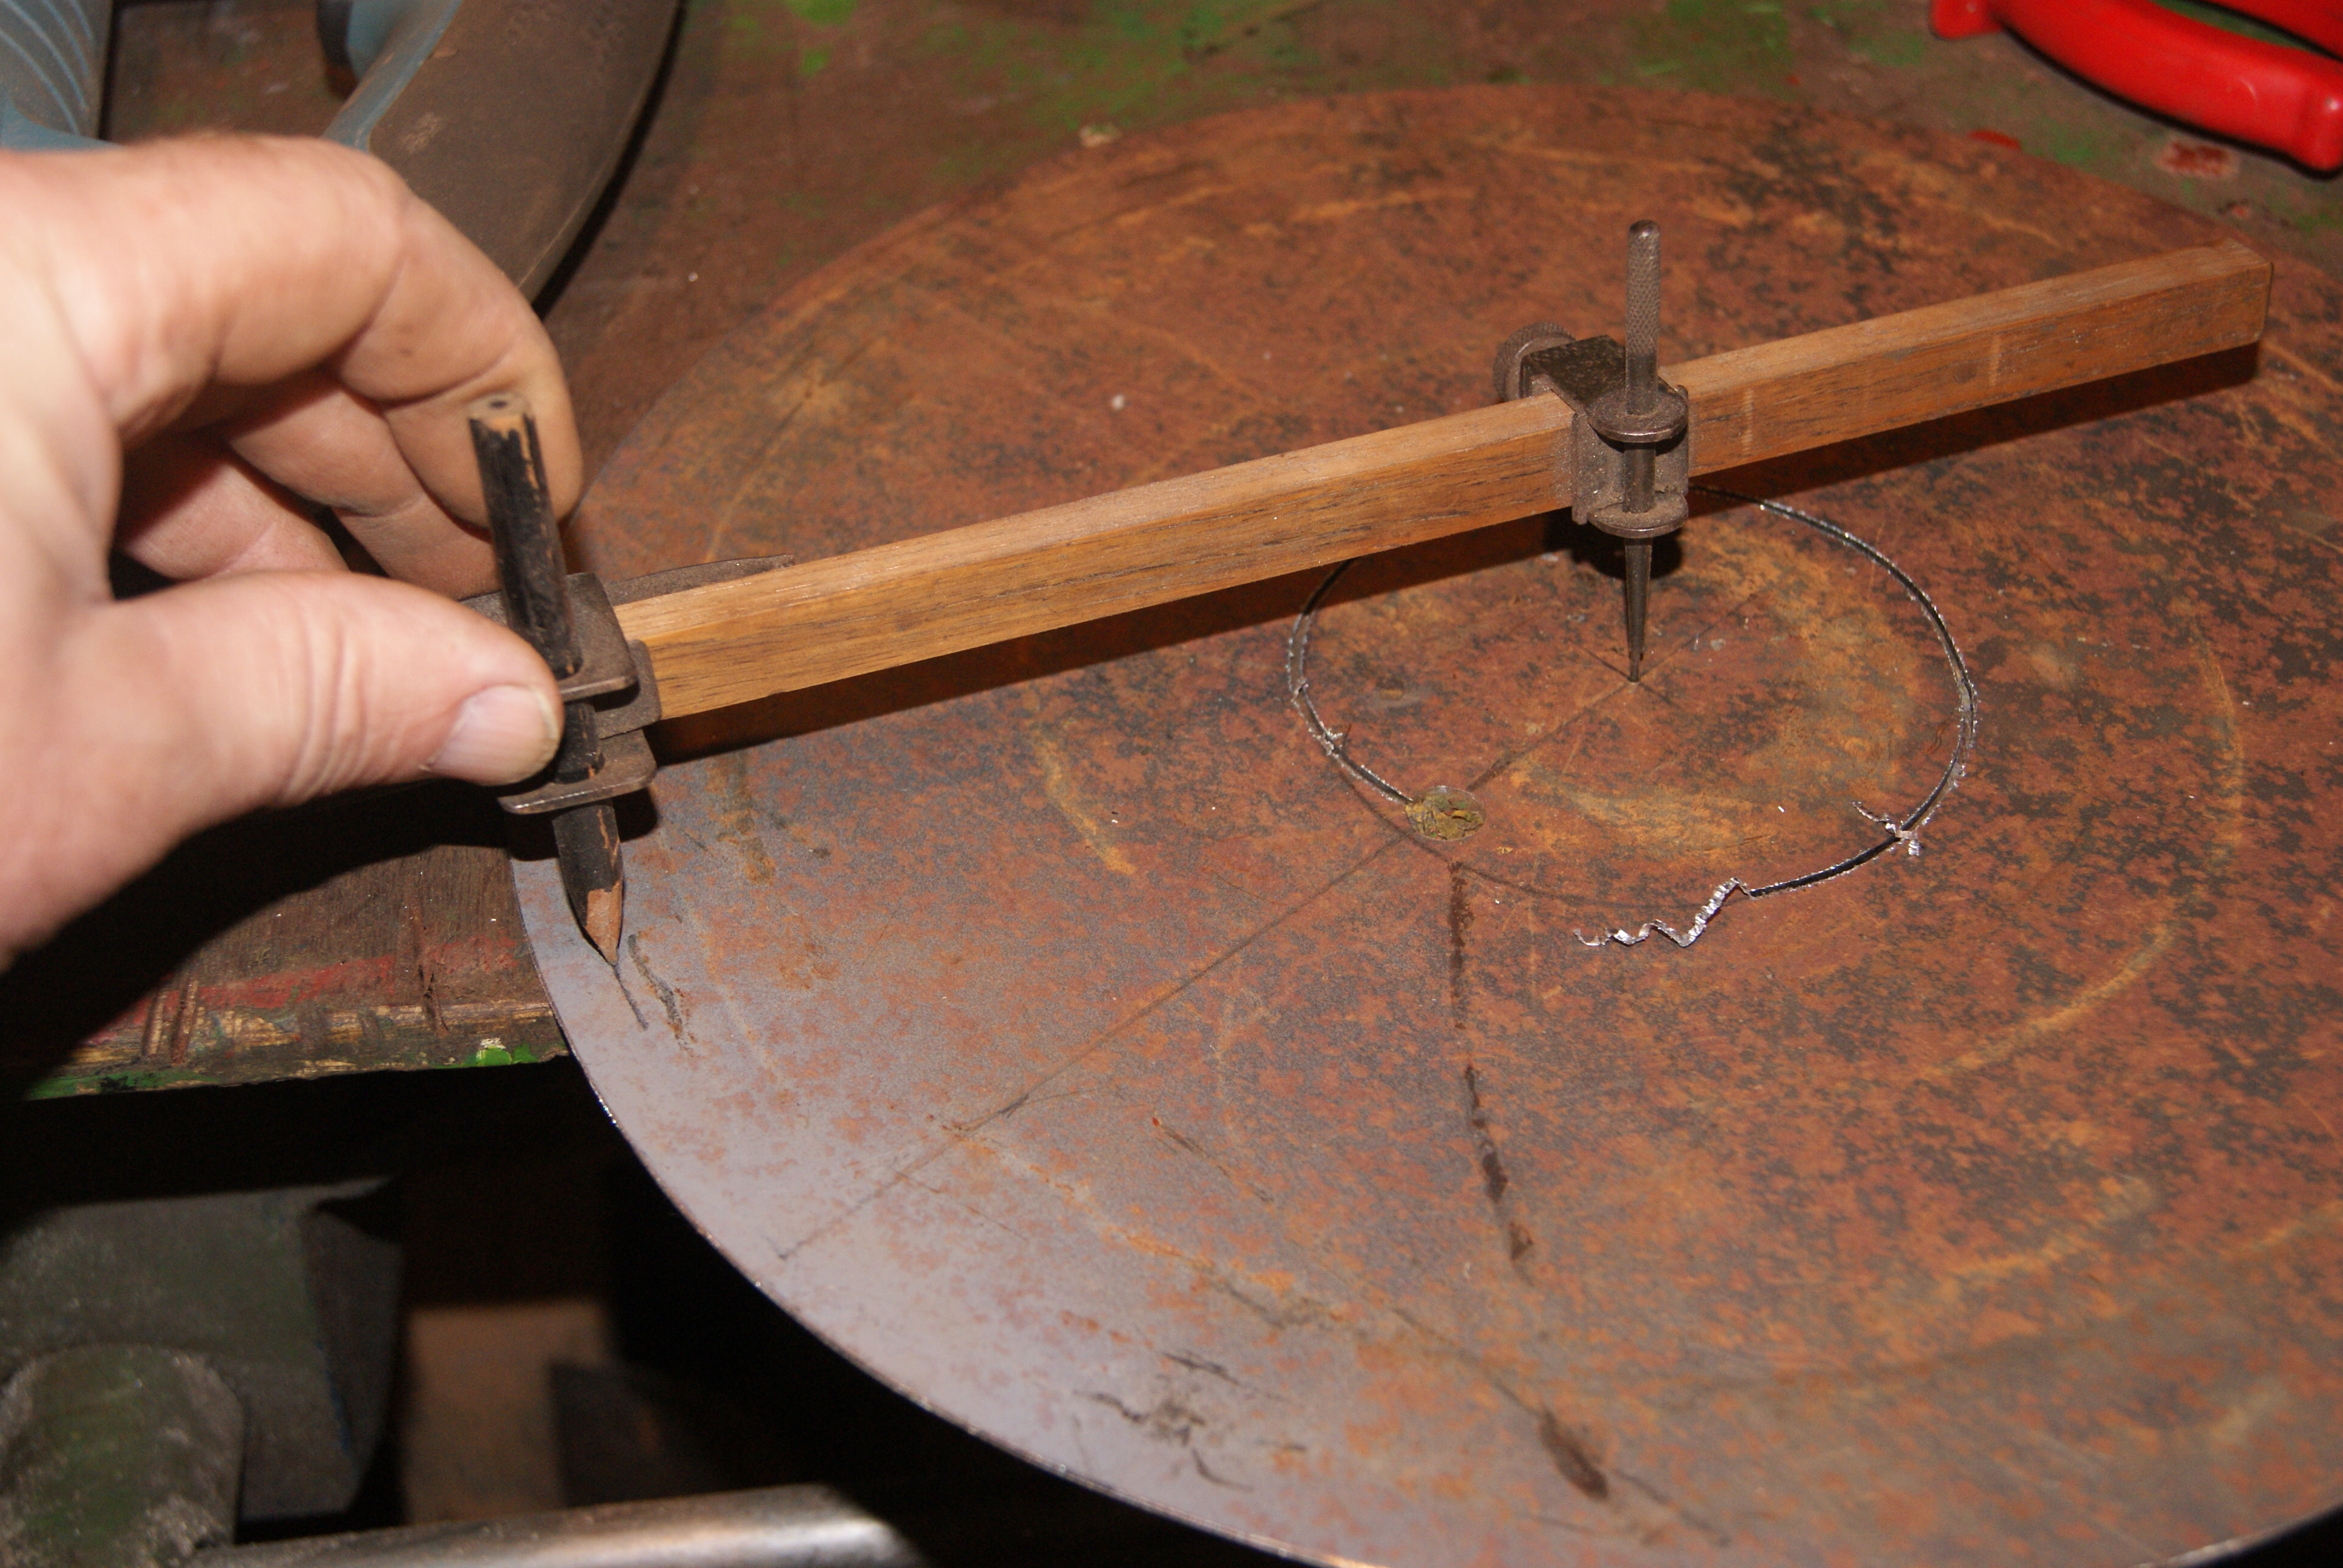
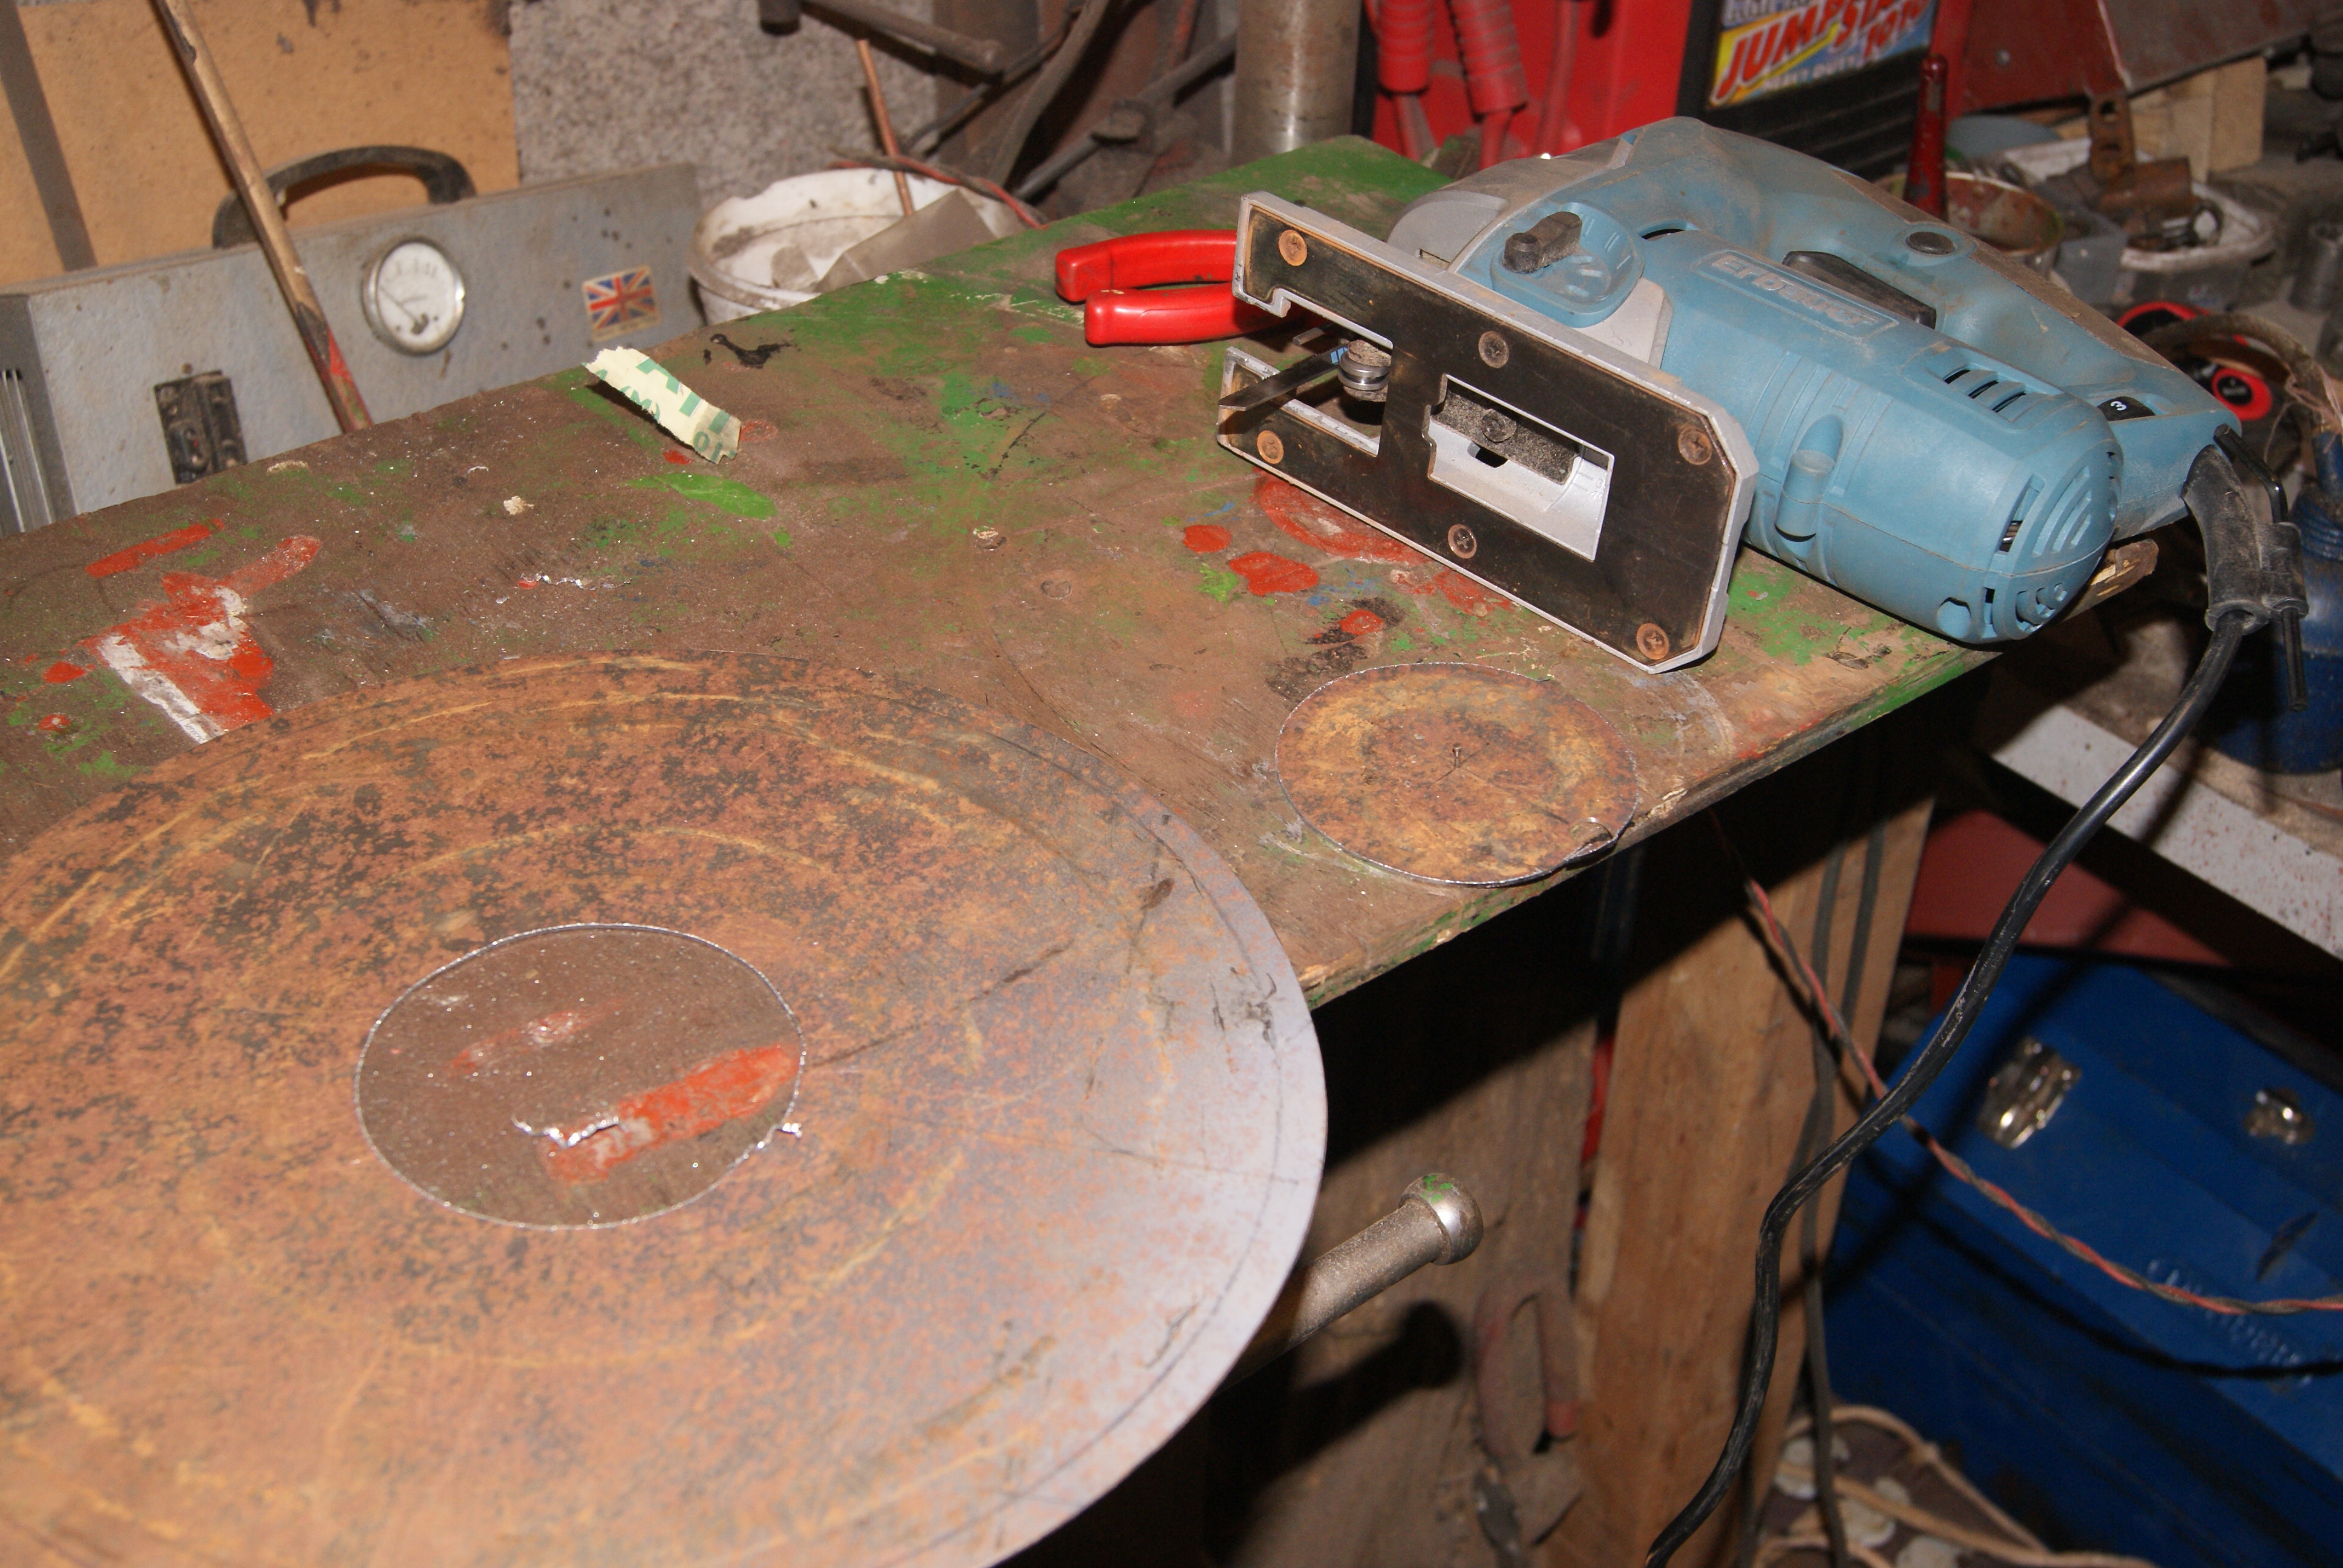
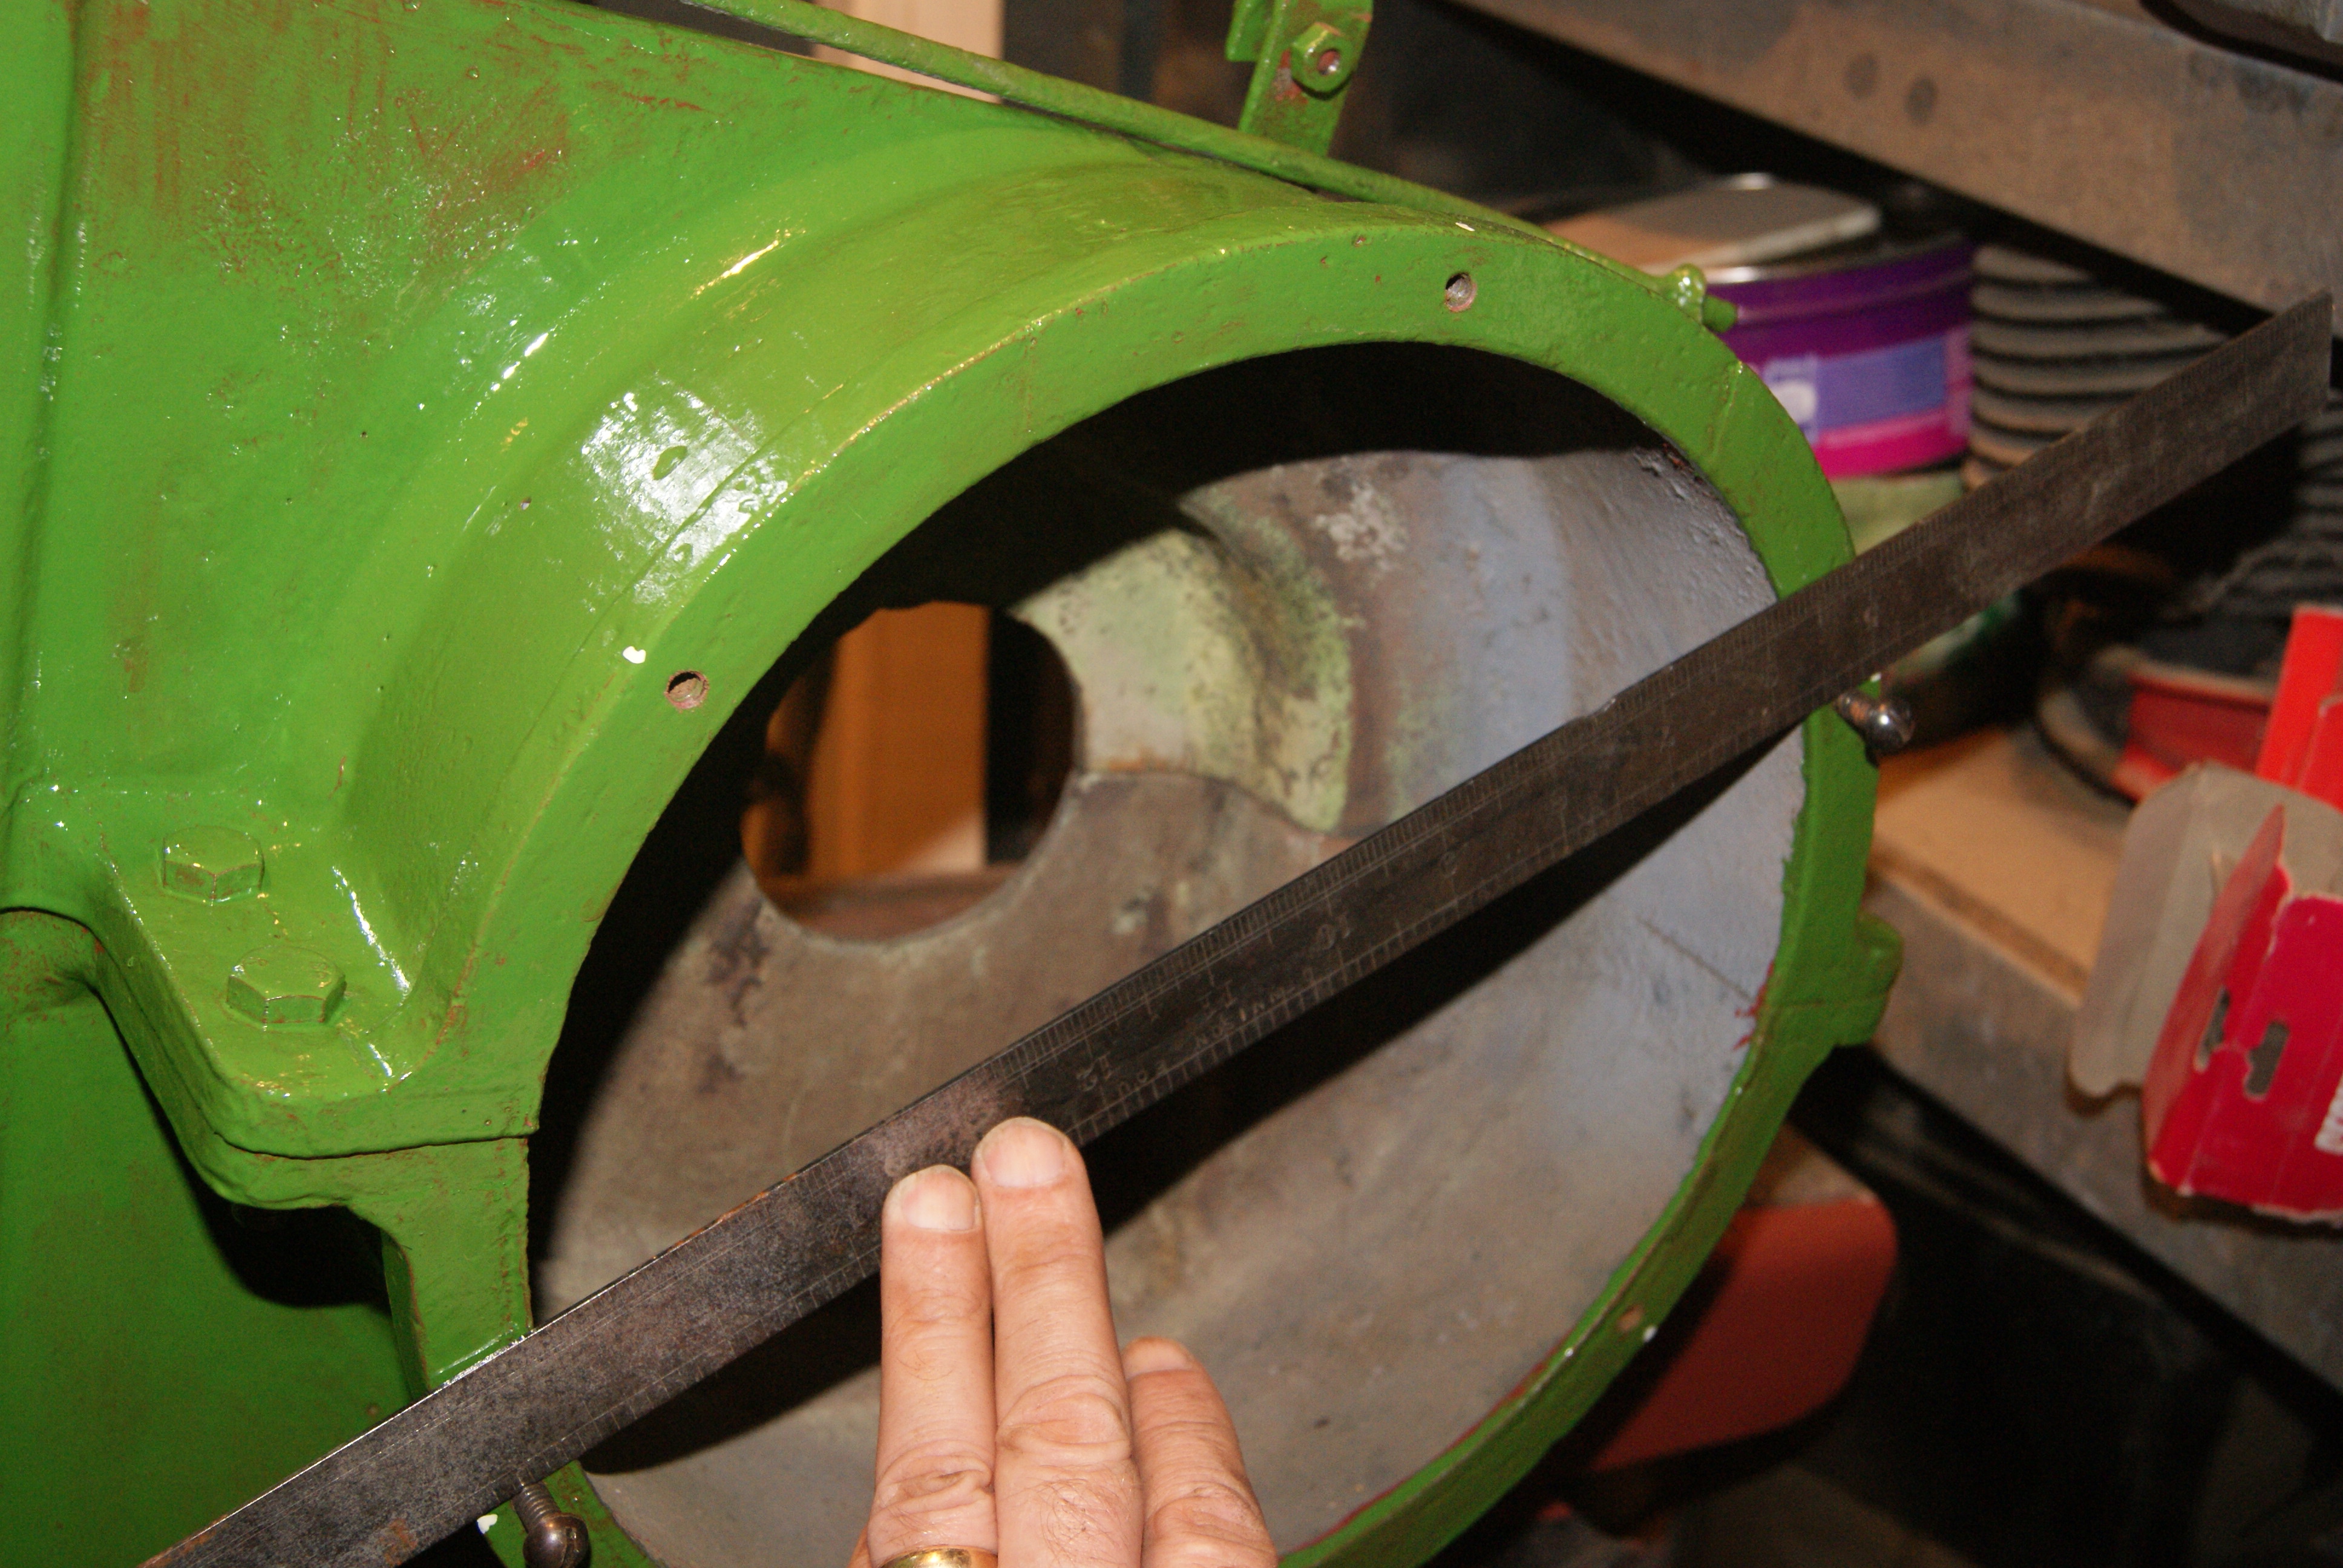
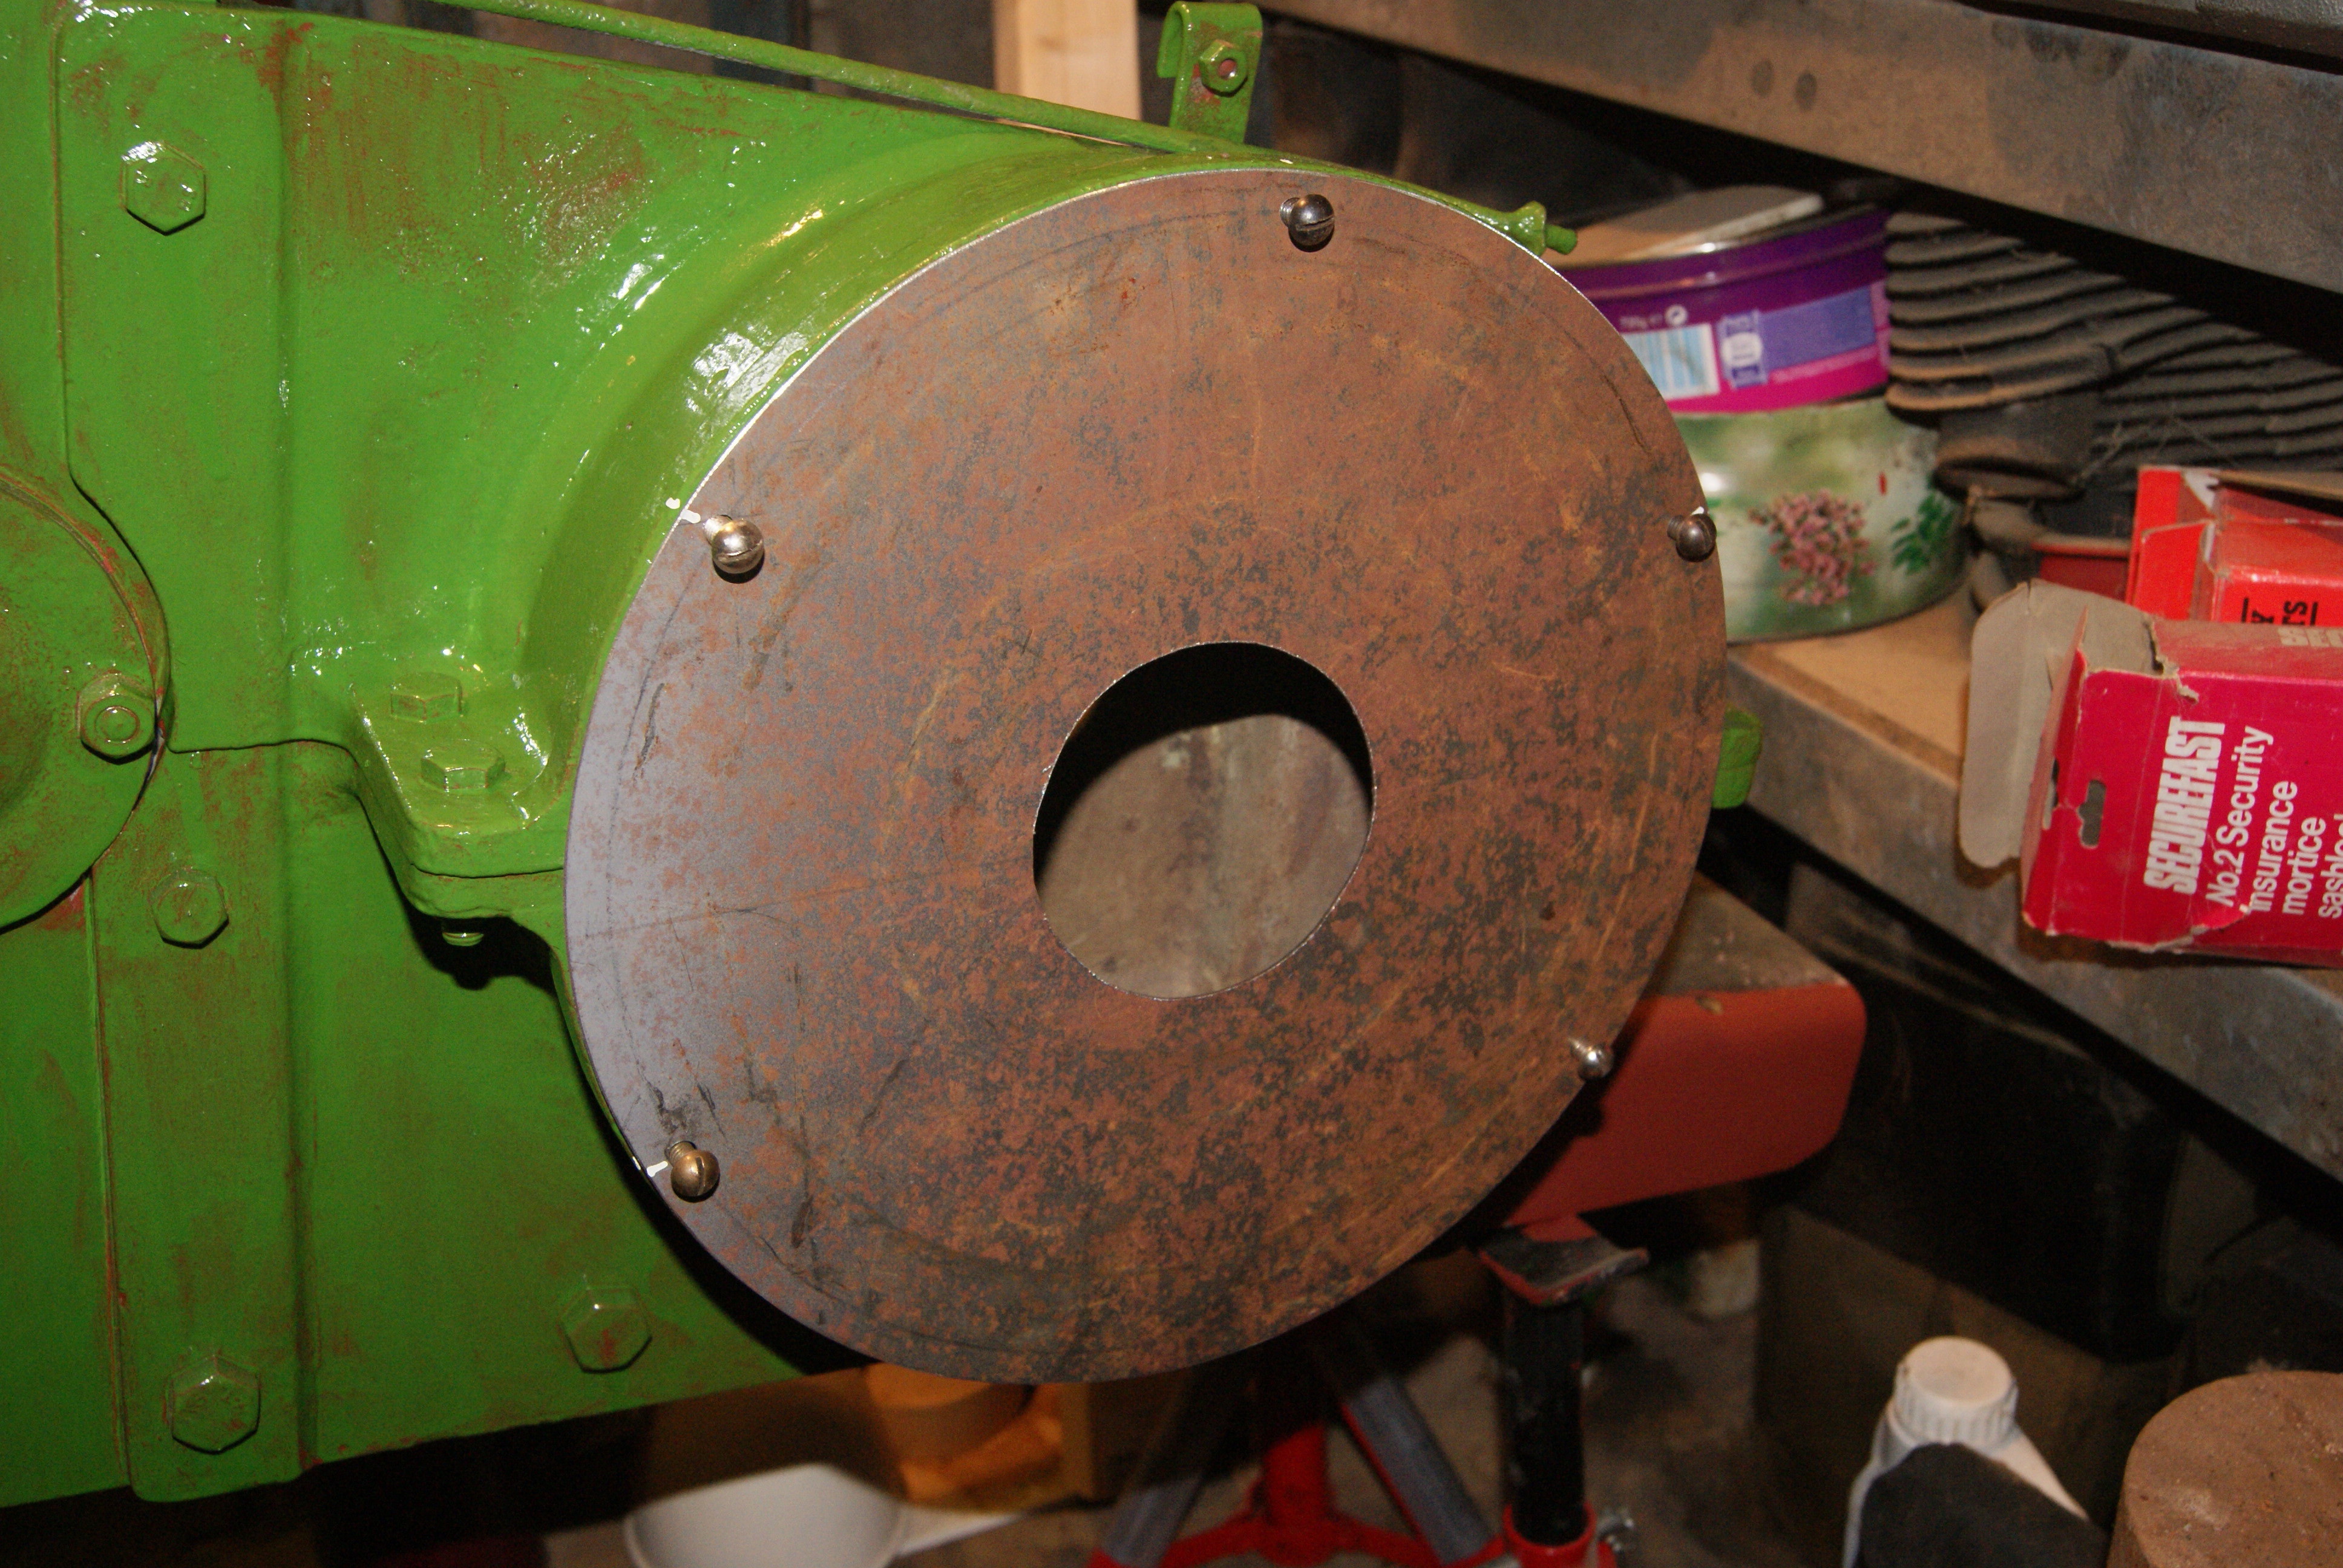
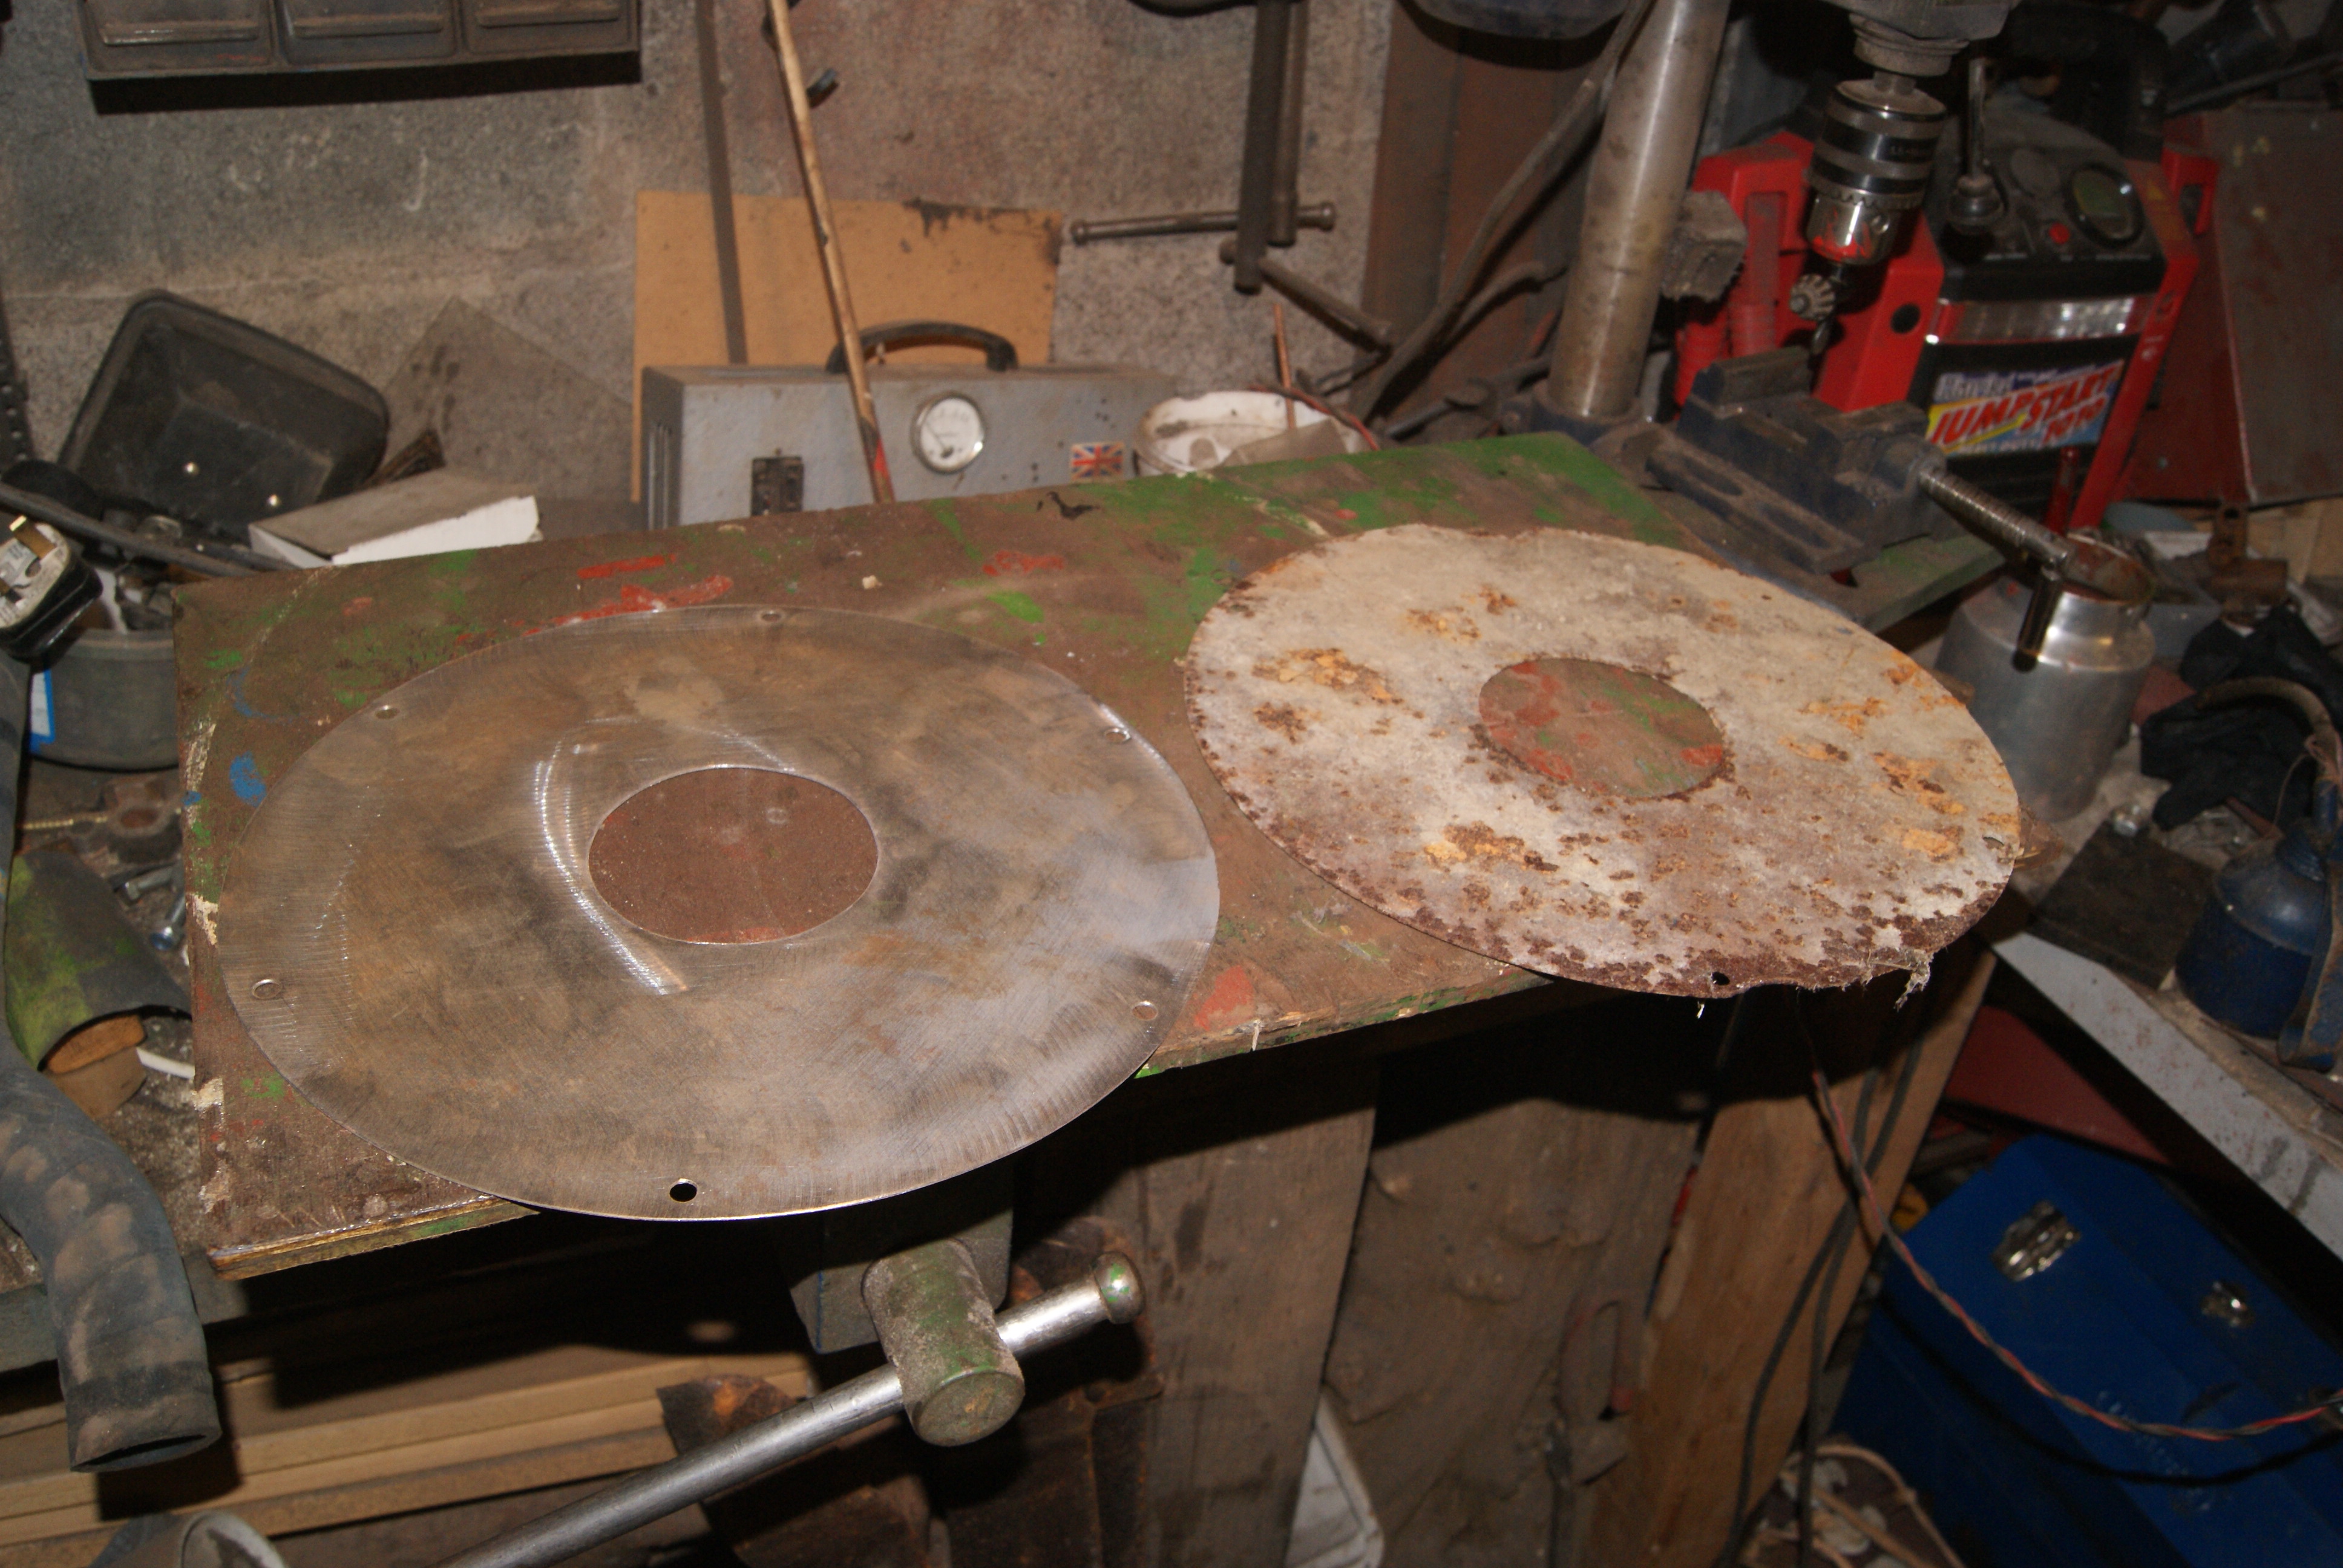
One thing that I never had with this tractor was the clutch cover. It’s only made from flat sheet with a 3 1/2″ hole for the clutch carrier to stick through so I thought that I’d spend this very dreary, rainy day making it. I did have a used one that Hortiman gave me last year (or was it the year before?) but I thought it would be easier to make a new one, especially as there was a part missing from the used one (sorry, Chris!).
The plate itself is easy if you have a large pair of compasses. Outside diameter is 12″ with a 3 1/2″ concentric hole in the centre; the important thing to remember is to mark the pcd for the six retaining screws at 11 1/4″ before you cut the centre out- if you look at the pictures you’ll see that I only just remembered in time!
The holes for the retaining screws have to be in the right places and so I marked their positions on the outside, then transferred these markings to the pcd circle to drill them. Beware- they are not equidistant and so the plate will only fit one way round. You have been warned!
Attachments:
-
AuthorPosts


- You must be logged in to reply to this topic.