Home › Forums › The Main Forum Area › Projects › Howard Gem G206, the oldest one left?
- This topic has 32 replies, 4 voices, and was last updated 7 years, 7 months ago by
 vhgmcbuddy.
-
AuthorPosts
-
July 25, 2016 at 7:34 pm #21585
 vhgmcbuddyMember
As this project is nearing completion I felt it was about time that I share it with you.
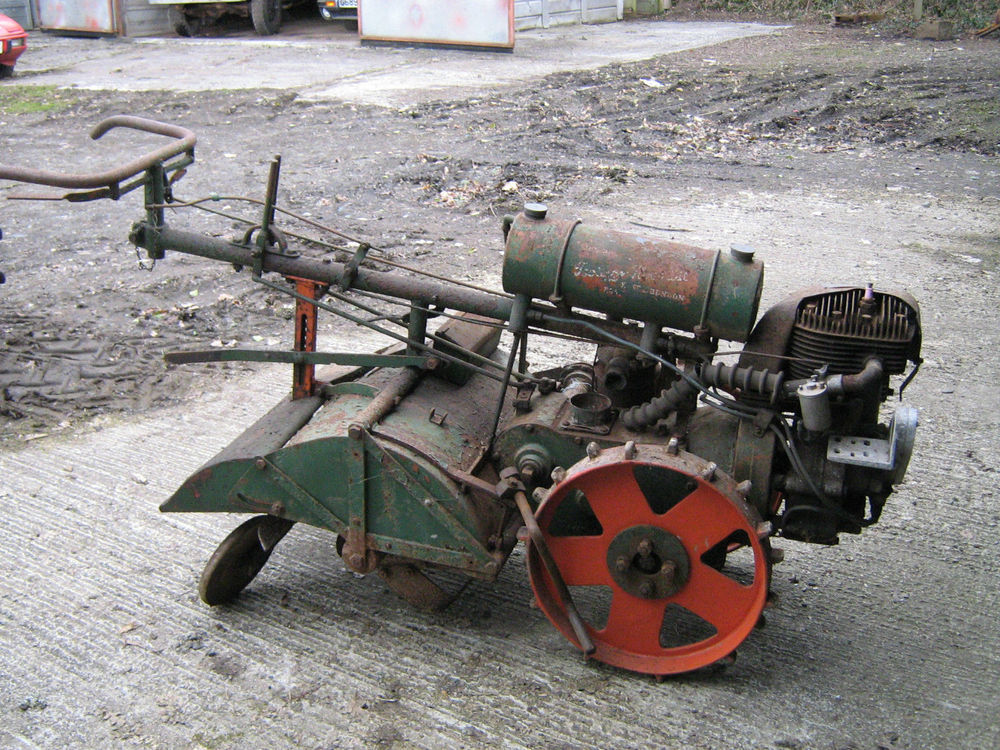
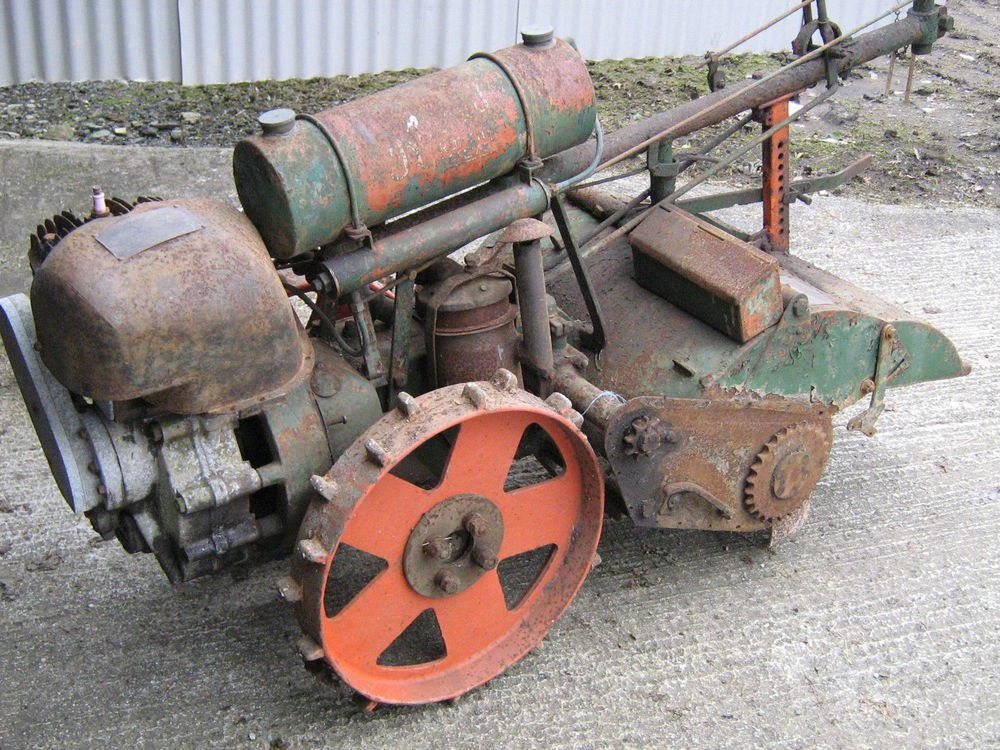
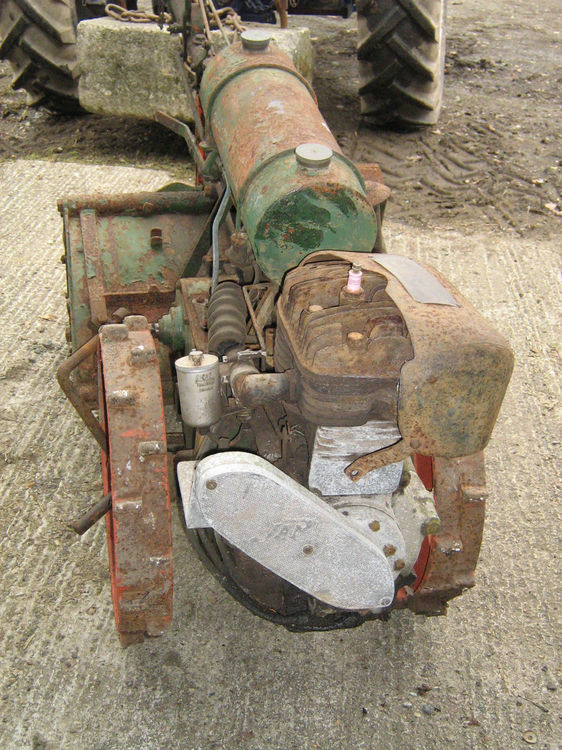
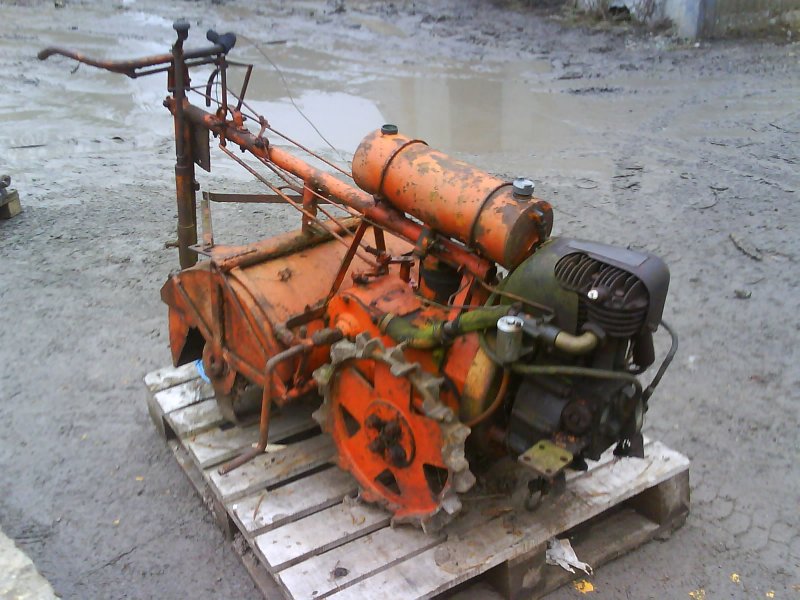
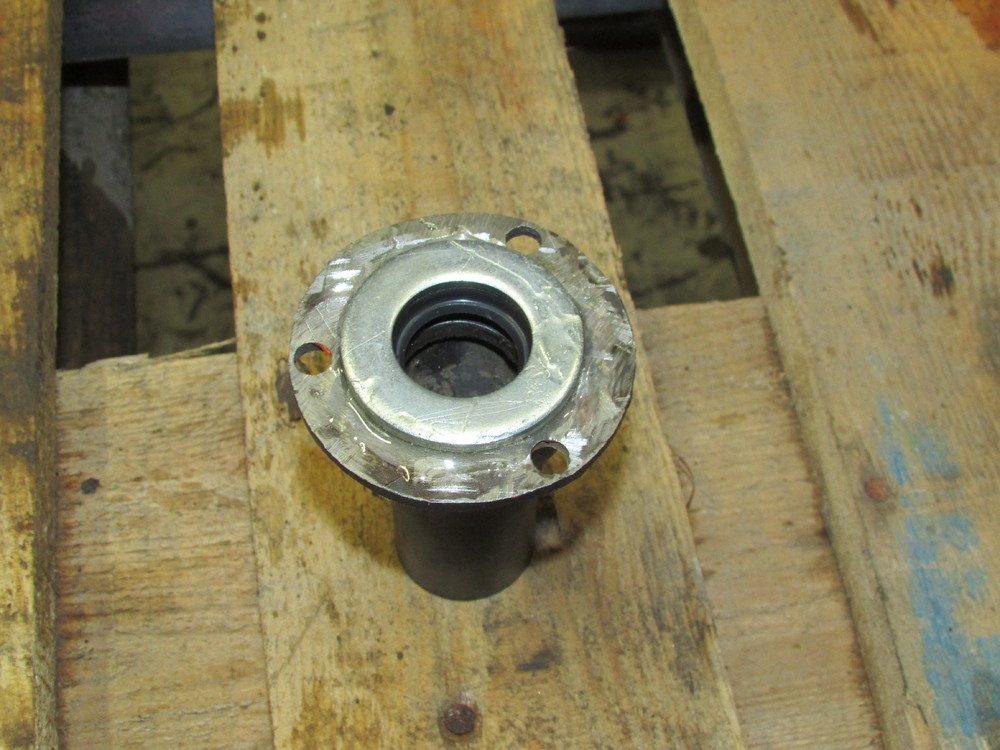
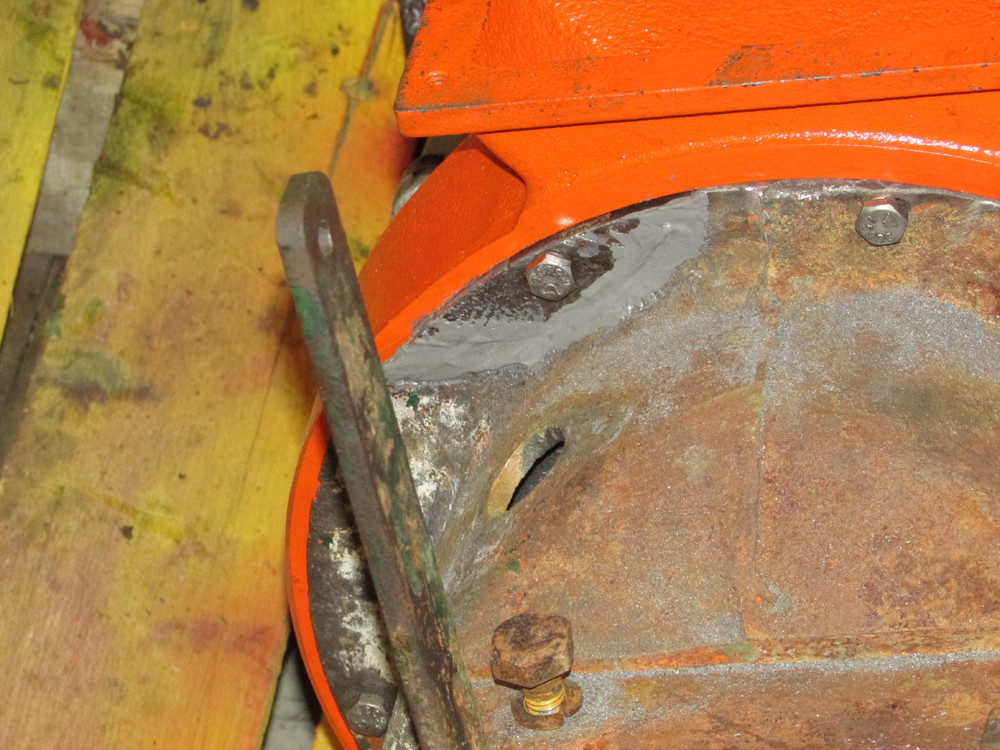
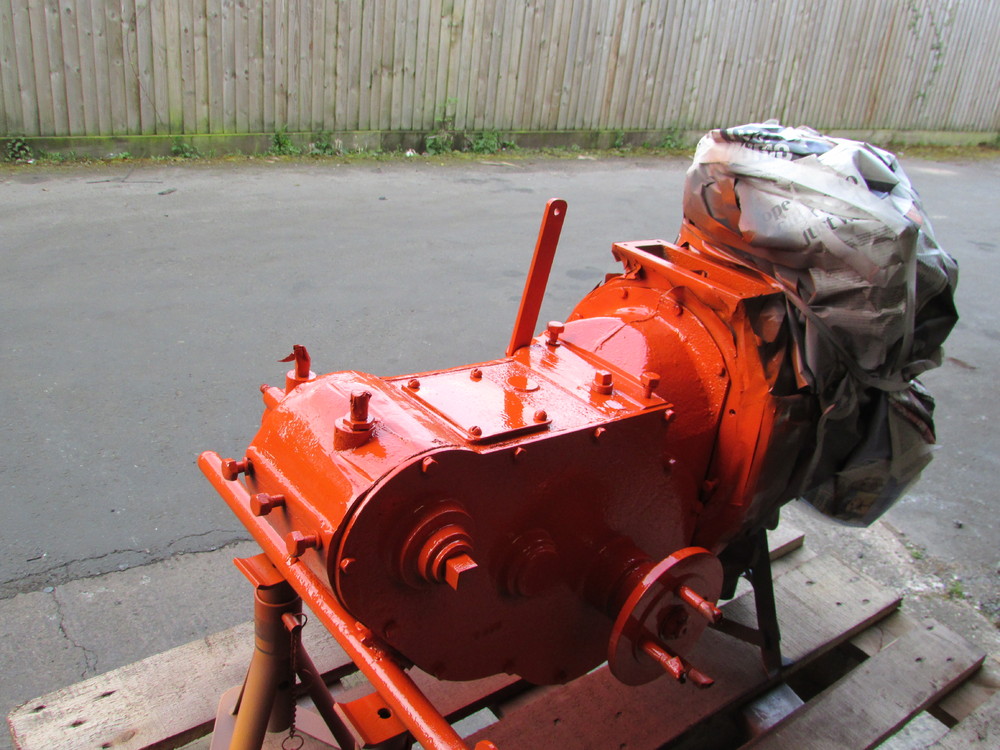
Back in April I spotted this early Gem on eBay, the attached photos were all I had to go on. There was no serial number visible but I came to the conclusion that it was one of the first 400 made with a shorter gearbox and frame due to the thrust bearing being outside the box rather than submerged in oil.
There was a buy it now, which I felt was too high so I made an offer. About 15 minutes later my bid was accepted.Attachments:
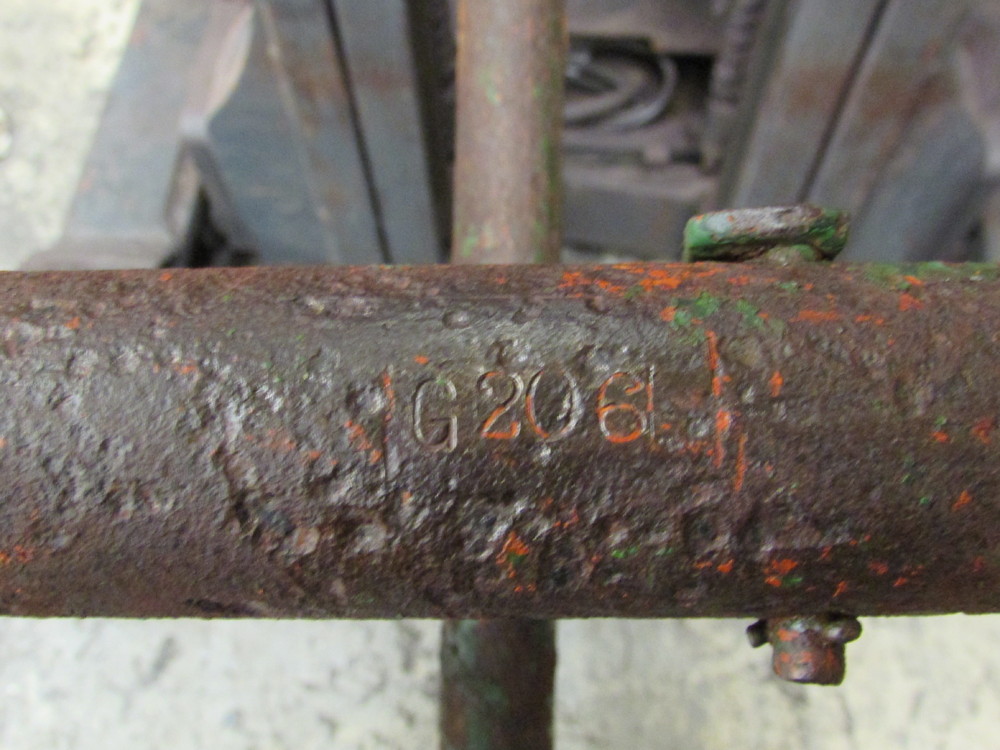
July 25, 2016 at 7:45 pm #21589vhgmcbuddyMemberWhen it arrived back at the unit I uncovered the serial number and to my pleasant surprise it was G206, production started at G101 making this the 106th Gem ever produced.
I’ve been researching Gems for years and prior to this one the lowest number that I’d ever seen was G 357 so this at present is the earliest known surviving Gem.
Having the factory records checked it was revealed that it was one of a pair dispatched along with G207 on 15/12/1941 via LMS goods rail to Trewartha Gregory &Dolge led in Cornwall. They were both built on 10/12/1941. As an aside this company is still trading today.
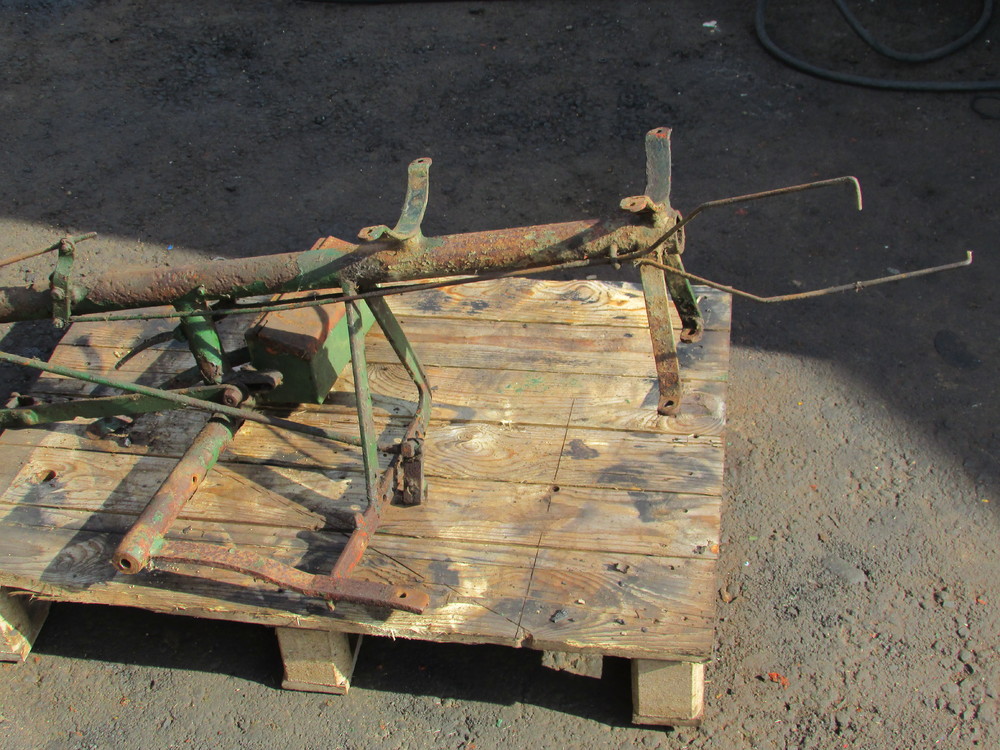
An initial assessment revealed that it was missing it’s Magneto, Exhaust, Chain cover and had the wrong wheels fitted.
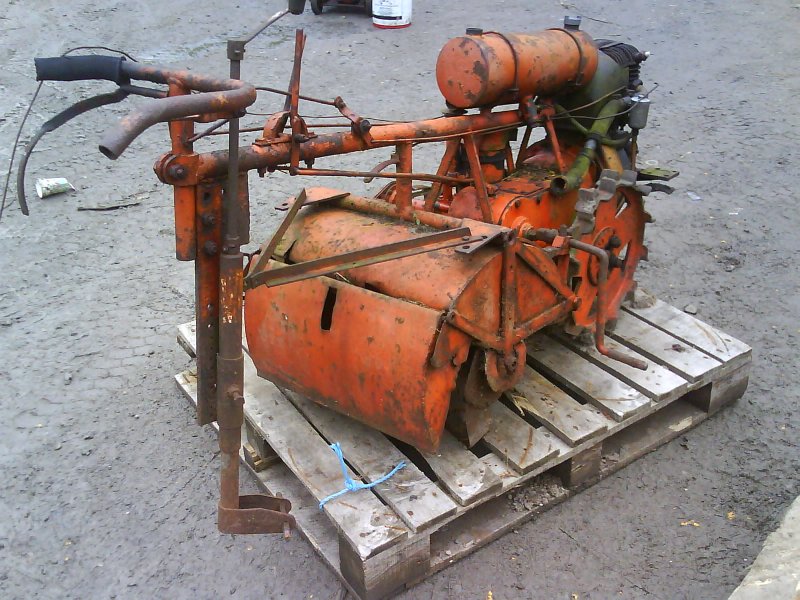
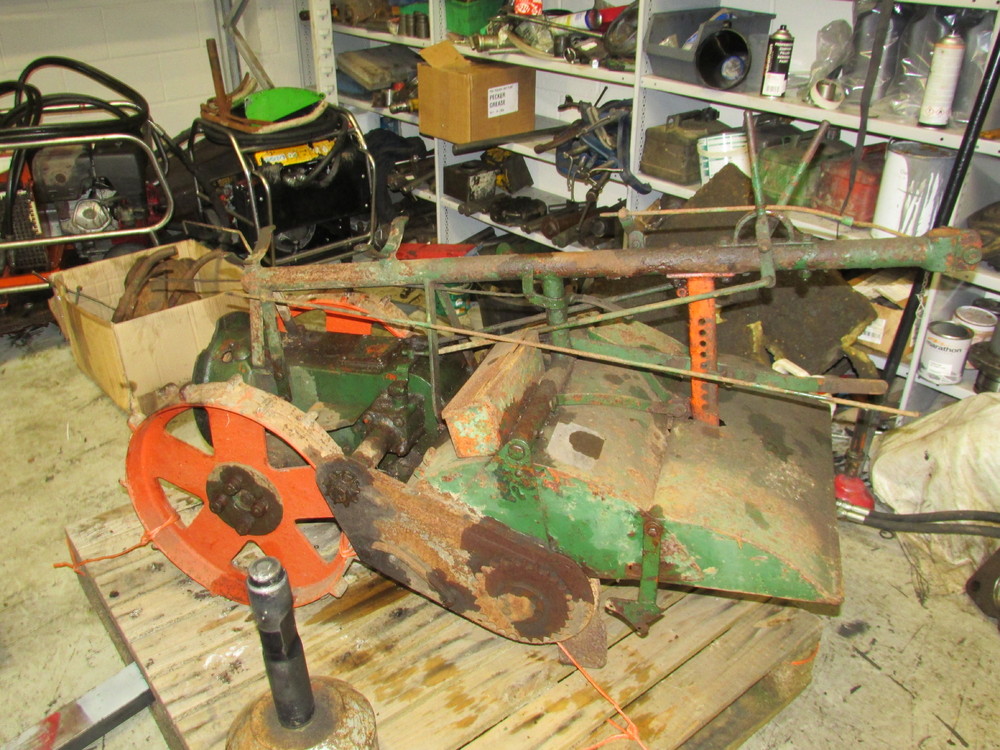
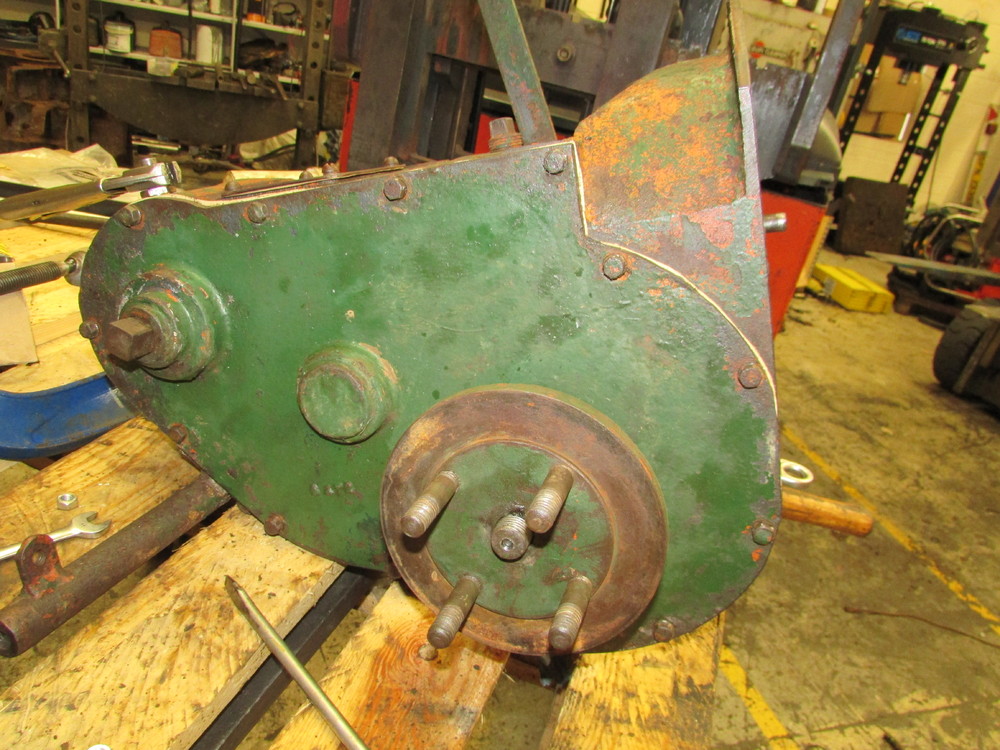
Luckily I also own the remains of G367 ( pictured below) so can use this for some of the missing parts.Attachments:
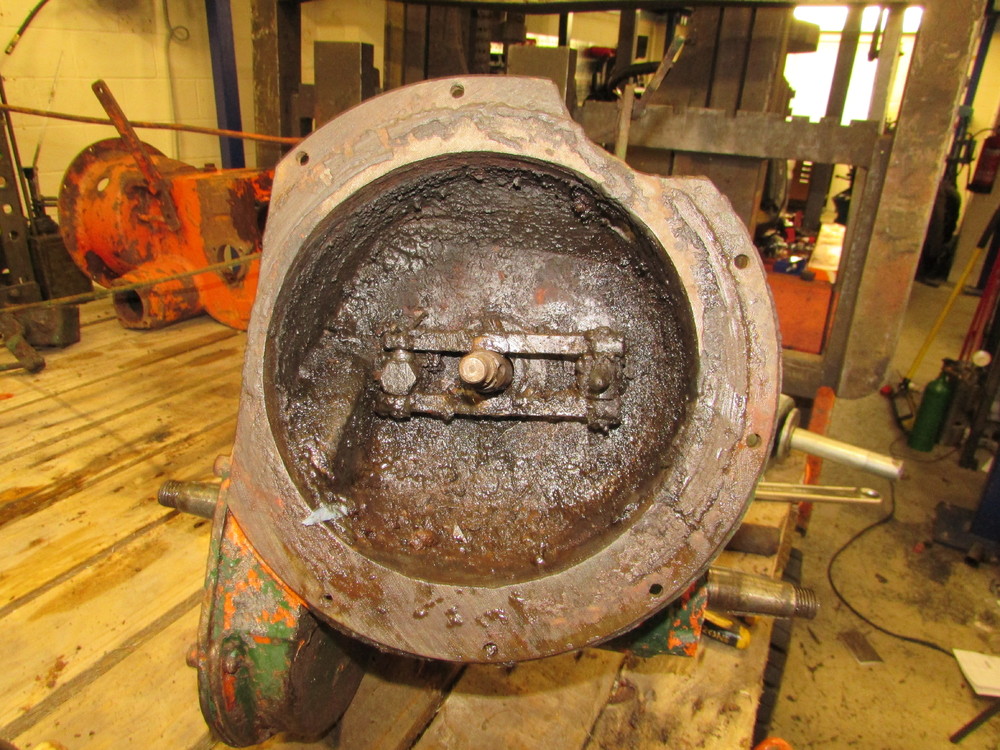
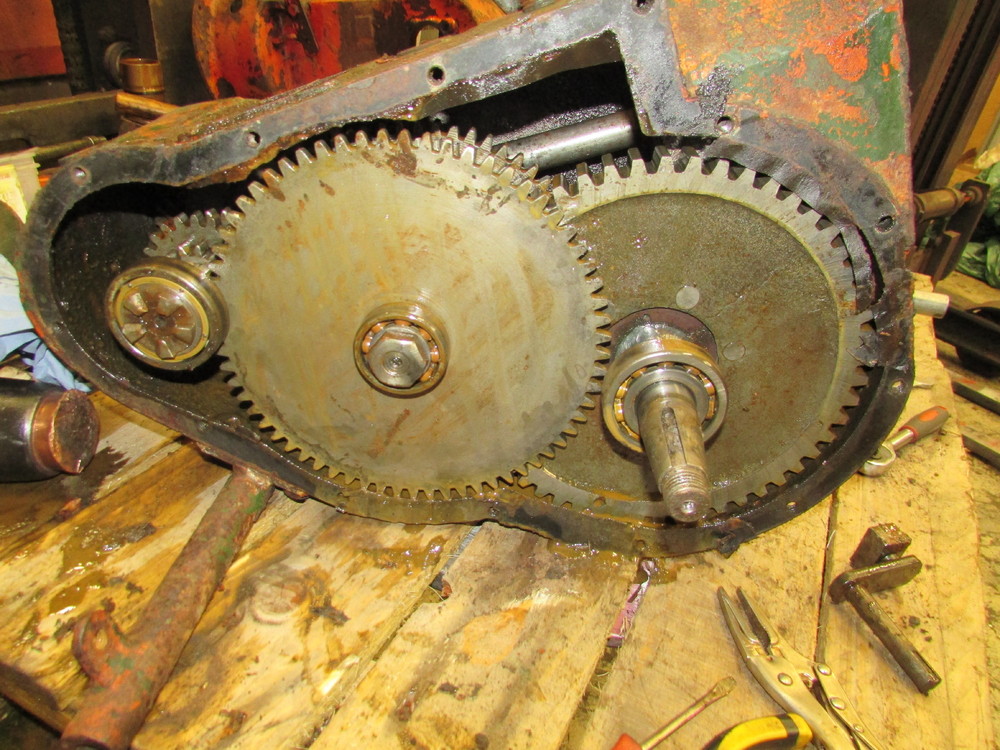
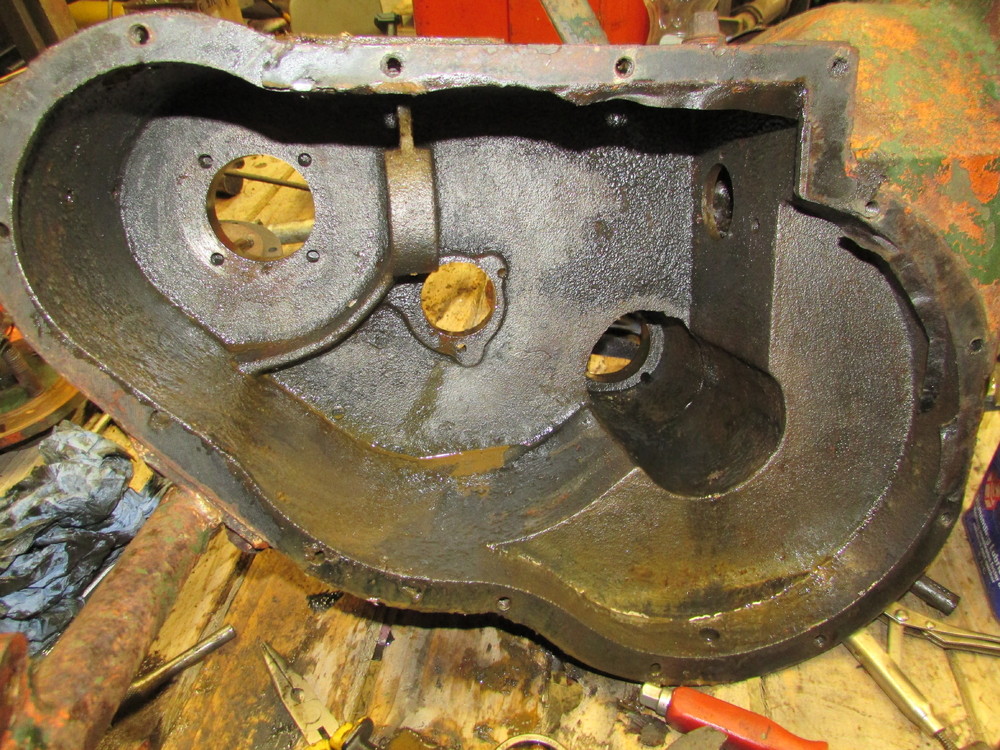
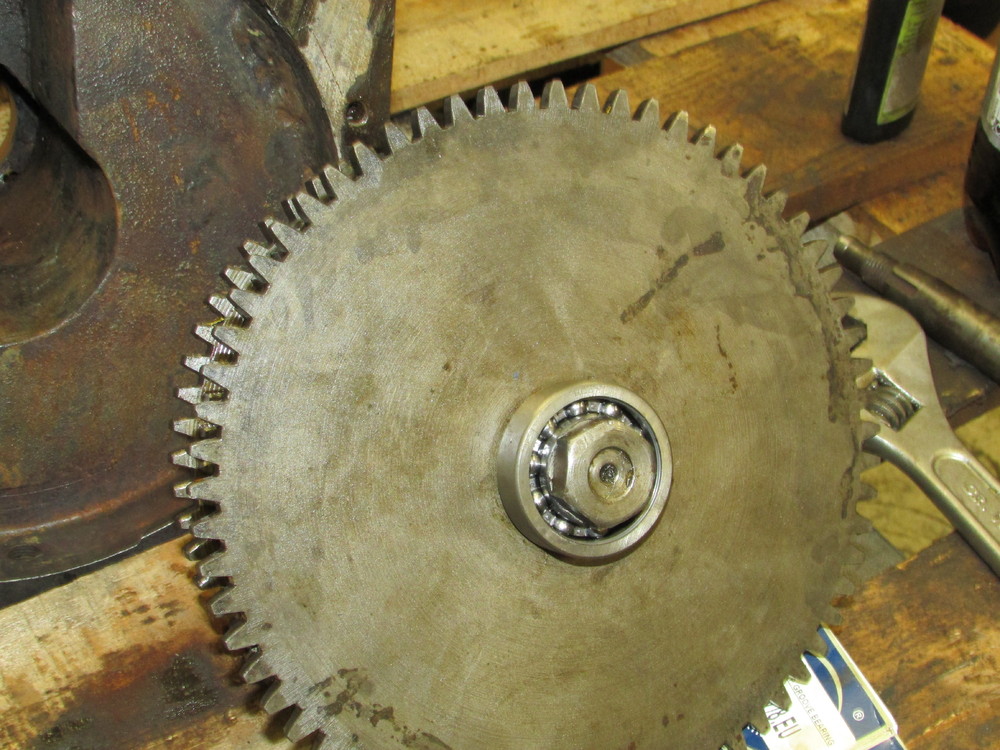
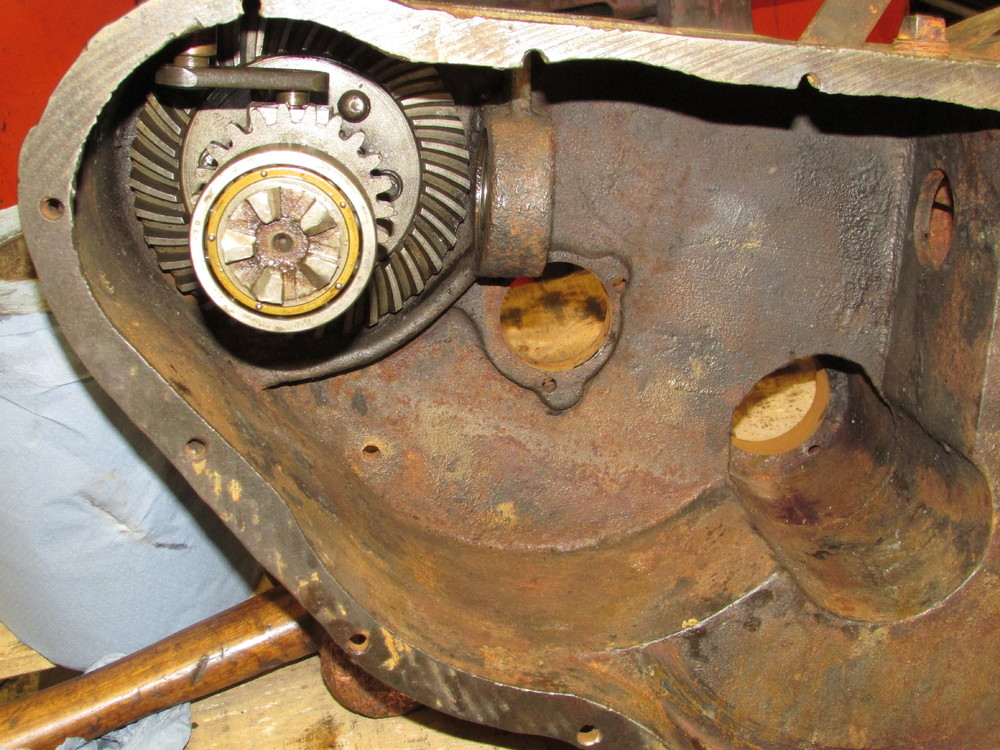
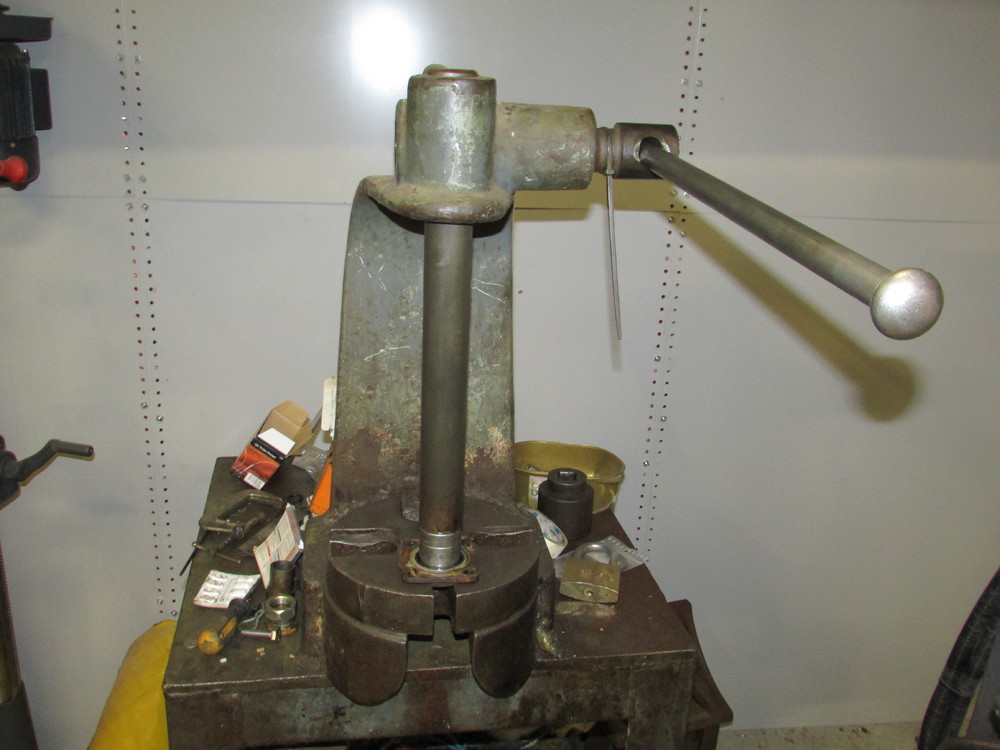
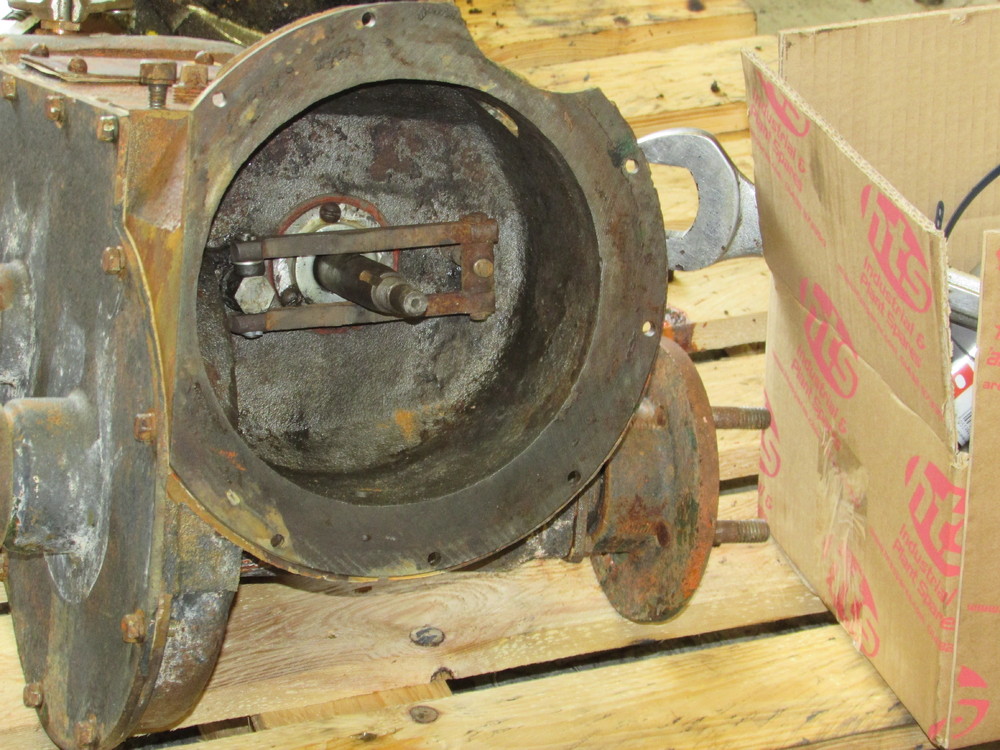
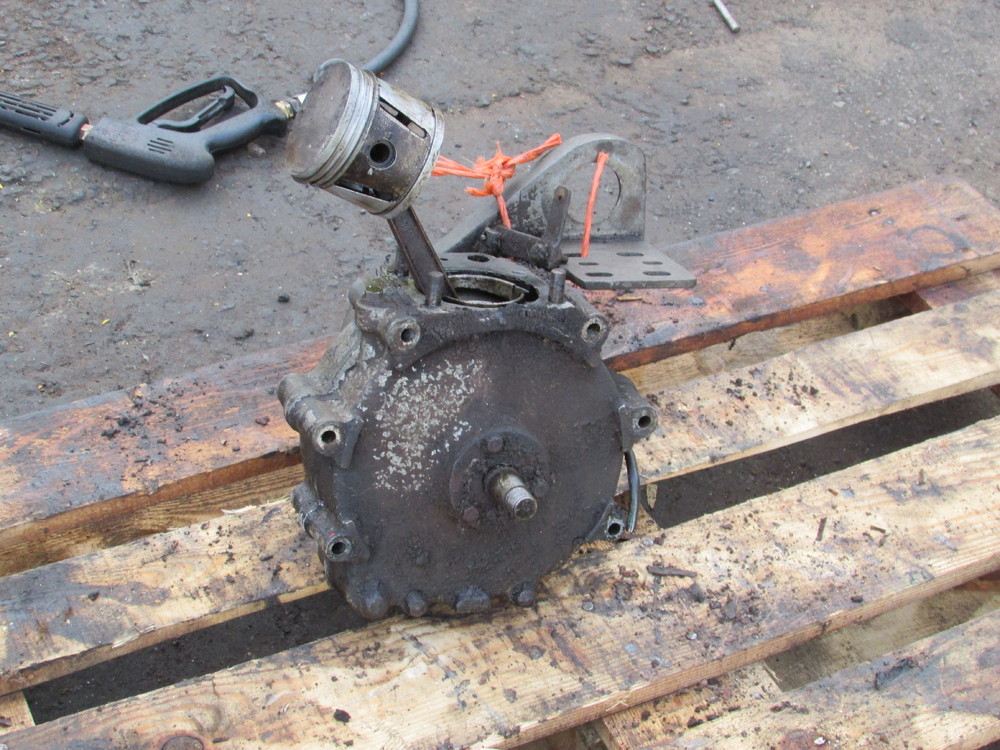
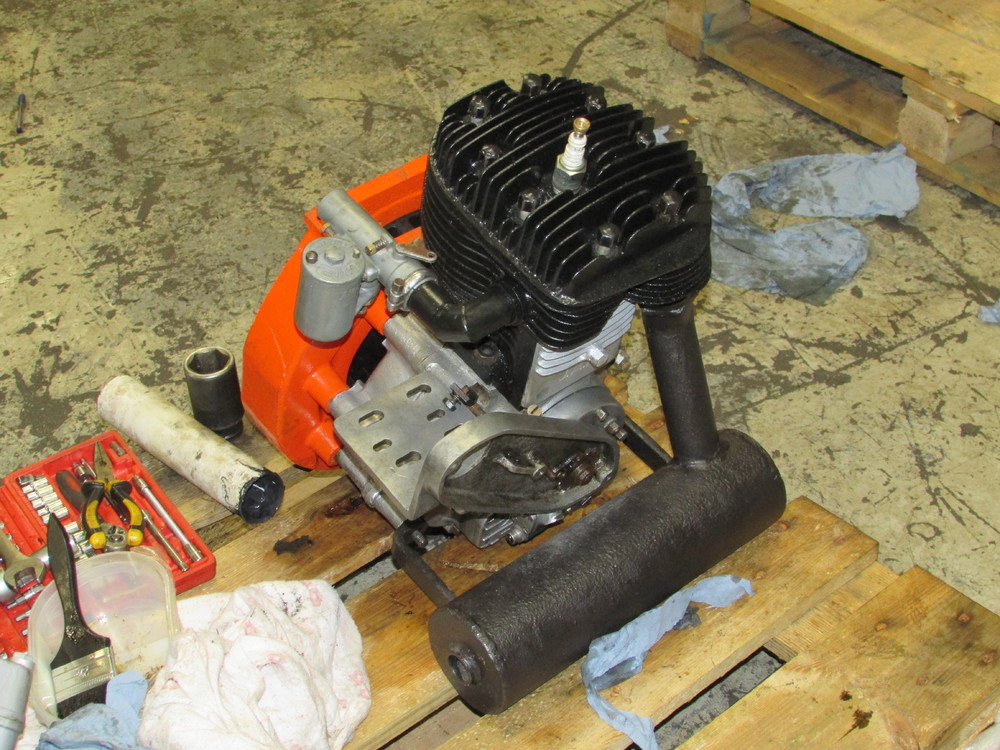
July 25, 2016 at 8:07 pm #21592vhgmcbuddyMemberHeres some photos of the strip down.
[URL=http://s882.photobucket.com/user/garethsgemS/media/image_zpsvz7a6irq.jpeg.html][IMG]http://i882.photobucket.com/albums/ac28/garethsgemS/image_zpsvz7a6irq.jpeg[/IMG][/URL]
[URL=http://s882.photobucket.com/user/garethsgemS/media/image_zpsgpdkmort.jpeg.html][IMG]http://i882.photobucket.com/albums/ac28/garethsgemS/image_zpsgpdkmort.jpeg[/IMG][/URL]
[URL=http://s882.photobucket.com/user/garethsgemS/media/image_zps2afnktks.jpeg.html][IMG]http://i882.photobucket.com/albums/ac28/garethsgemS/image_zps2afnktks.jpeg[/IMG][/URL]
[URL=http://s882.photobucket.com/user/garethsgemS/media/image_zpsife5l8tg.jpeg.html][IMG]http://i882.photobucket.com/albums/ac28/garethsgemS/image_zpsife5l8tg.jpeg[/IMG][/URL]
[URL=http://s882.photobucket.com/user/garethsgemS/media/image_zpspfnmdfkn.jpeg.html][IMG]http://i882.photobucket.com/albums/ac28/garethsgemS/image_zpspfnmdfkn.jpeg[/IMG][/URL]
[URL=http://s882.photobucket.com/user/garethsgemS/media/image_zps8kn270of.jpeg.html][IMG]http://i882.photobucket.com/albums/ac28/garethsgemS/image_zps8kn270of.jpeg[/IMG][/URL]
[URL=http://s882.photobucket.com/user/garethsgemS/media/image_zps3phm8vz6.jpeg.html][IMG]http://i882.photobucket.com/albums/ac28/garethsgemS/image_zps3phm8vz6.jpeg[/IMG][/URL]
[URL=http://s882.photobucket.com/user/garethsgemS/media/image_zpscdbngnfw.jpeg.html][IMG]http://i882.photobucket.com/albums/ac28/garethsgemS/image_zpscdbngnfw.jpeg[/IMG][/URL]July 25, 2016 at 8:10 pm #21593vhgmcbuddyMemberSee if this works.
Attachments:
July 25, 2016 at 8:13 pm #21595vhgmcbuddyMemberHere’s a couple more
Attachments:
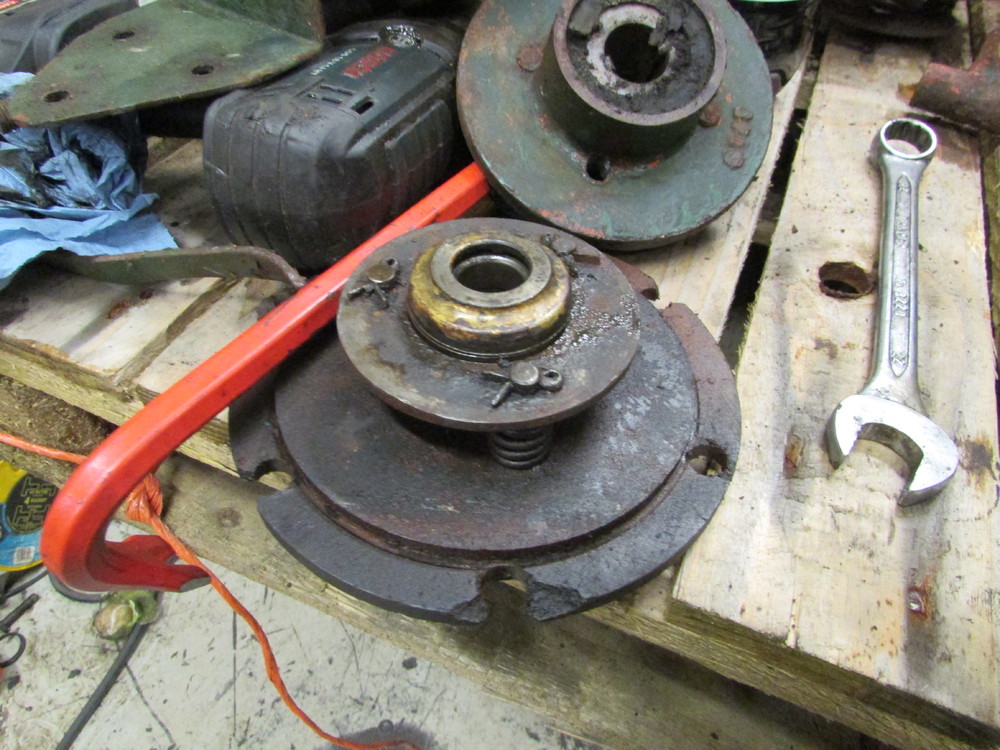
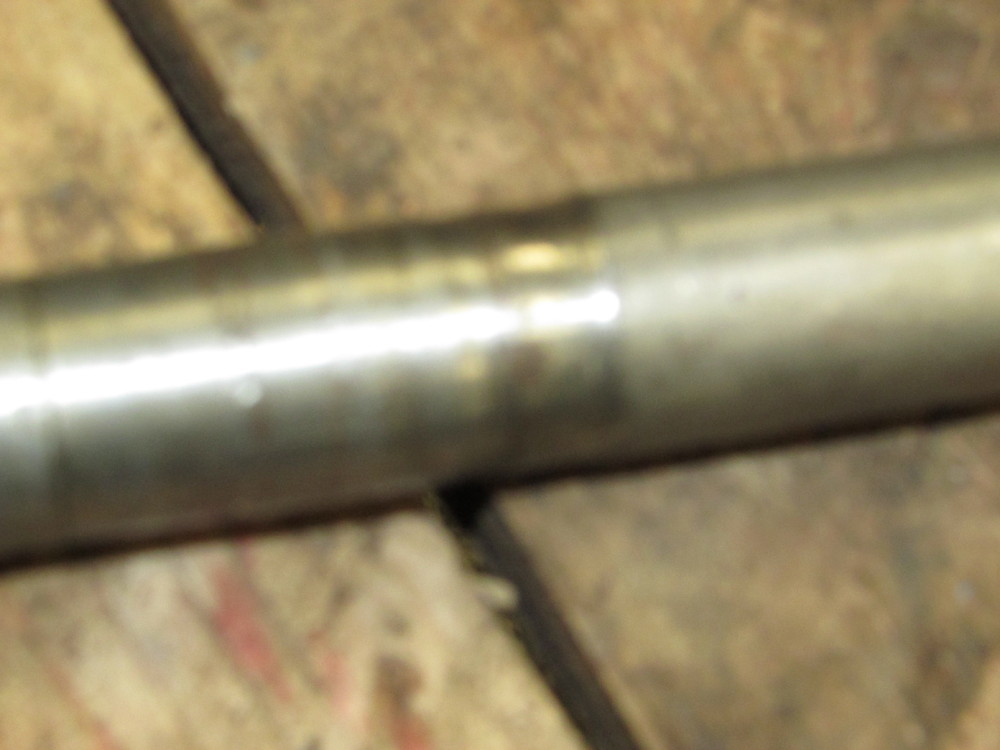
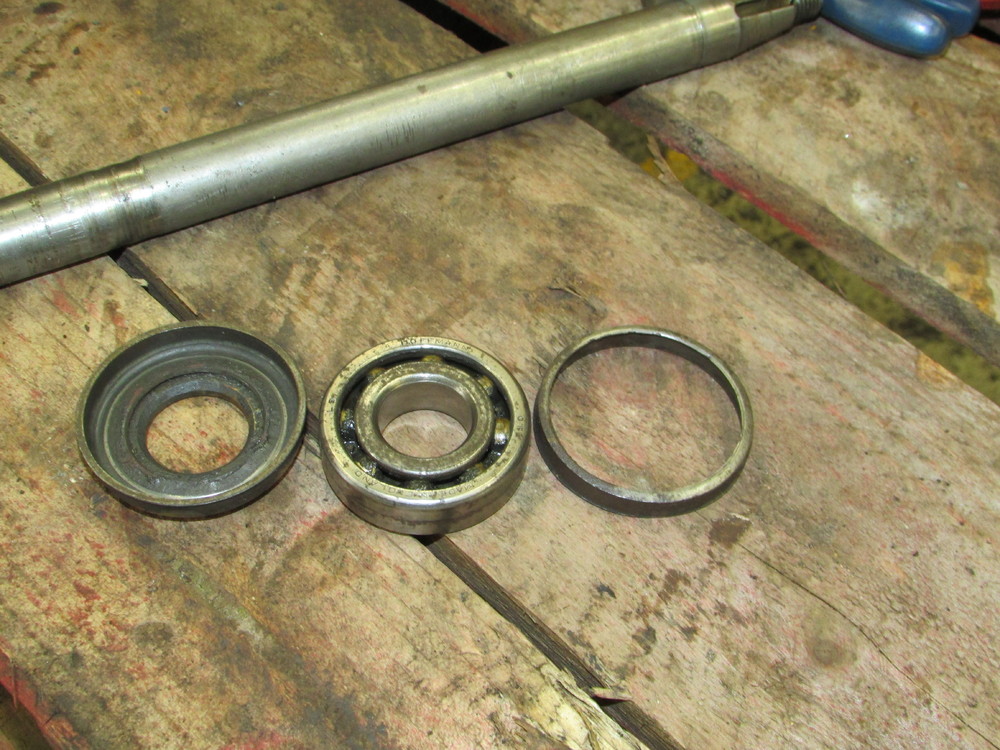
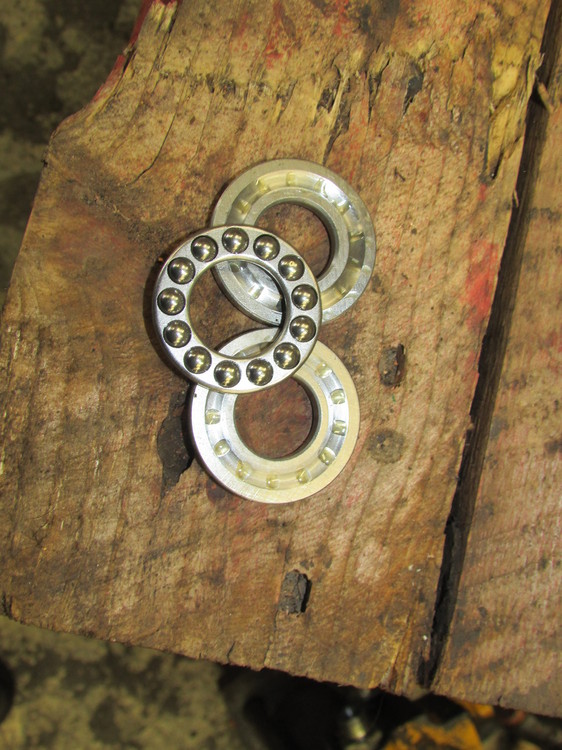
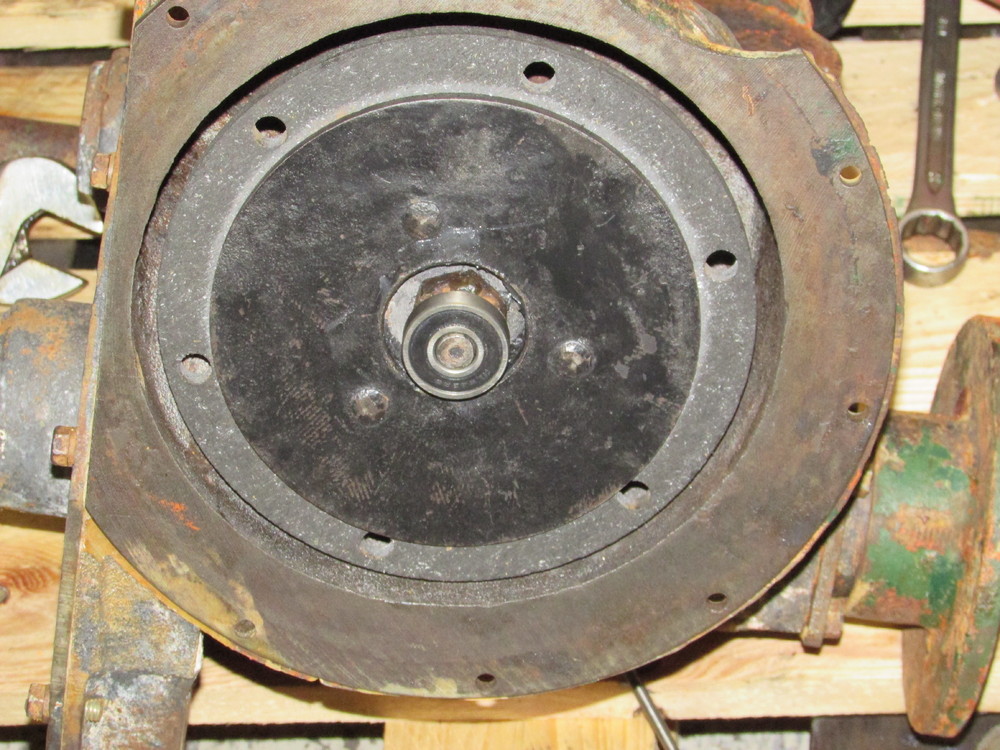
July 25, 2016 at 8:20 pm #21601vhgmcbuddyMemberOnce dismantled I could see that every bearing was shot. The bill for the bearings came to over £300 as all bar one were imperial. The odd one though had an imperial centre,and width yet a metric outer?!? A collar had to be machine to over come this problem. Due to a cobbled up thrust bearing having of been fitted at some point in its life, the main shaft was badly worn, here G 367 came in useful donating it’s shaft.
Attachments:
July 25, 2016 at 8:38 pm #21607 charlieKeymaster
Good to see an early example saved, look forward to watching progress with rebuild.
July 25, 2016 at 9:01 pm #21609vhgmcbuddyMemberIt’s well on its way to being finished, Charlie, I will upload the story over the next few days as I’ve got a slow internet connection so photos take a long time. They aren’t coming out on quite the right order but hopefully people can work it out.
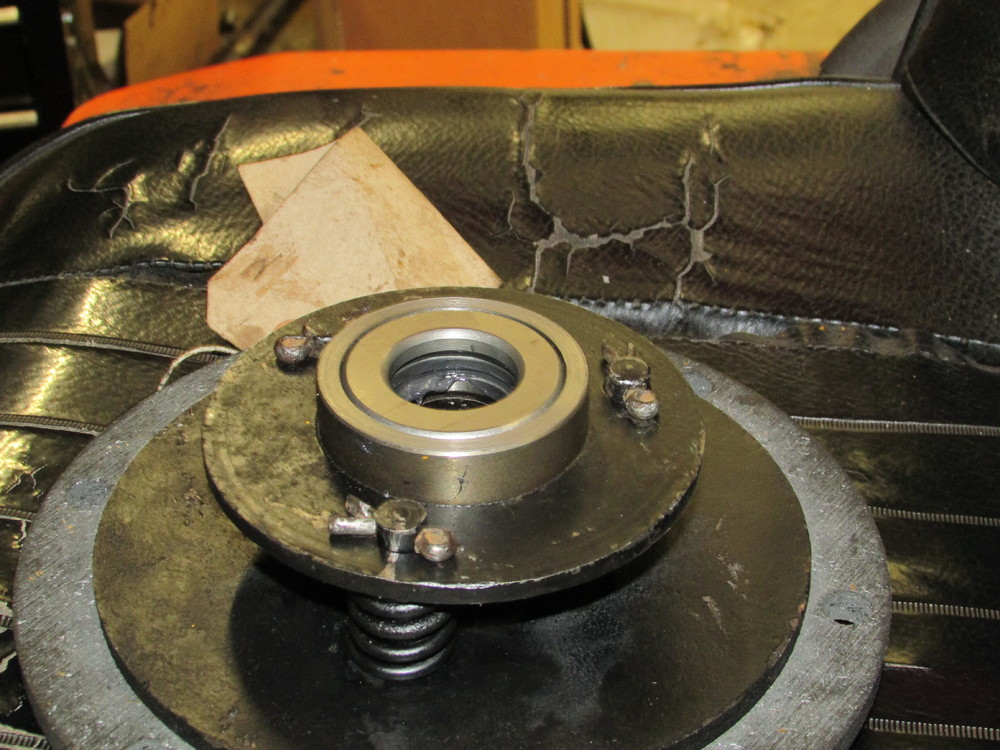
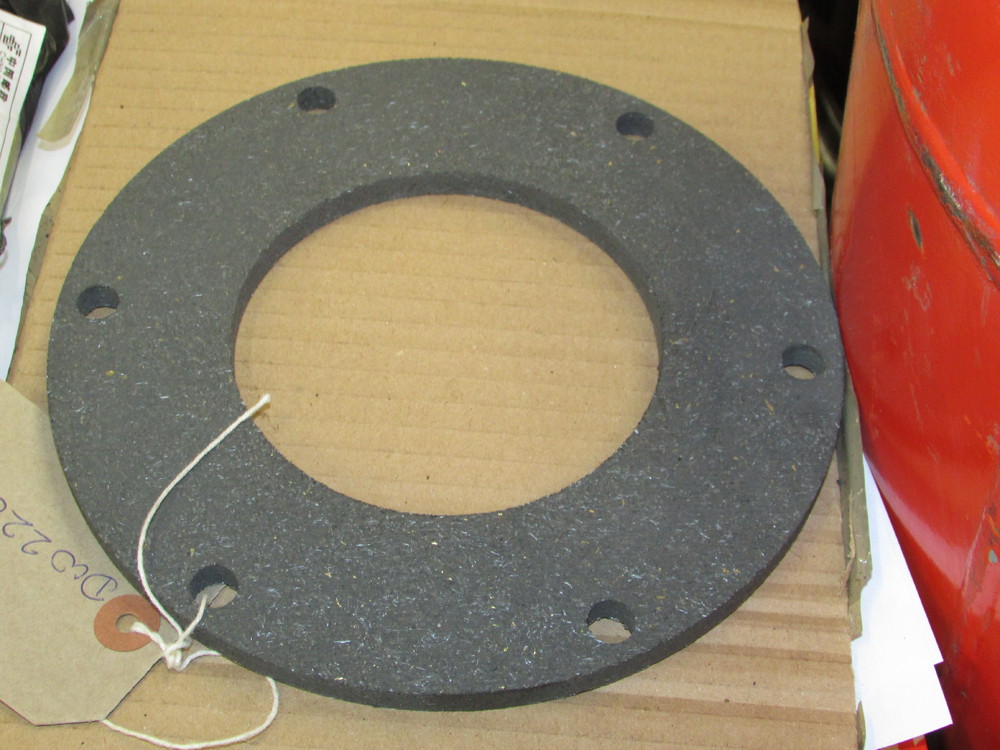
Once the gearbox was back together my attention turned to sorting out the thrust bearing. The problem was the book didn’t show what it looked like or give any sizes so it all had to be machined from scratch. The operating arms were badly worn, again g367 came to rescue with a better set. I also fitted a new clutch plate as the original was very past it. The final job was to file down some oversize key steel to take up a bit of damage on the clutch locating key ways.Attachments:
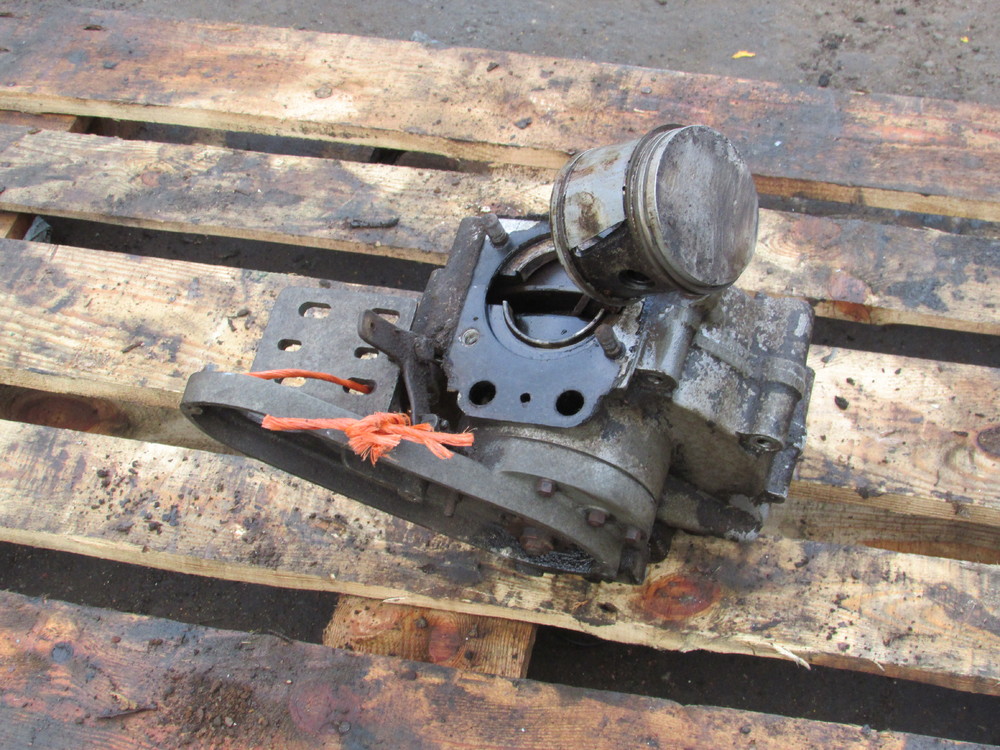
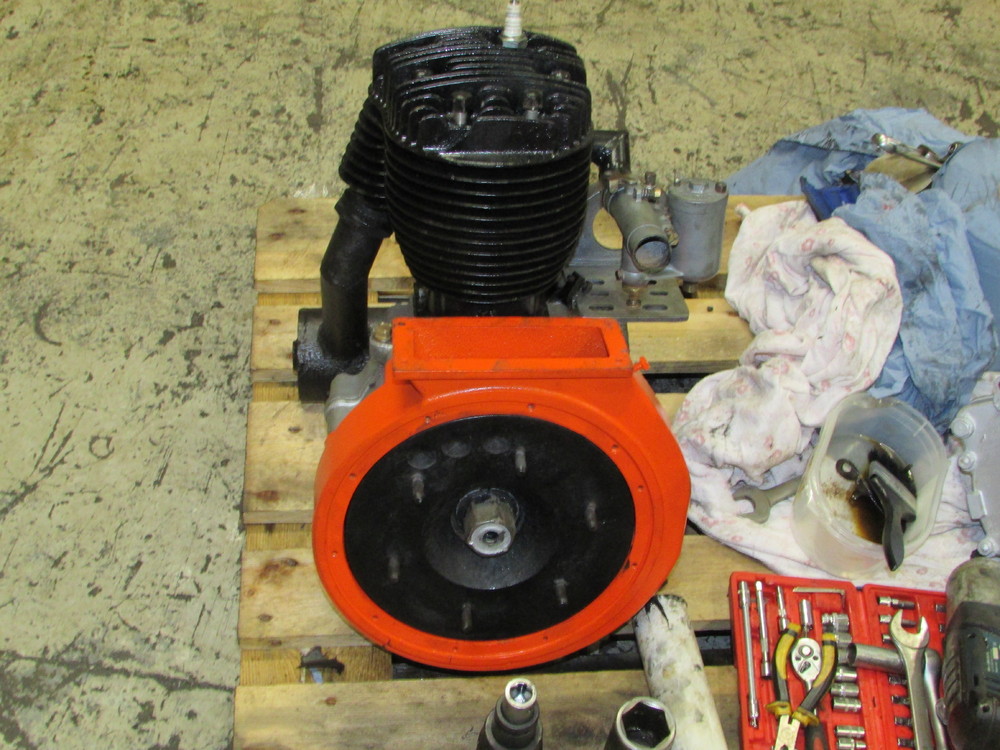
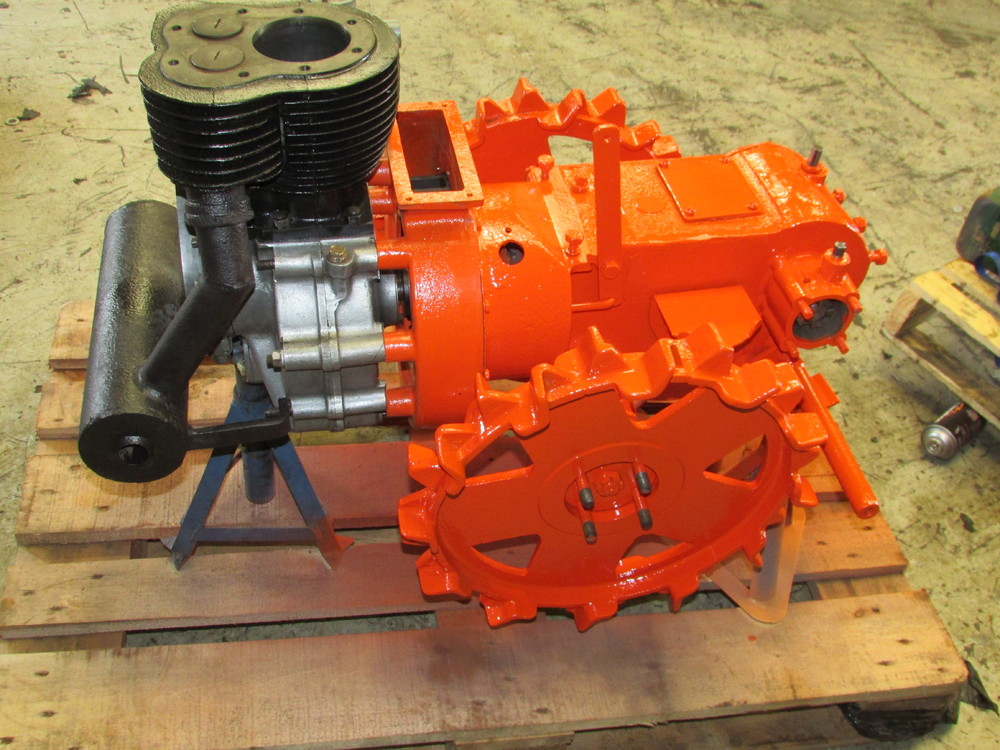
July 25, 2016 at 9:07 pm #21617vhgmcbuddyMemberThe engine was next in line for attention. These early gems left the factory with jap’s, as this was still the original one I decided to try and save it. For some reason this was sized solid yet when stripped down I could see no reason as to why. A lot of elbow grease followed, and the only major component that I changed was the cylinder and piston.
Attachments:
July 25, 2016 at 9:09 pm #21623vhgmcbuddyMemberI don’t know why but the photos are coming out in a ramdon order if you look at them in number order that’s the right way.
July 26, 2016 at 2:58 pm #21628charlieKeymasterWe have never managed to work out why photos seem to load in a random order.
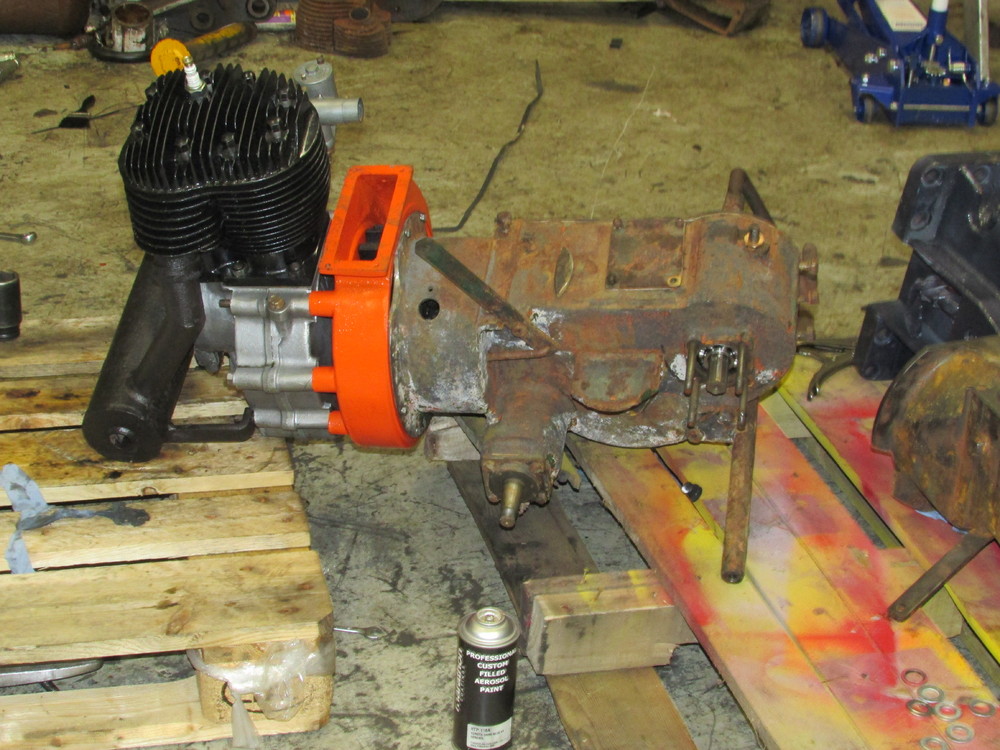
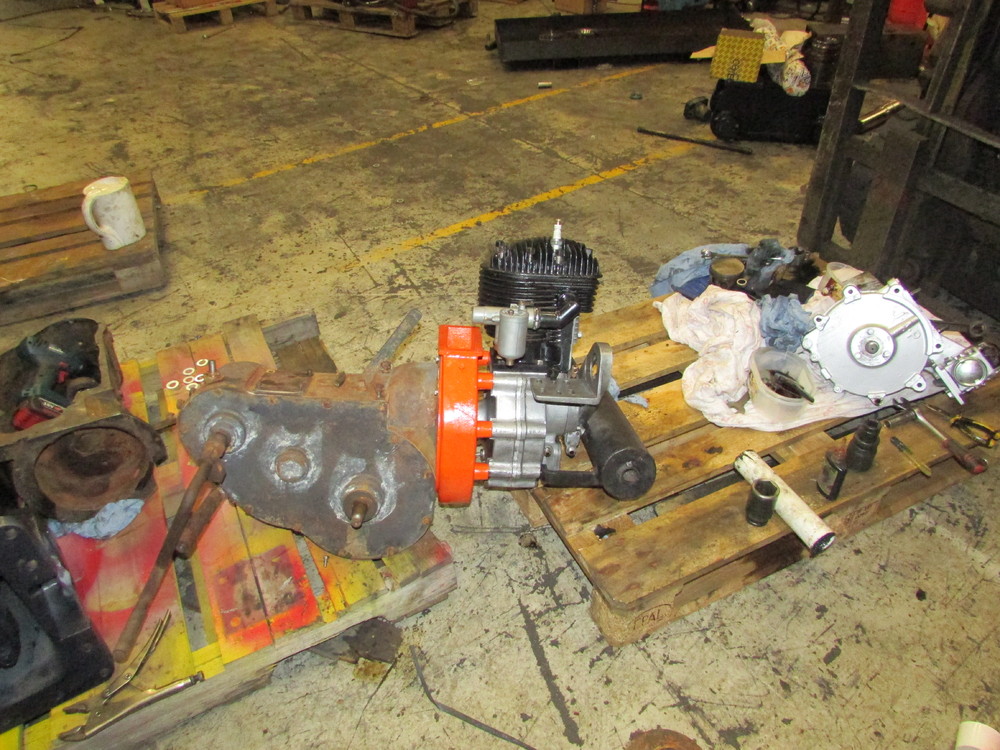
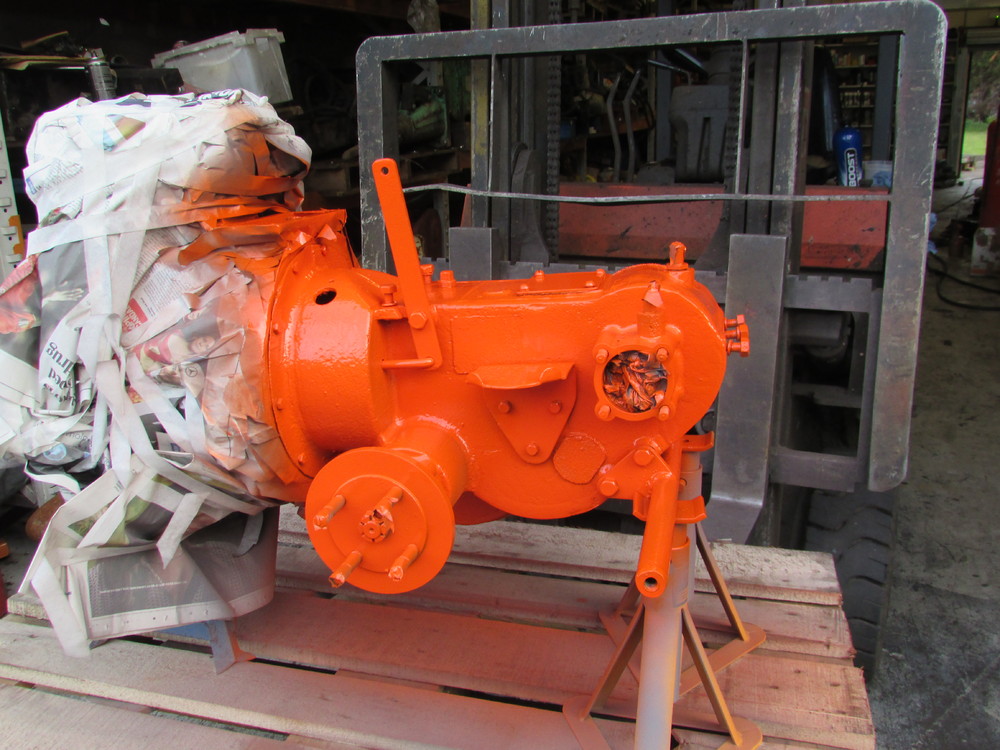
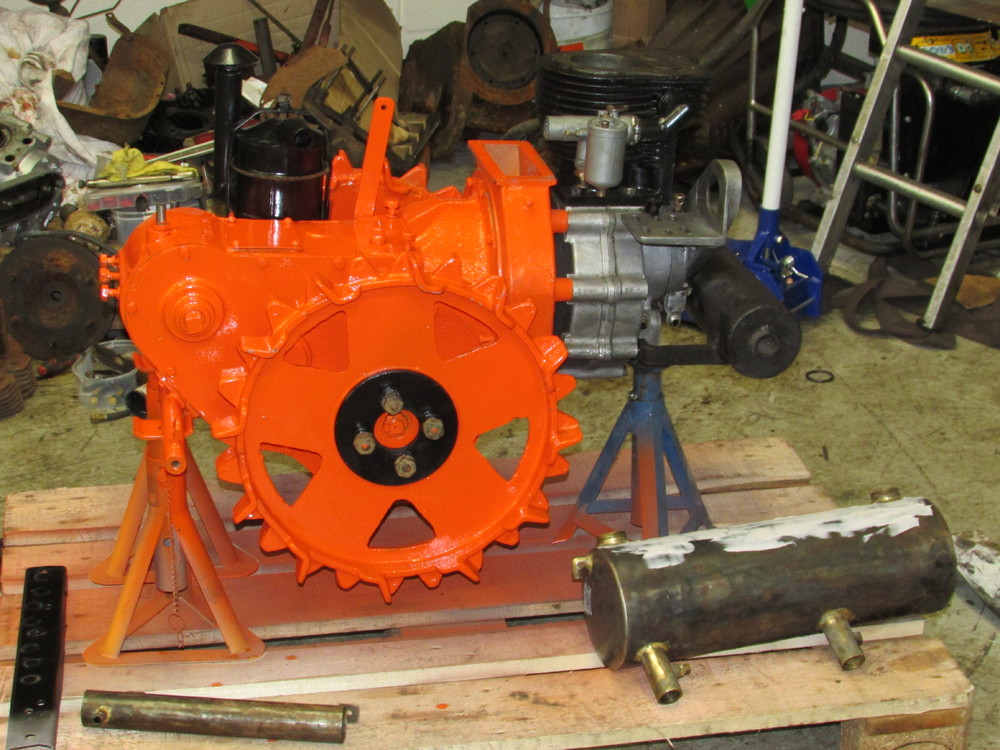
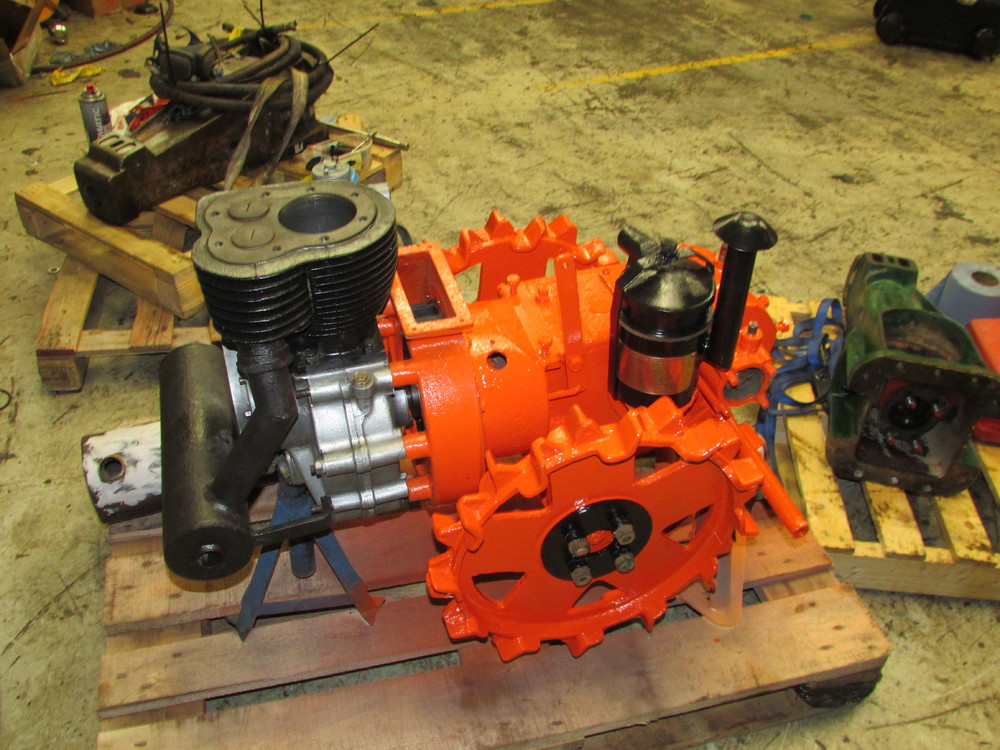
July 26, 2016 at 8:01 pm #21632vhgmcbuddyMemberThe engine is quite awkward to fit and line everything up on your own, I’m just very grateful that I’ve got a forklift to assist. Once in place I was then able to repair the broken flange. As cast is very difficult to successfully weld I used a plastic metal called j-b weld. Finally after all this I was able to put the first coat of paint on. For the first time in a month it felt like I was actually making some progress.
Attachments:
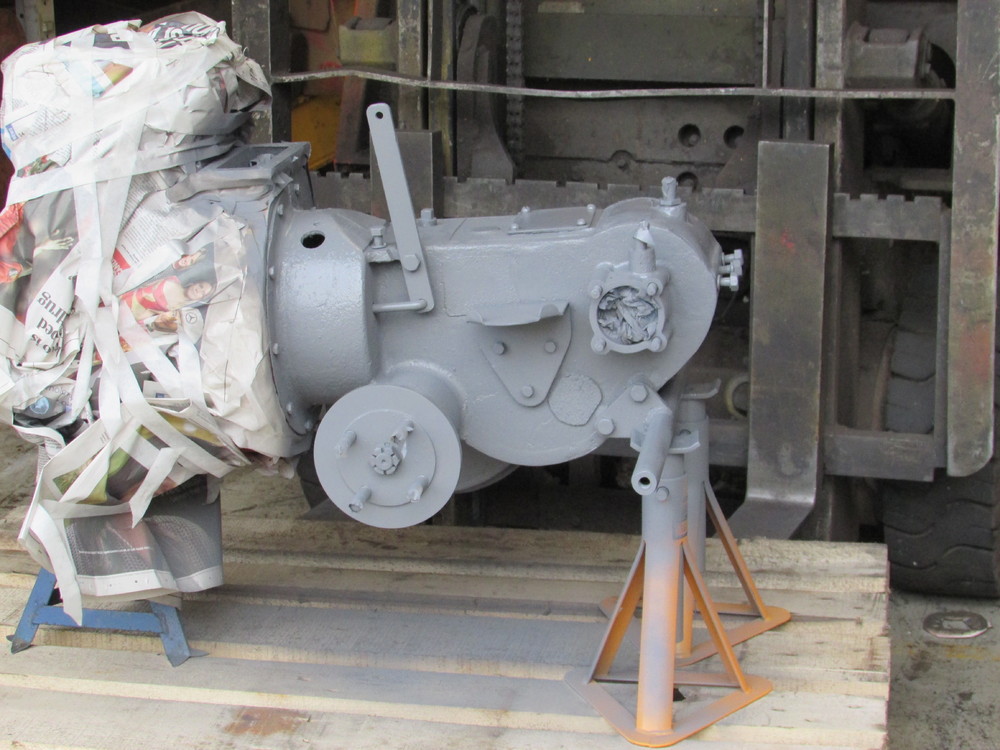
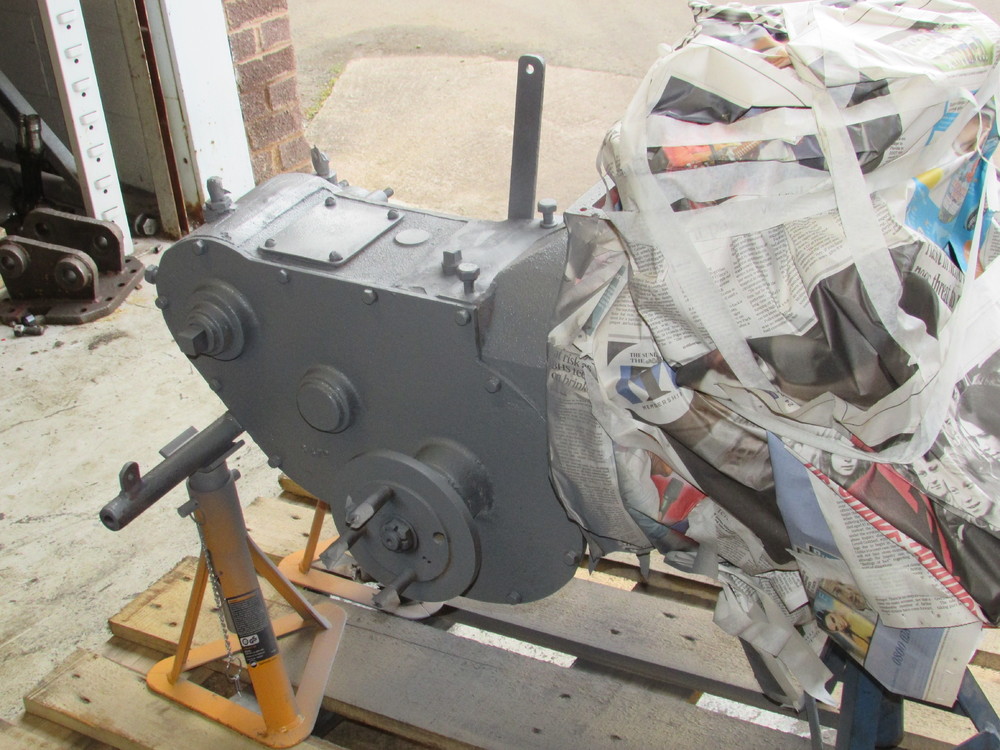
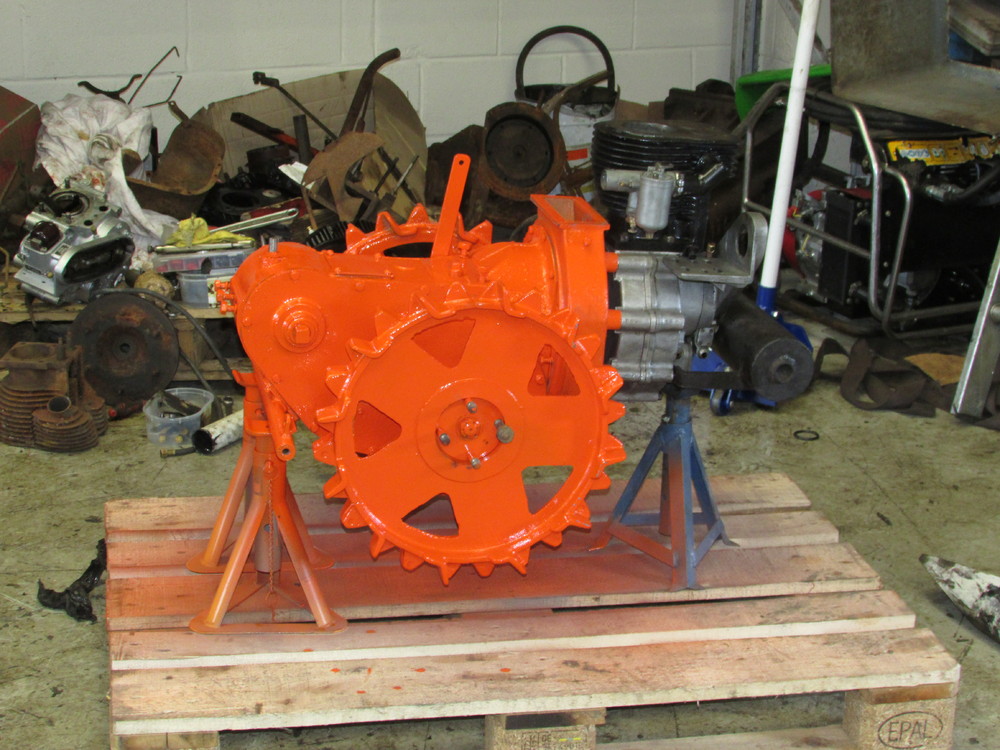
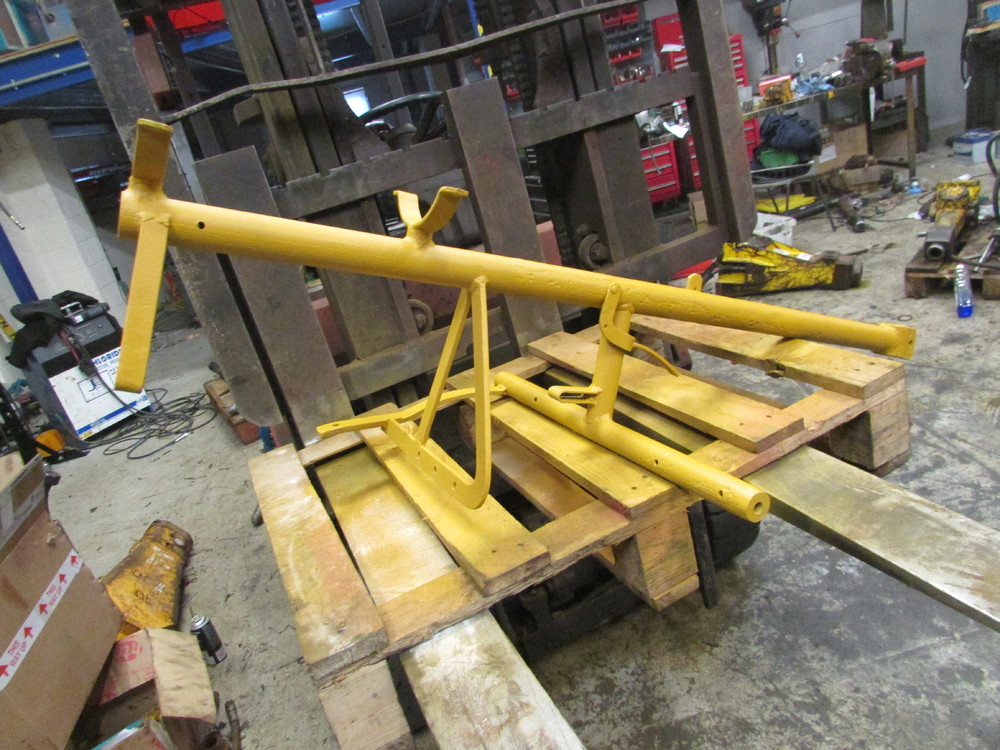
July 26, 2016 at 8:02 pm #21637vhgmcbuddyMemberSome photos of the painting
Attachments:
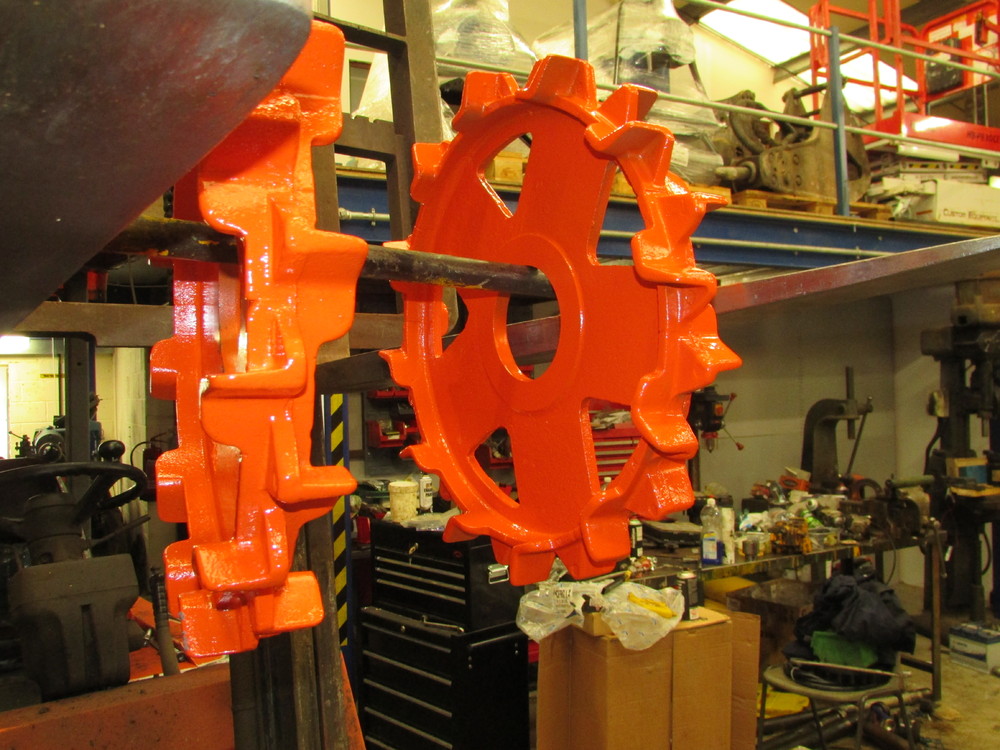
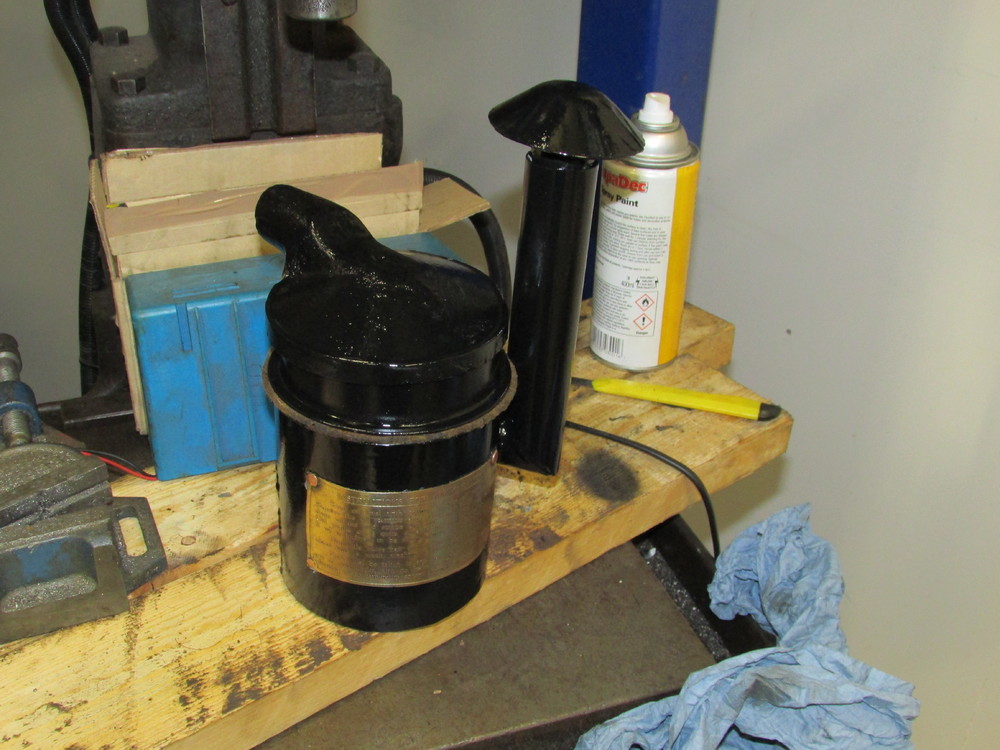
July 26, 2016 at 8:32 pm #21643vhgmcbuddyMemberOnce the paint had dried for a few days I put the wheels on, blacked the securing plates and overhauled the air filter.
Attachments:
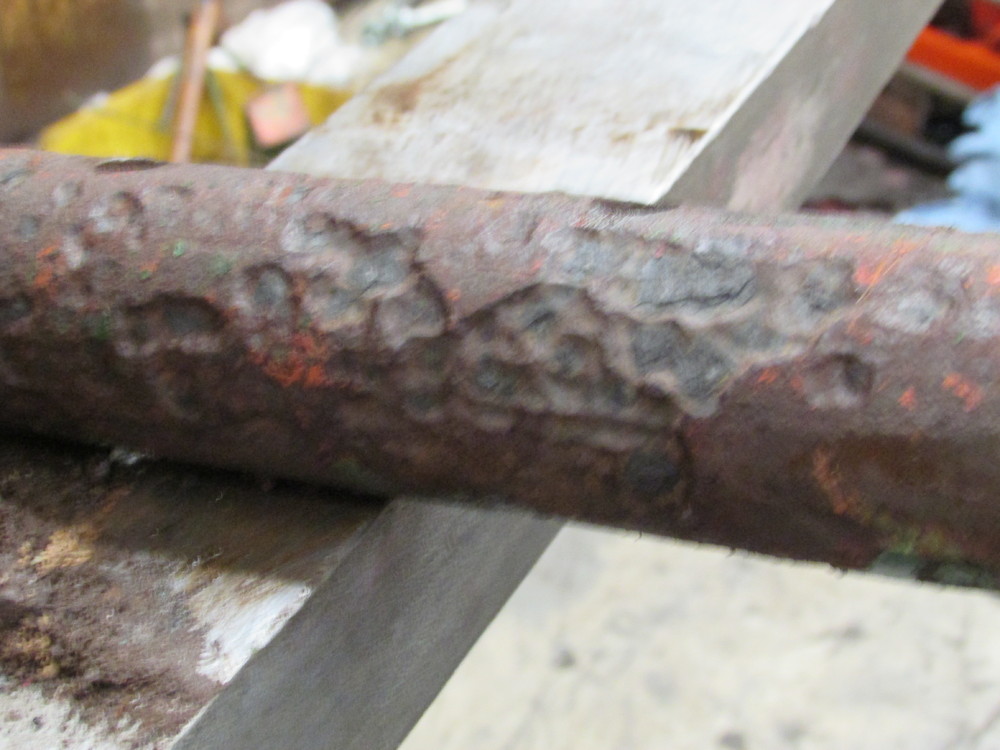
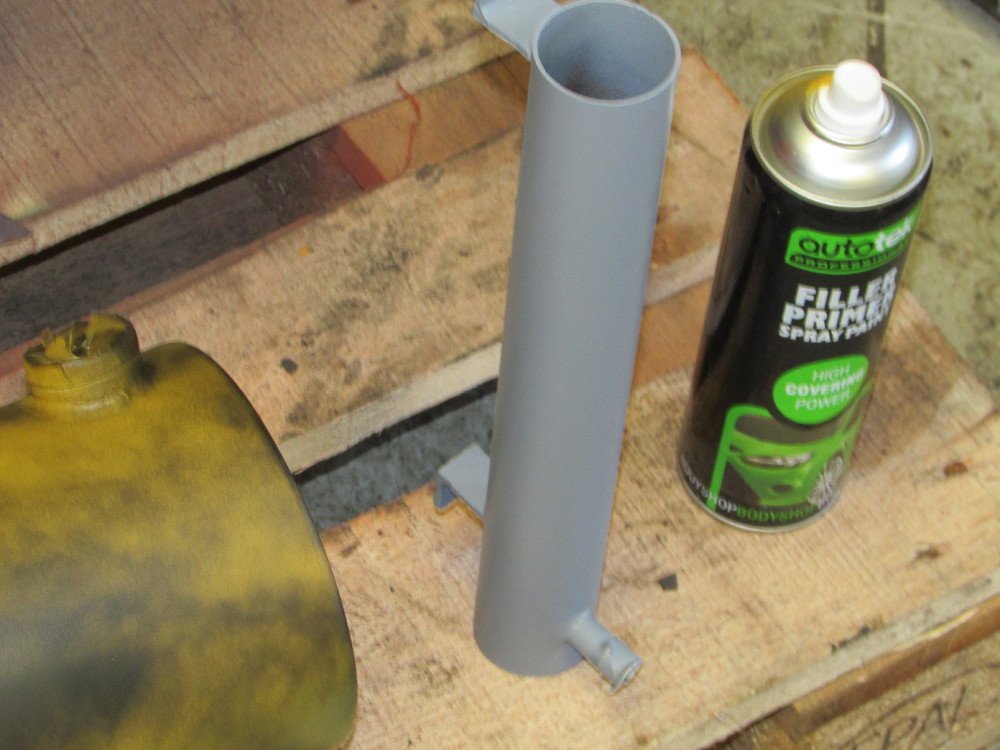
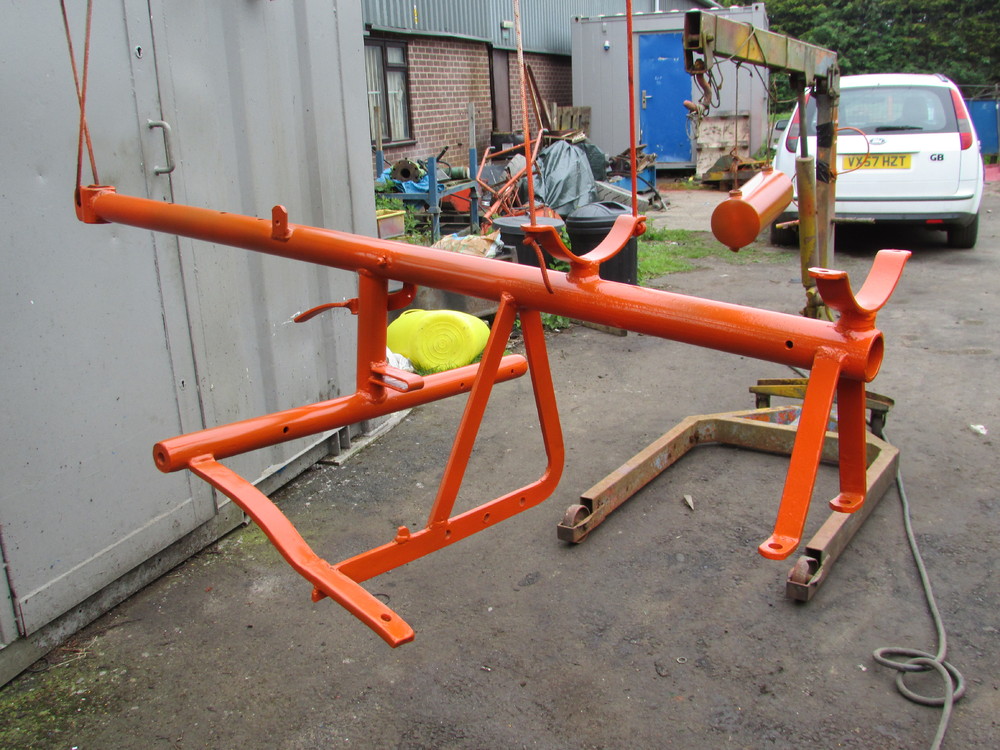
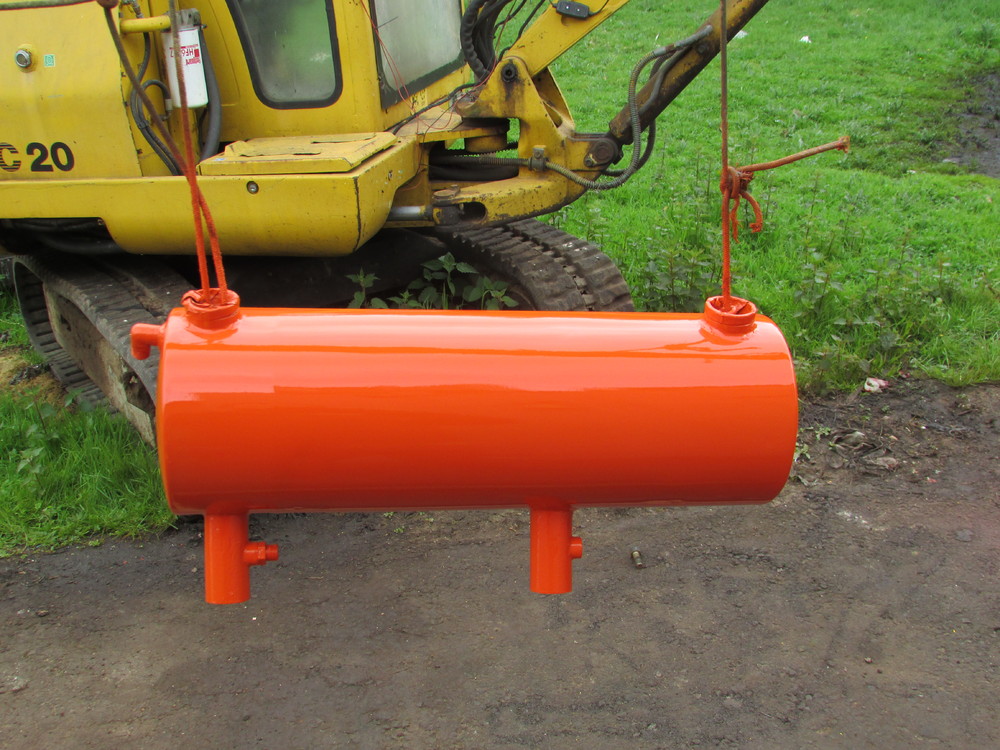
July 26, 2016 at 8:37 pm #21650vhgmcbuddyMemberThe area of this gem that seemed to of suffered the worst corrosion was the main frame. This was wire brushed, treated in rust killer and built back up with weld, then ground back and filled. I also painted the fuel tank and the oil filter housing at the same time. For some reason the fuel tank has the outlets on the wrong side meaning it has to be fitted back to front, was this intentional or a covk up at the factory that due to shortages of materials was sent out anyway?
Attachments:
-
AuthorPosts


- You must be logged in to reply to this topic.