Home › Forums › The Main Forum Area › Projects › Farmer's Boy Series 2 Light Tractor
- This topic has 48 replies, 5 voices, and was last updated 5 years, 11 months ago by
 vhgmcbuddy.
-
AuthorPosts
-
February 10, 2017 at 11:01 pm #24360
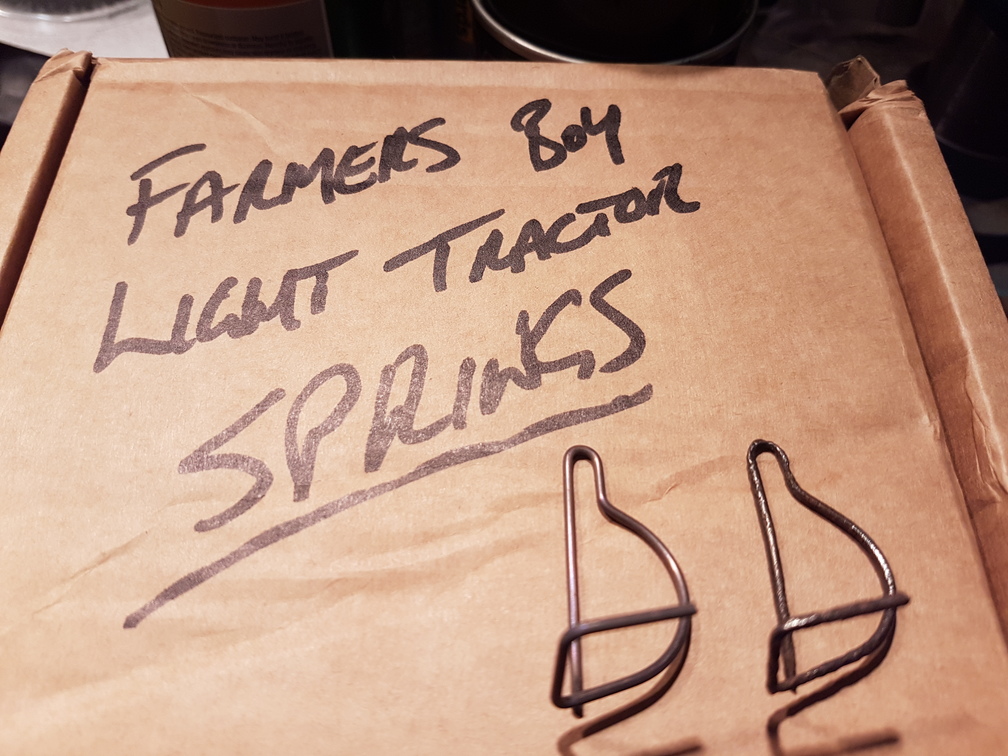
 darmic1Participant
Mr Postie delivered my replacement ratchet springs yesterday…. The company who made them specialise in small batch production. I sent an original rusty spring as a template and a ratchet/pawl assembly for them to ‘test fit’ the replacement to. Really pleased with what they sent back……
Attachments:
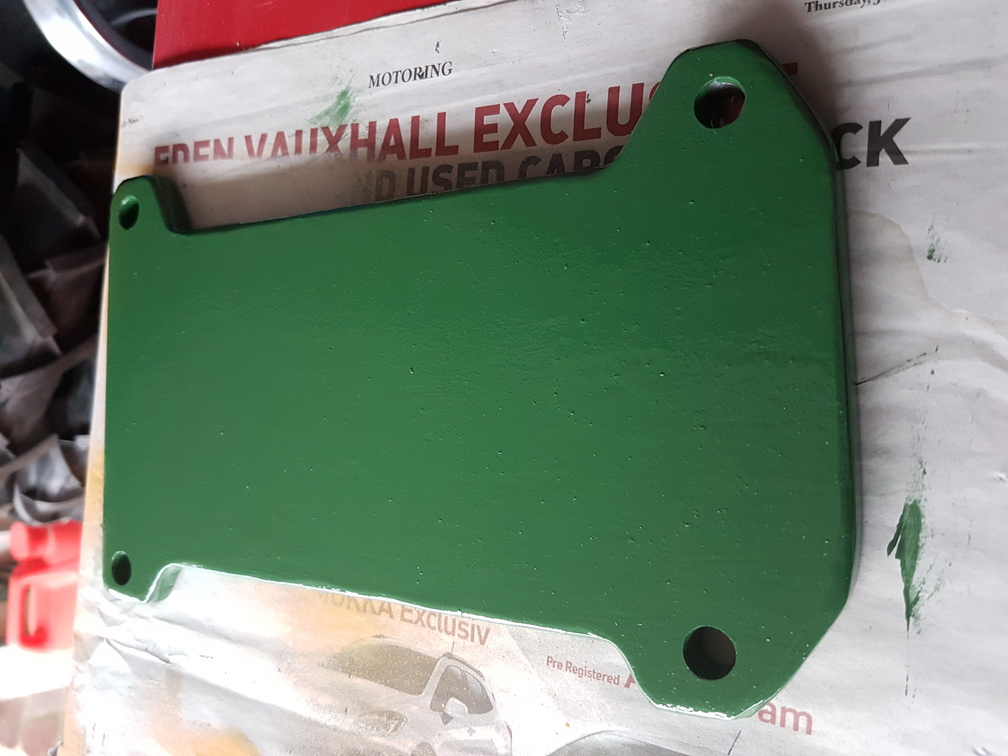
April 1, 2017 at 7:54 pm #24849darmic1ParticipantLooks like I need to bring this post up to date?
well, the 8mm spacer has been cut, drilled and painted. Lifting the engine with this plate should give me about 10mm clearance over the new bigger tyres…..Attachments:
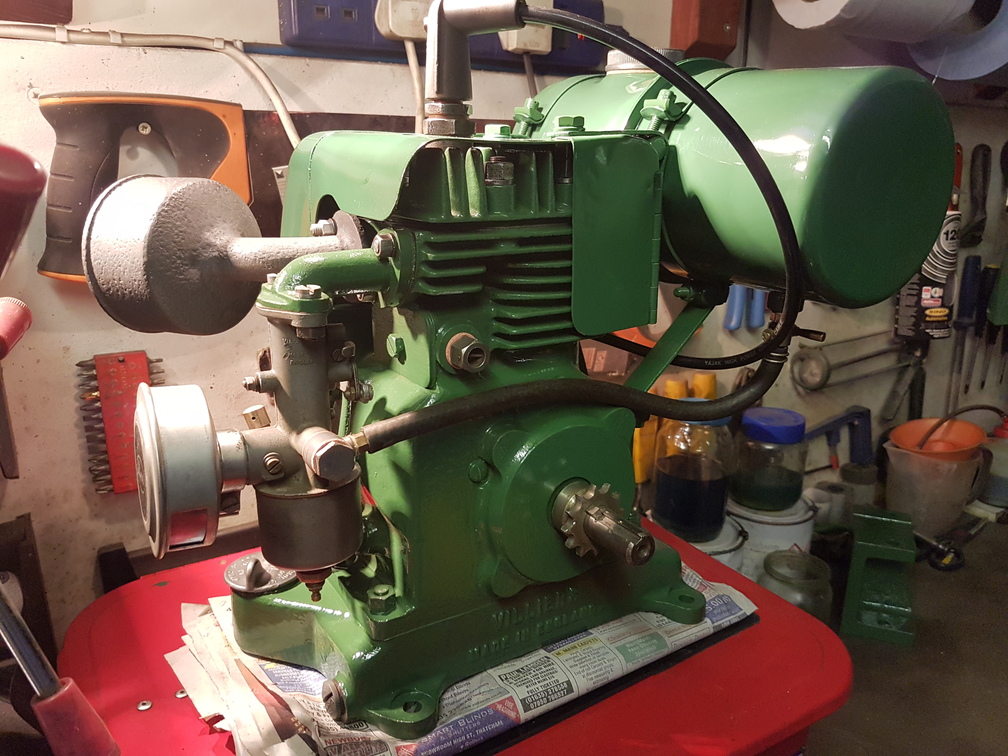
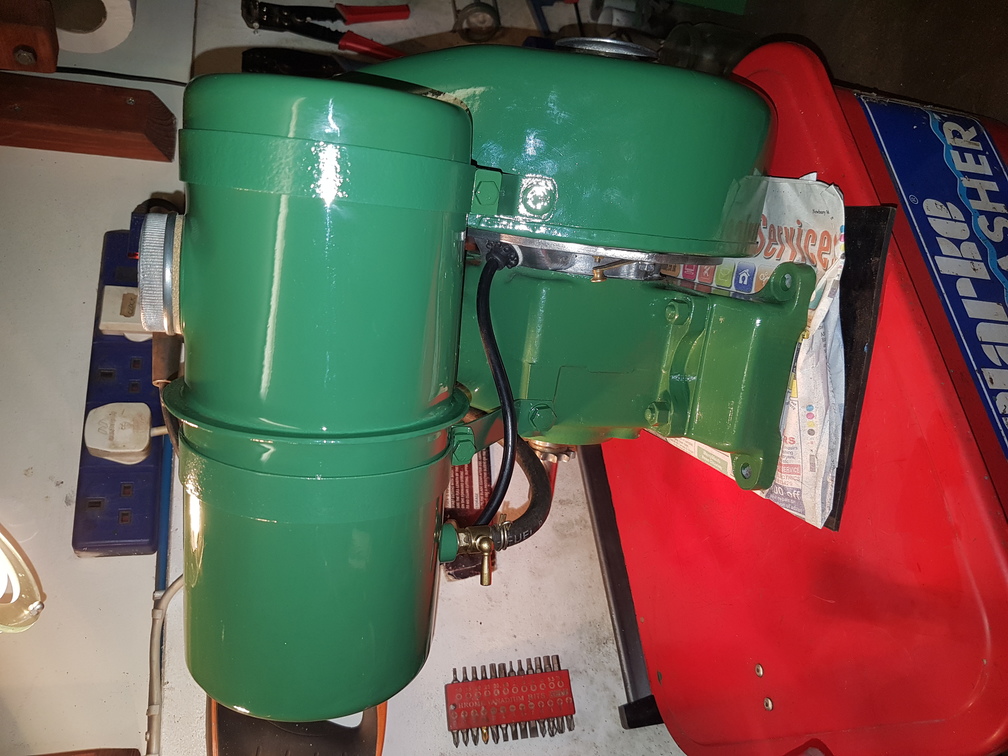
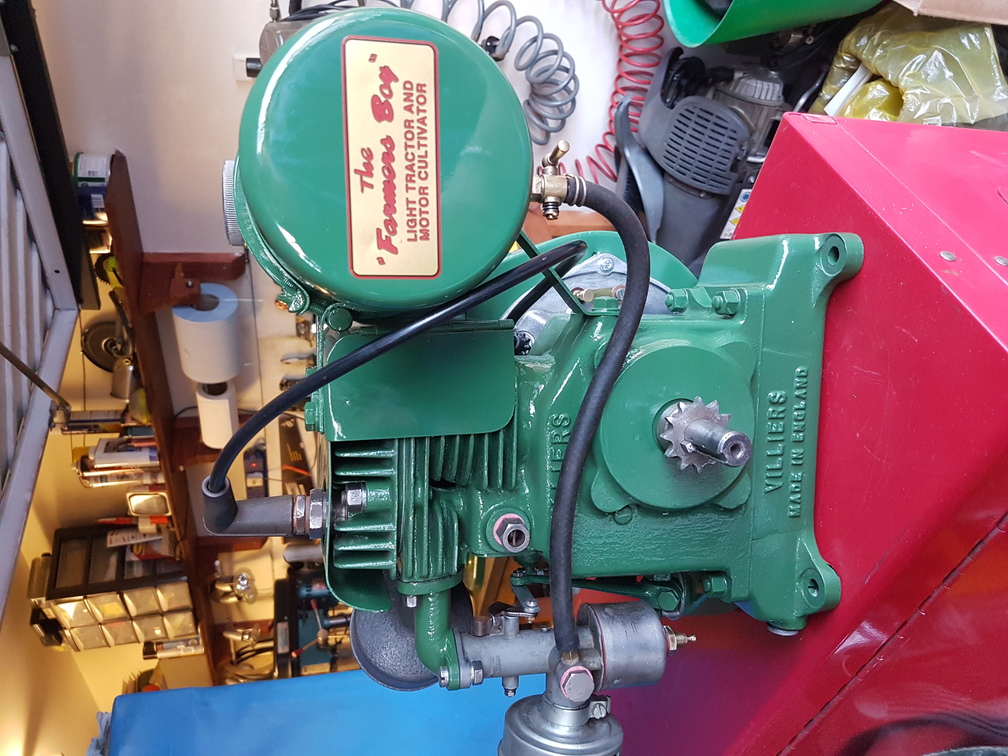
April 1, 2017 at 7:55 pm #24851darmic1ParticipantNext came putting the engine back together with the air shroud and fuel tank…..
Attachments:
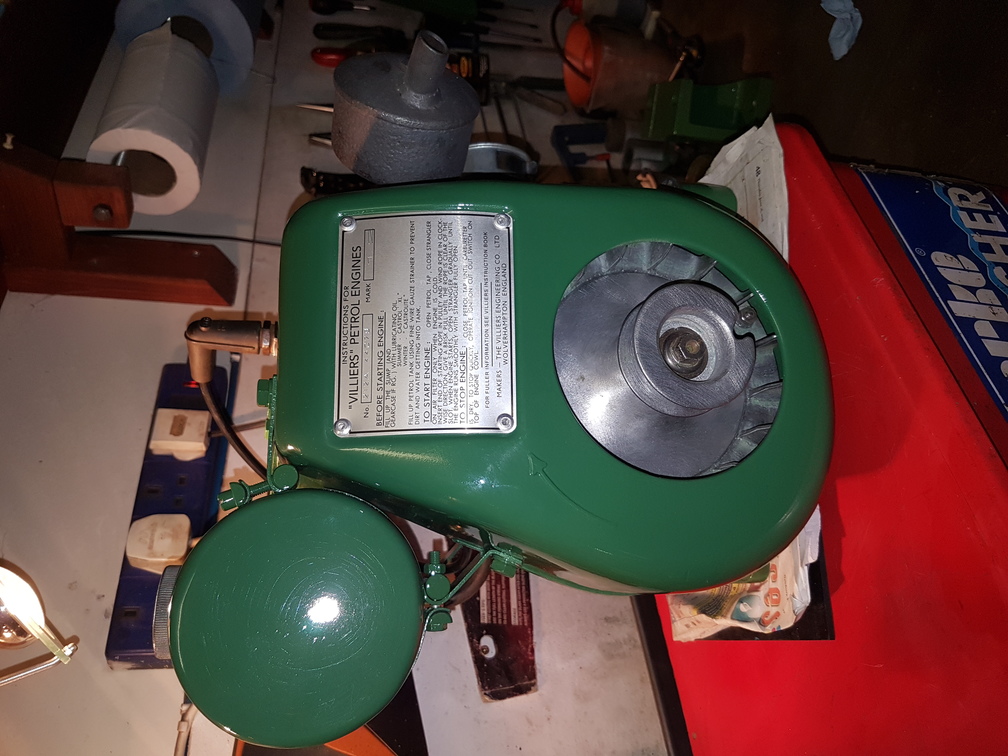
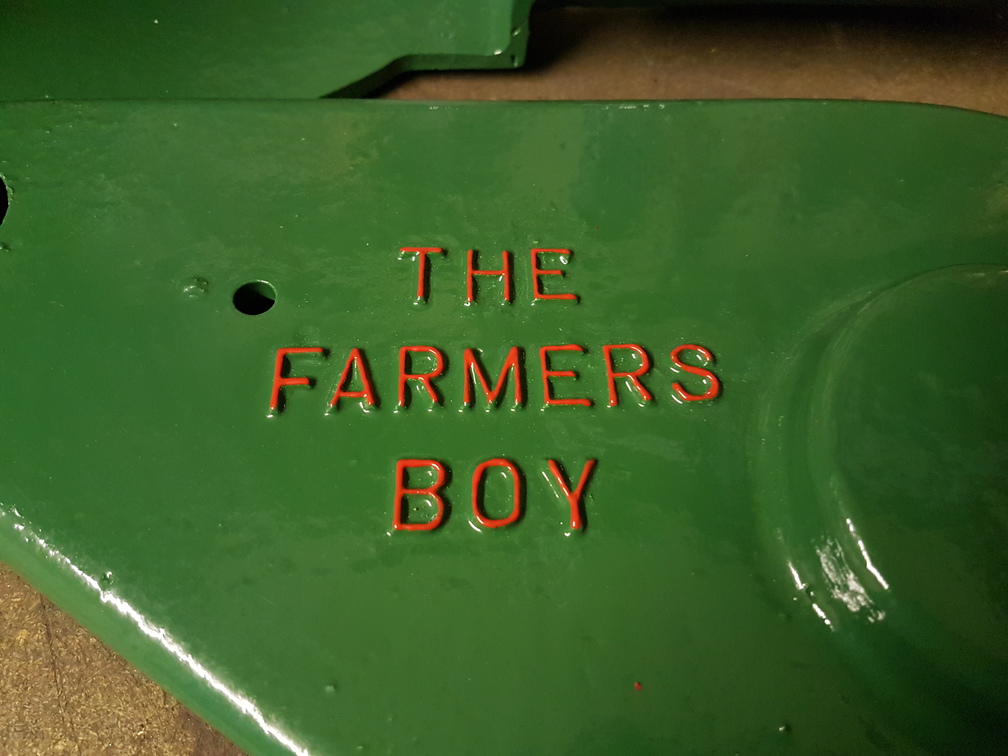
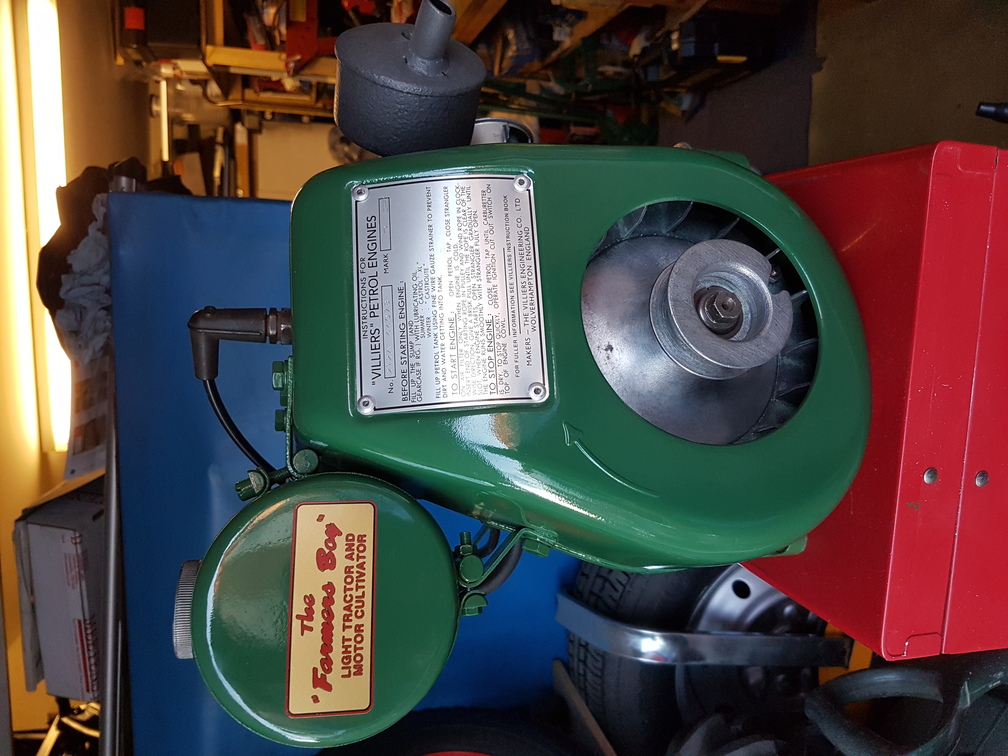
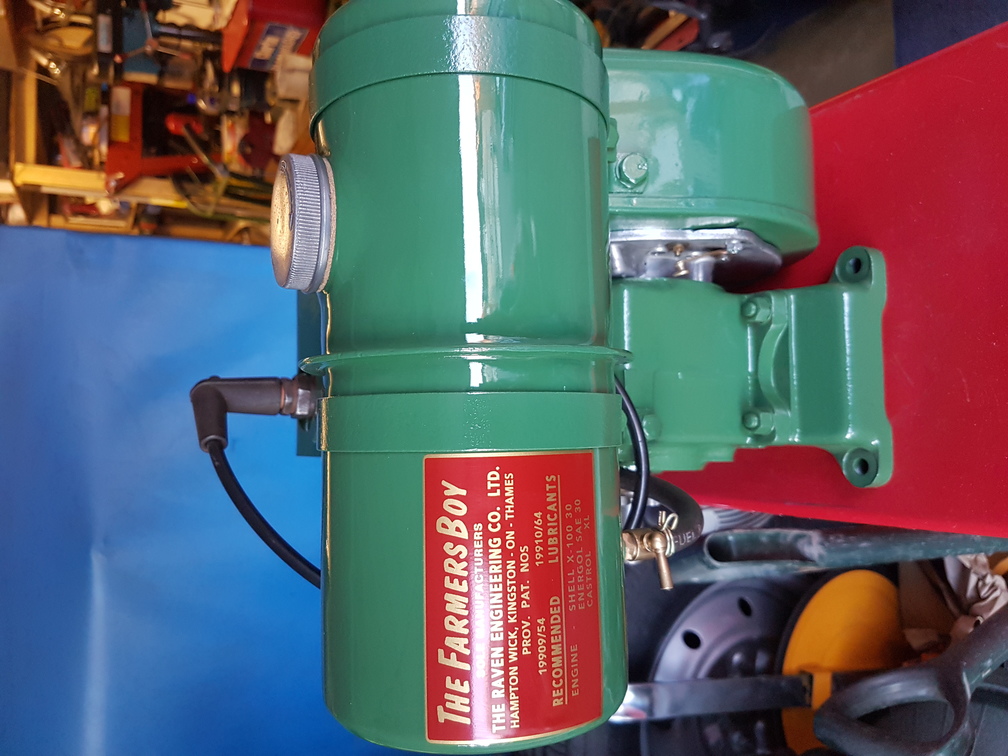
April 1, 2017 at 7:57 pm #24855darmic1ParticipantMore painting…… and a tiny bit of detail high lighting the Farmers Boy name…..
Attachments:
April 1, 2017 at 8:01 pm #24859darmic1ParticipantI took advantage of some time off work and went to meet Titch at Machinery Decals…… What a great guy! Spent an entire day with him, chatting, drinking tea and watching how he makes his fine decals! Speaking of which…… Here are some made for the Farmers Boy, fitted and looking awesome!
Attachments:
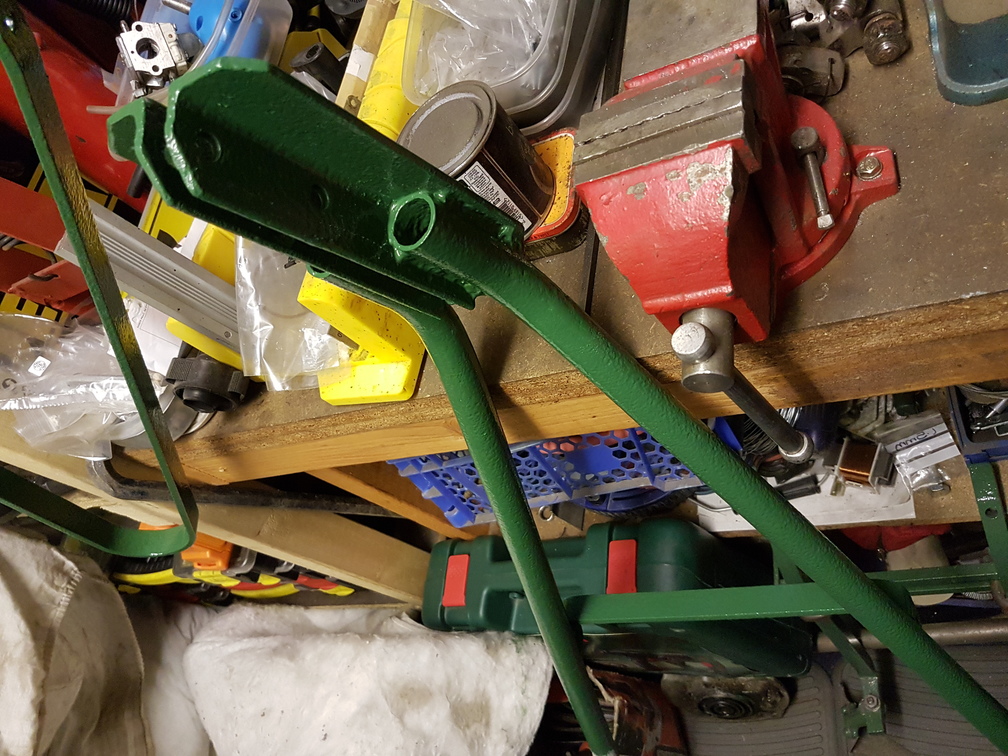
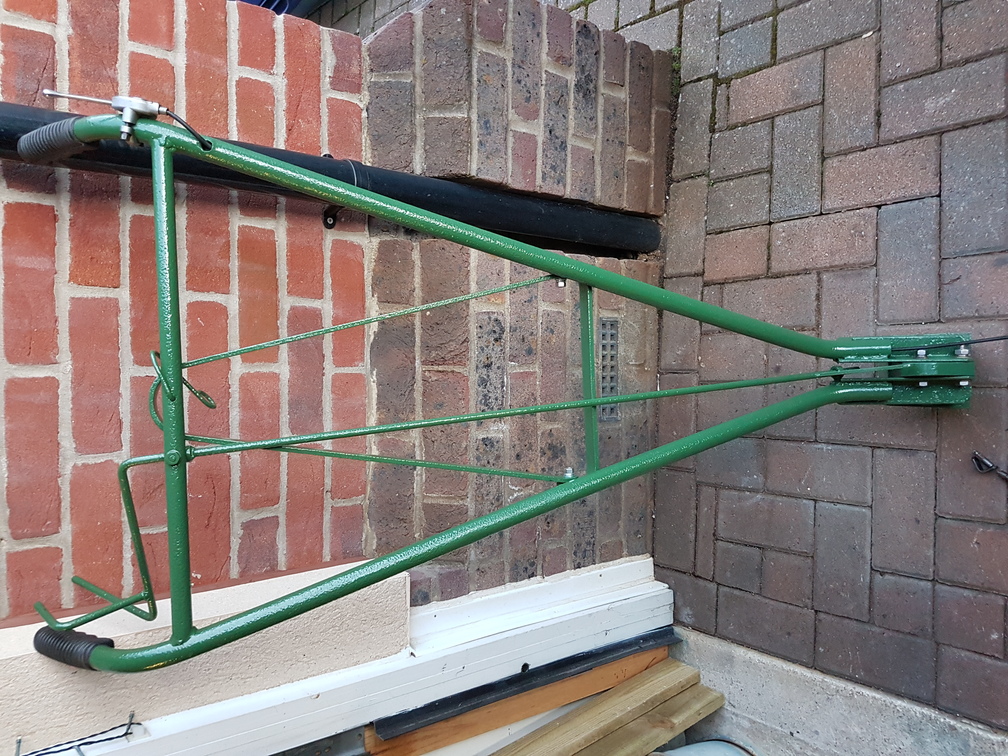
April 1, 2017 at 8:02 pm #24863darmic1ParticipantHandlebars all rebuilt, throttle cable and grips refitted……
Attachments:
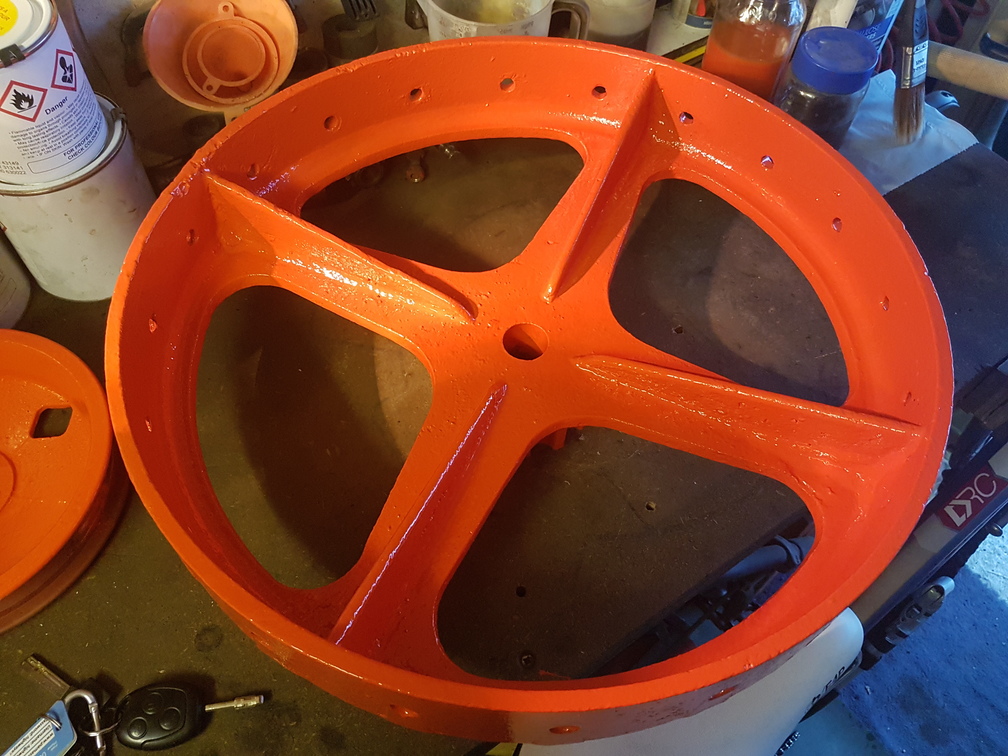
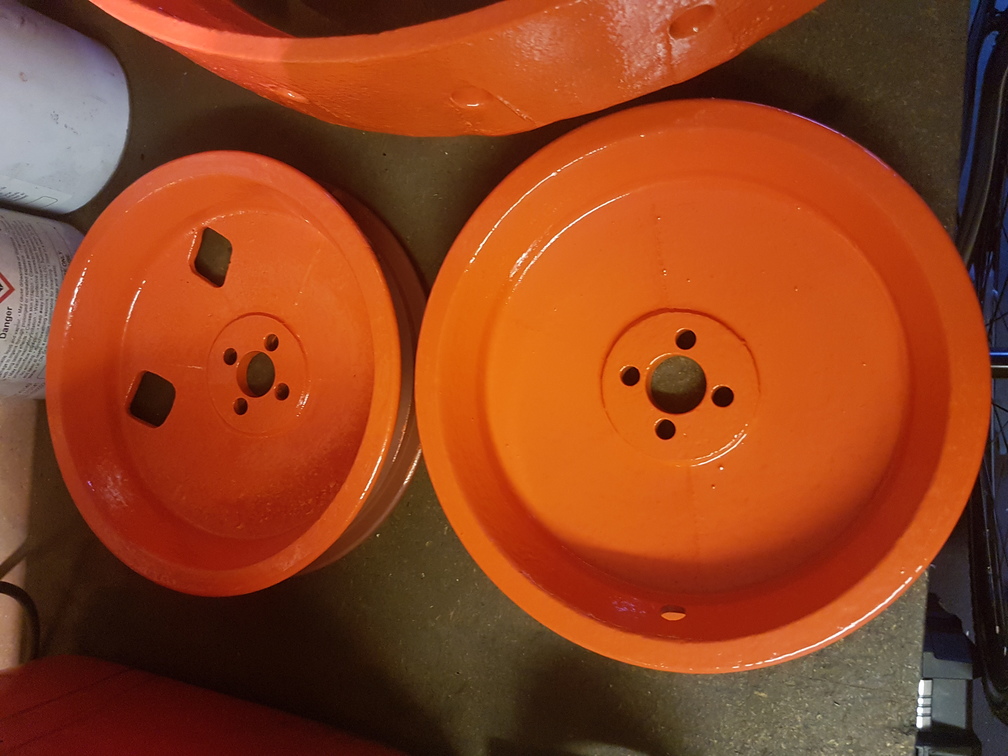
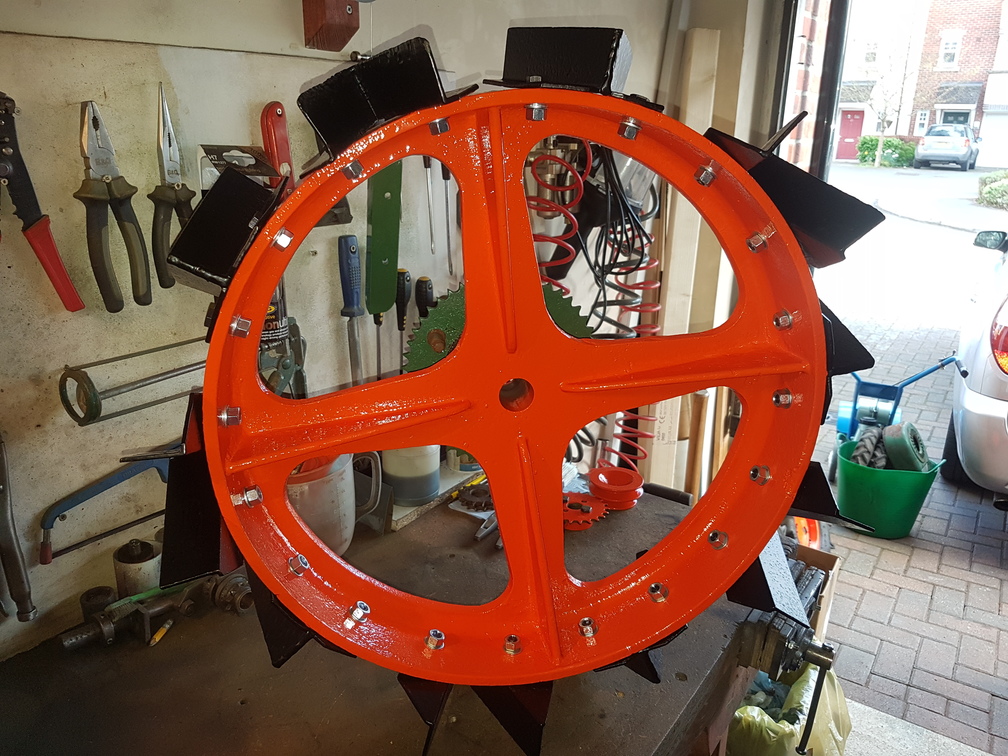
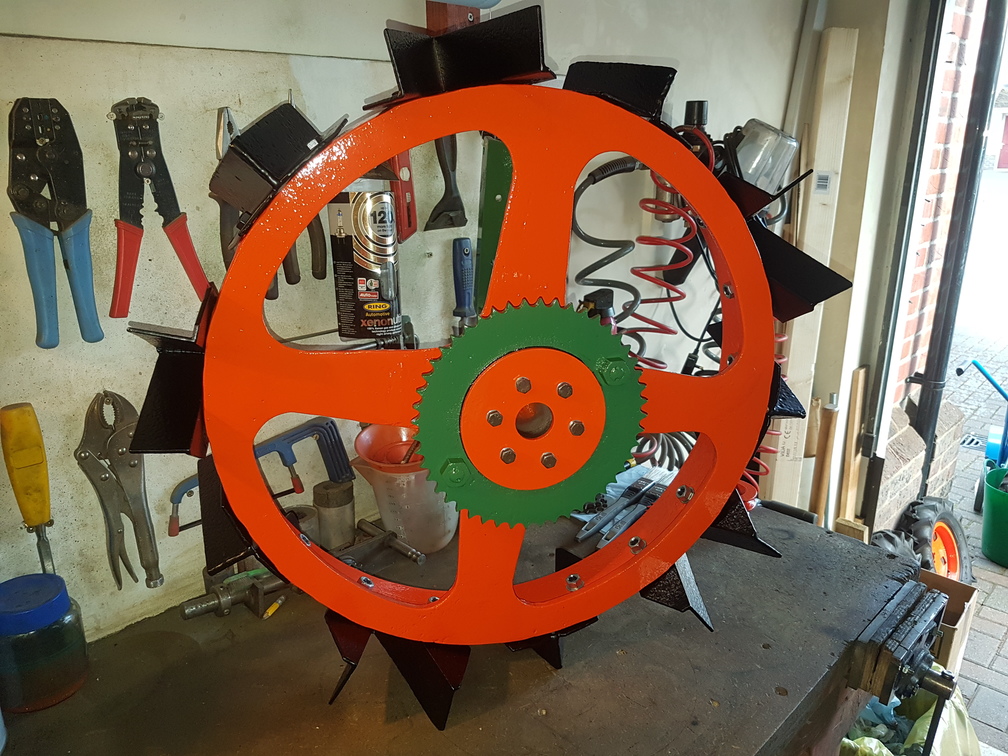
April 1, 2017 at 8:03 pm #24865darmic1ParticipantThe last of the blasting collected and painted…… 20″ ploughing wheels and 8″ with rubber tyres too!
Attachments:
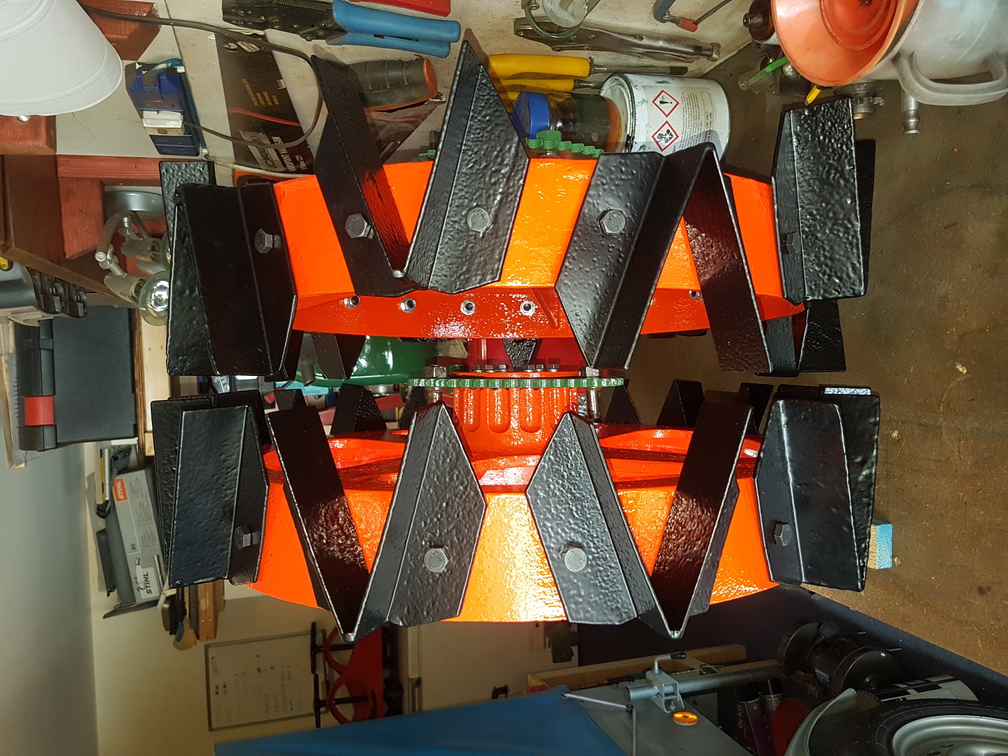
April 1, 2017 at 8:07 pm #24868darmic1ParticipantHad the tyres and tubes fitted yesterday, also reassembled the big cast 20″ wheels. The cleats are set different on each wheel. One set with an in/out pattern which runs on the unploughed ground…. The other with cleats set pointing out, this wheel runs in the furrow and doesn’t tear up the furrow edge set this way!
Attachments:
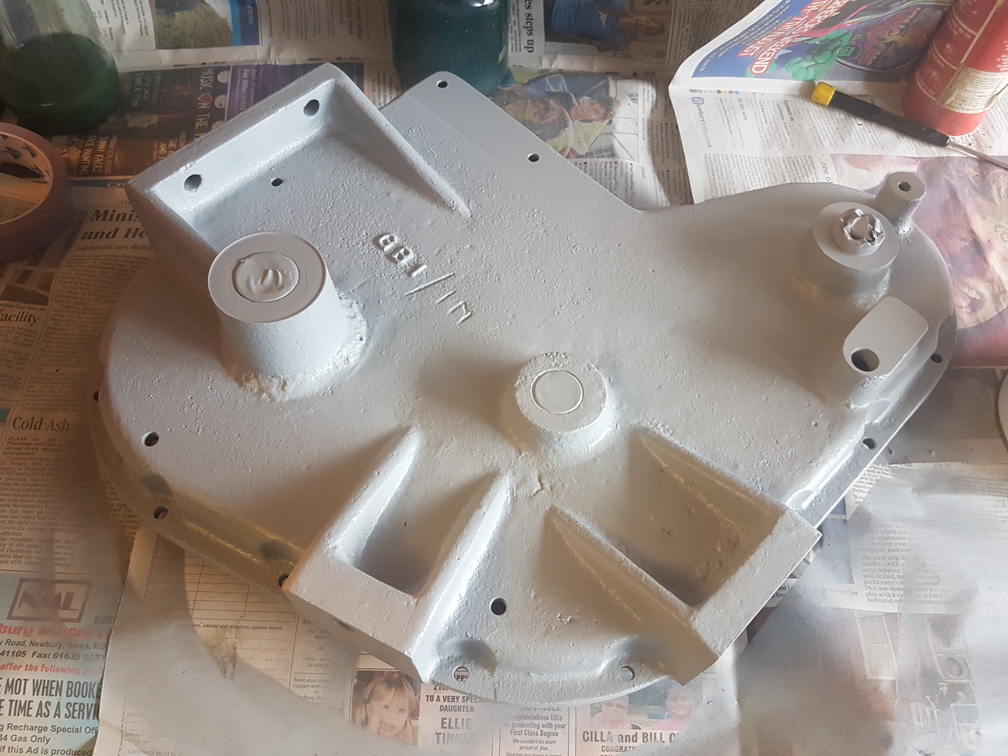
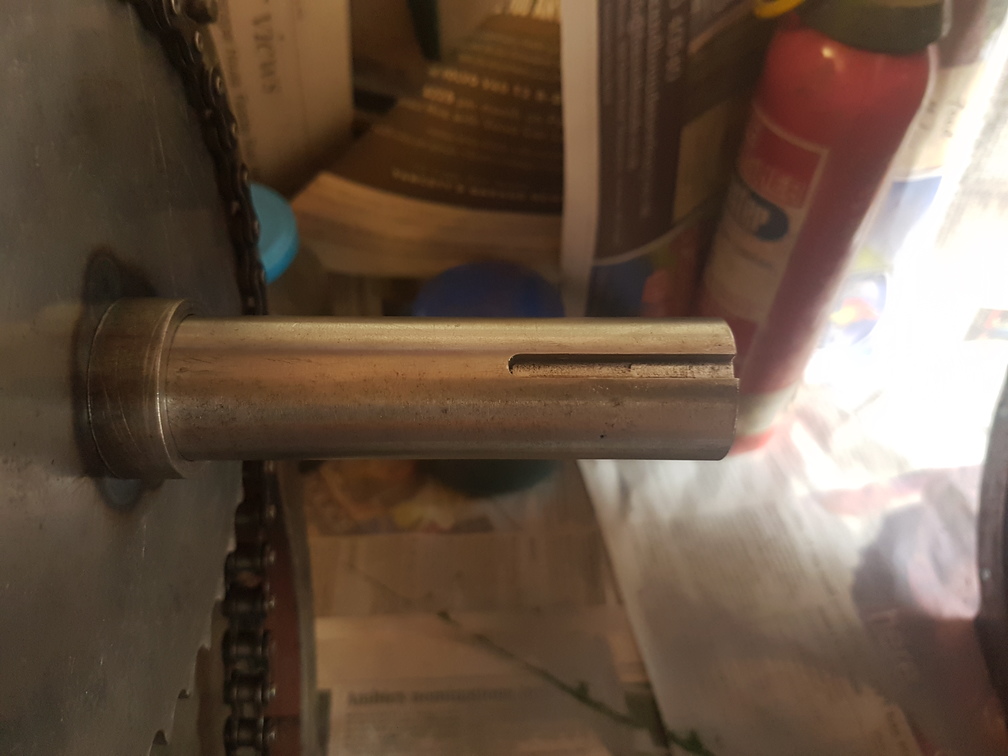
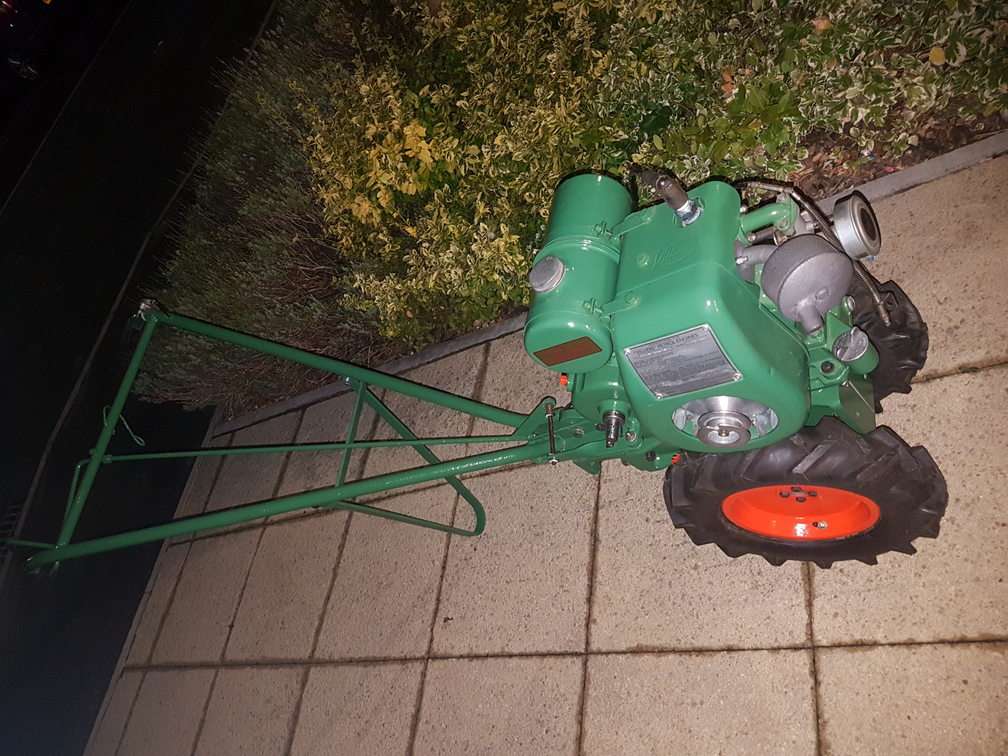
September 22, 2017 at 11:17 am #26557darmic1ParticipantAfter a little away from this machine, I am pleased to say that the restoration is back on track.
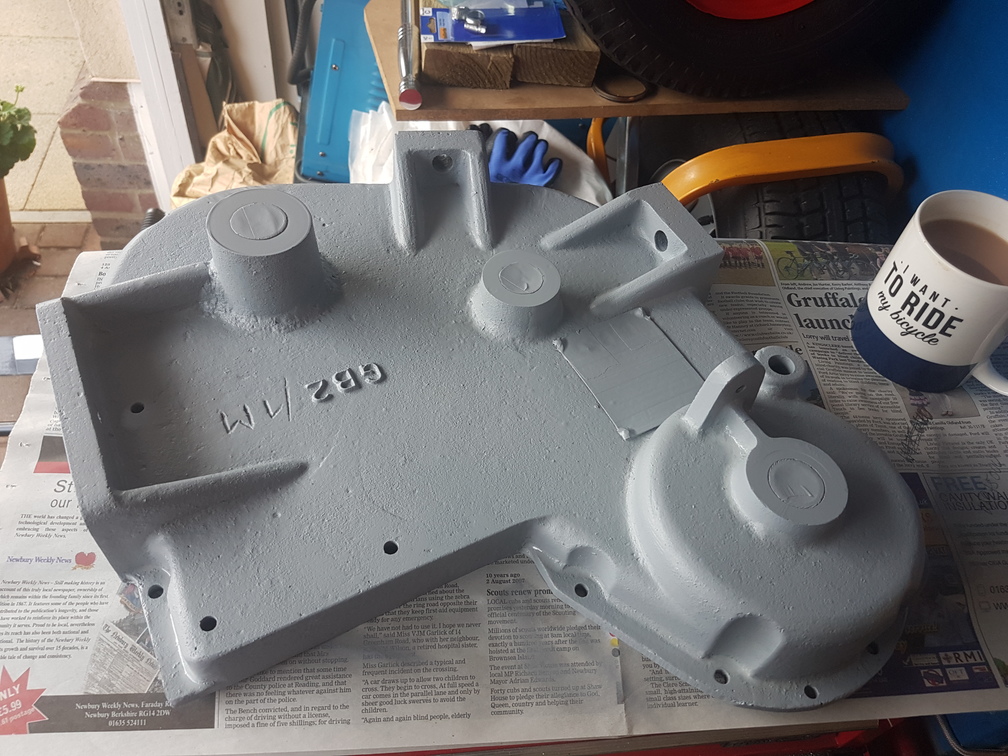
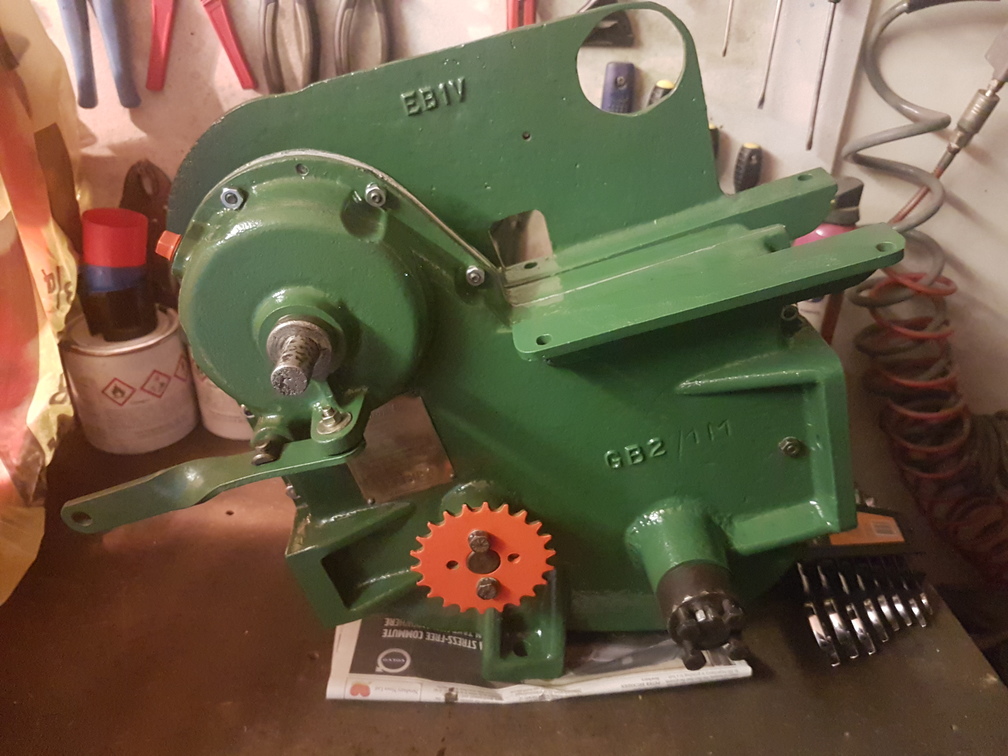
Jim Beacon kindly made a new drive shaft for the gearbox and fitted new bronze bushes which required some work to fit the new shaft. Here’s the gearbox being prepared for paint and reassembly.Attachments:
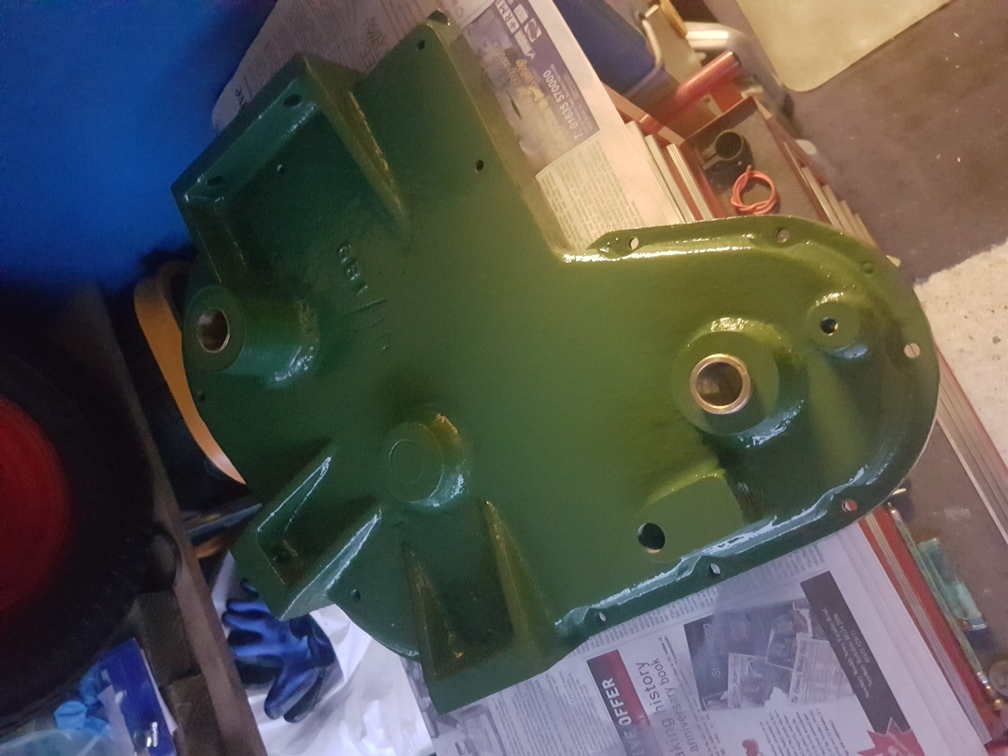
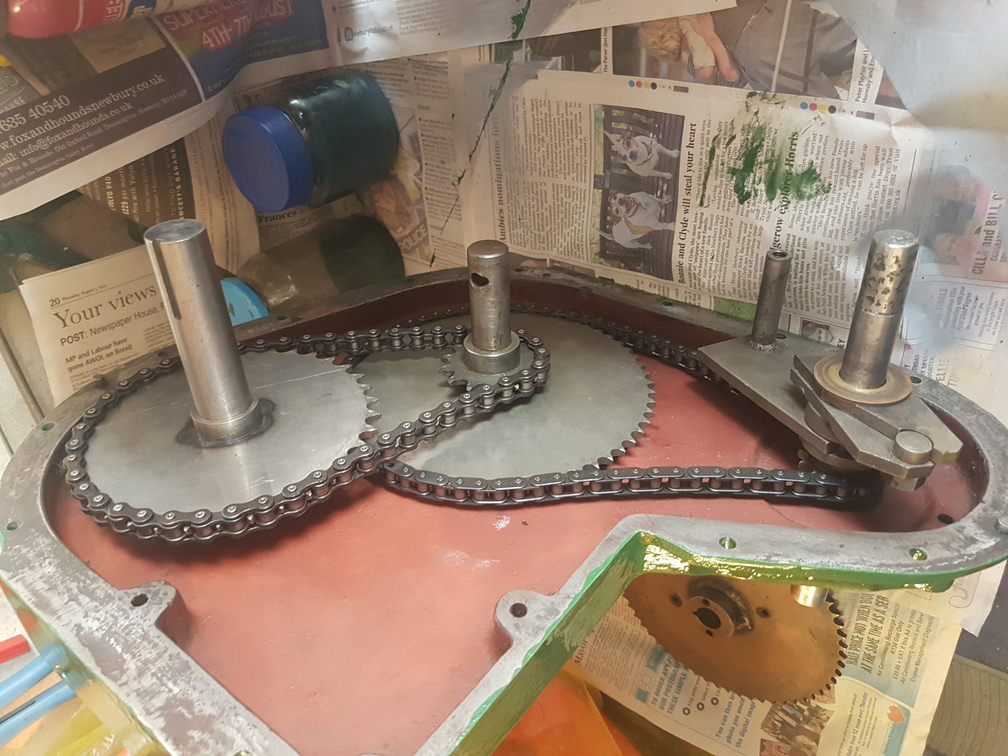
September 22, 2017 at 11:19 am #26562darmic1ParticipantThe next job was to remember where the gears, chains and the many shims belonged….. Here is the gearbox with most the bits in the right places.
Attachments:
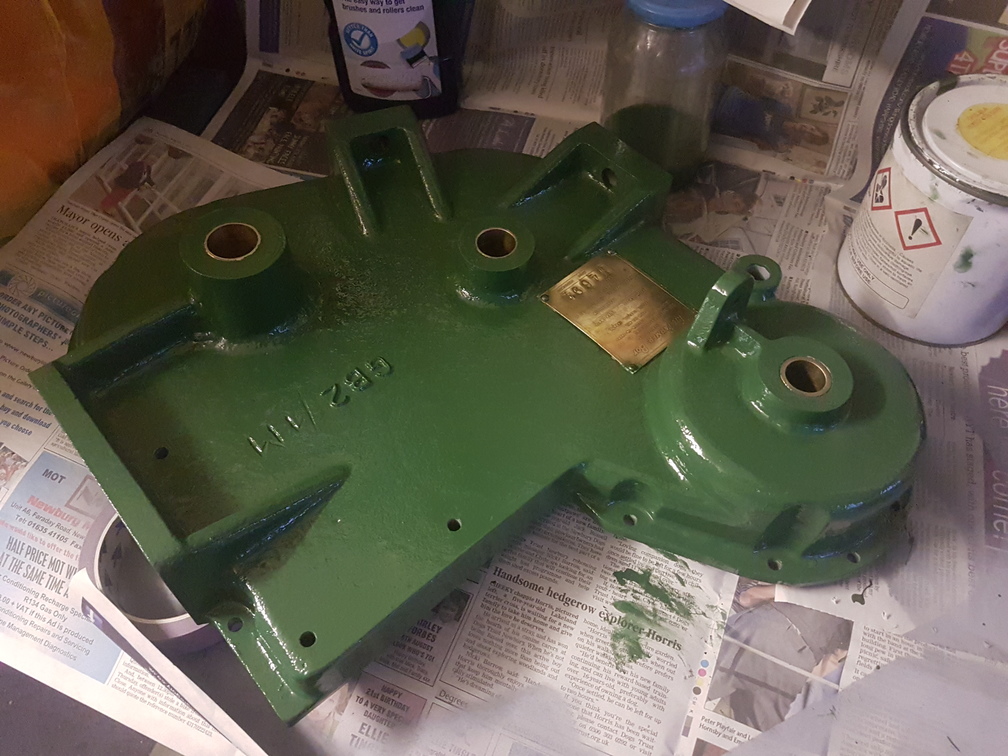
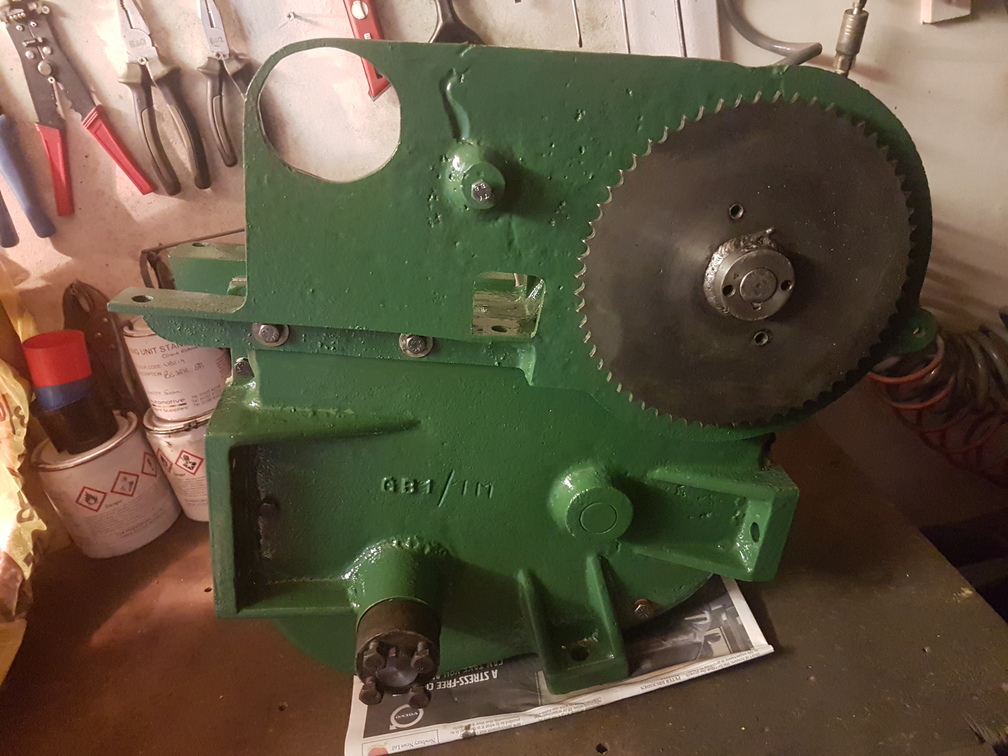
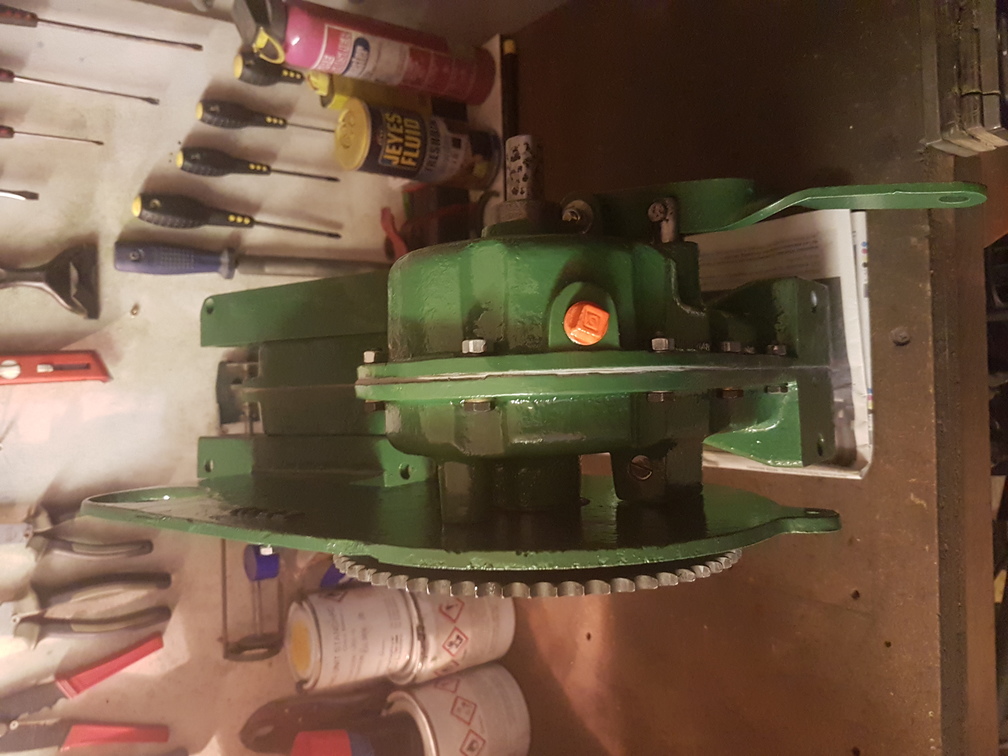
September 22, 2017 at 11:22 am #26565darmic1ParticipantThe finished and reassembled gearbox. The 2 halves have a 1mm paper gasket with an RTV sealant applied both sides. Am pleased to say its totally oil tight!
Attachments:
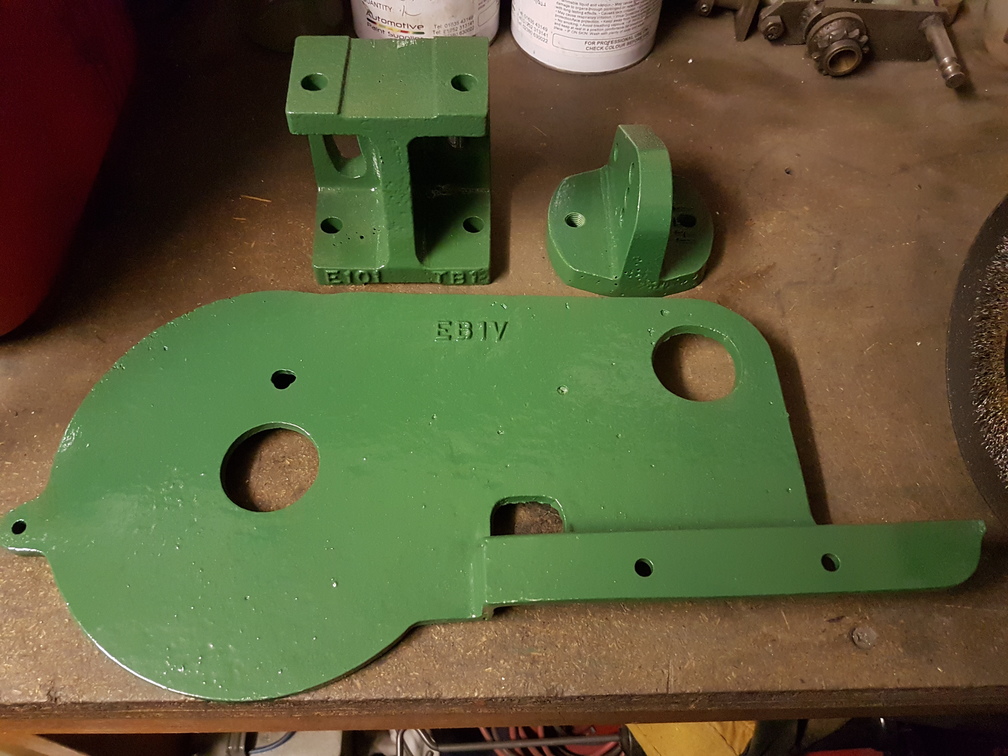
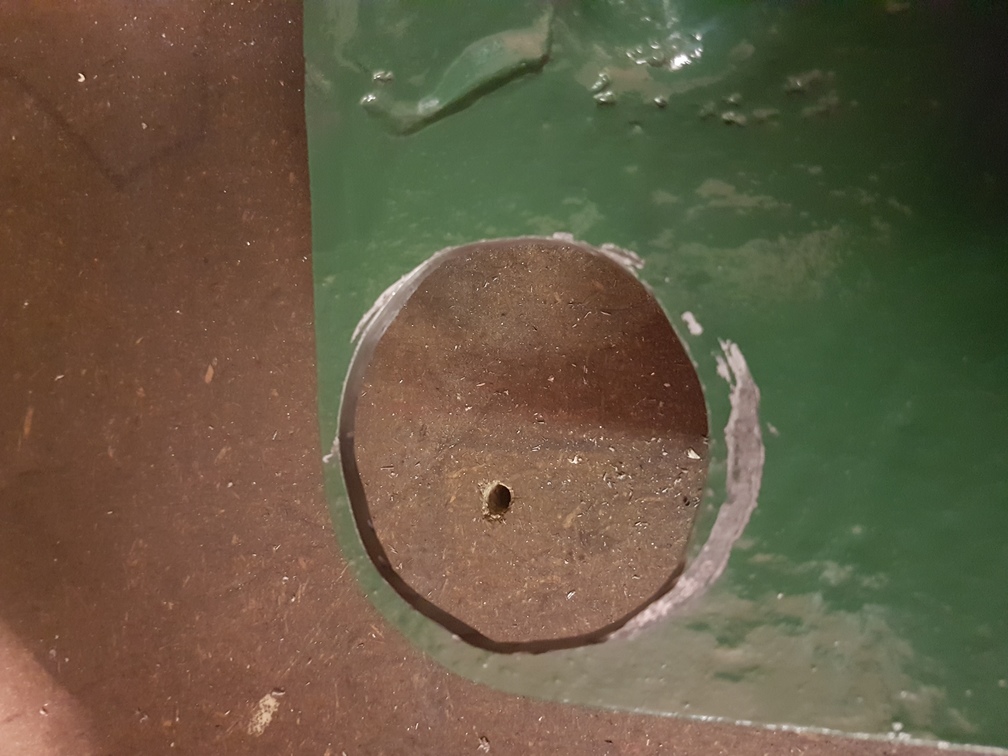
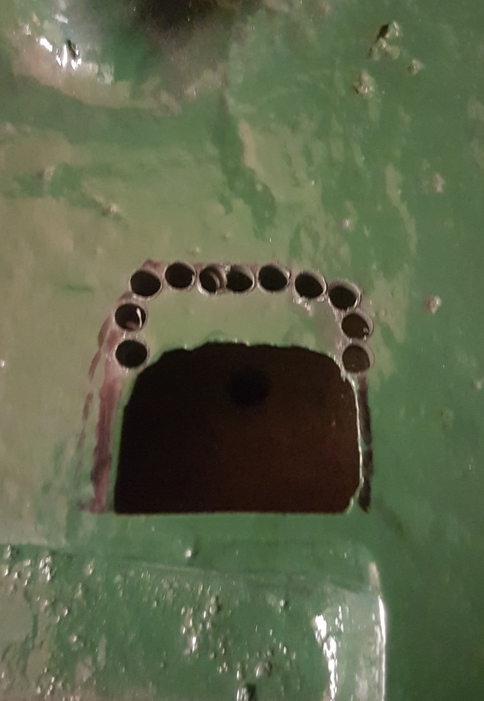
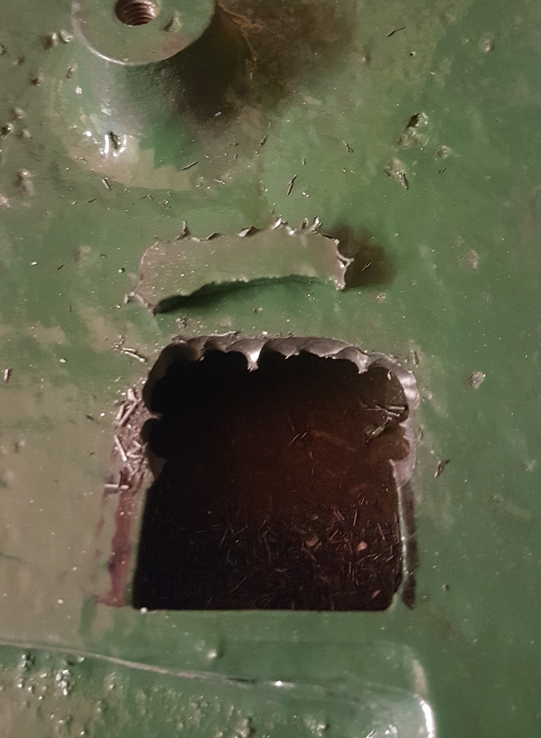
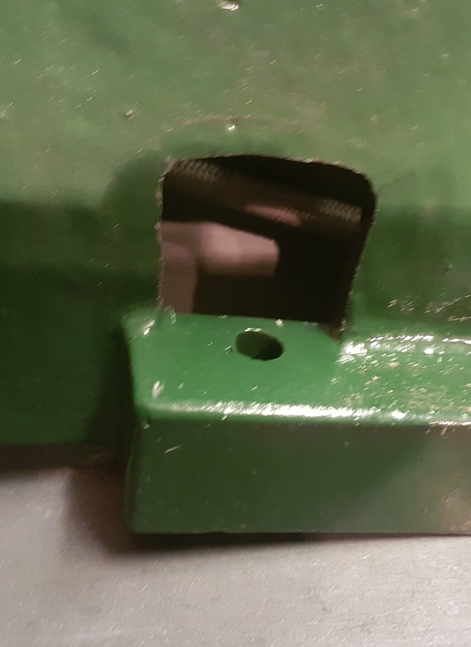
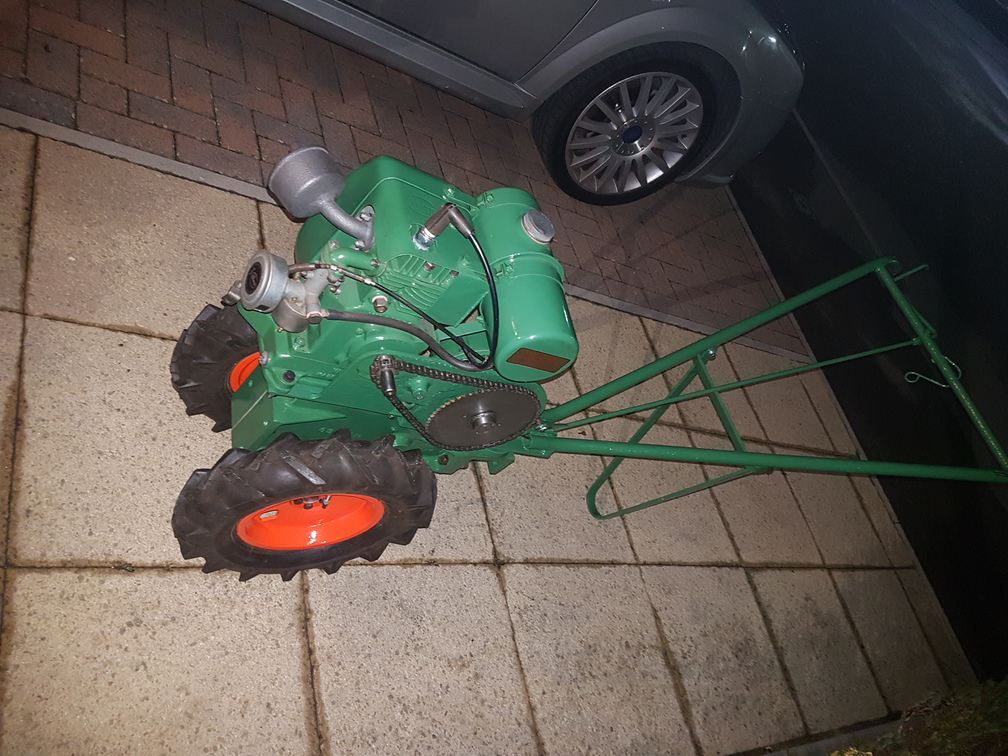
September 22, 2017 at 11:33 am #26569darmic1ParticipantNext job was to sit the engine on the gearbox and check the clearance issue the new bigger tyres created…… Upon deconstruction and test fitting the new tyres, it was discovered there would only be 2mm clearance between tyre and air shroud. My initial thought was to raise the engine by using a piece of 8mm flat plate. My hope was that the original drive chain would still fit as there was a lot of slack in it and the only modification required would be to enlarge the hole of the back plate to allow the engine output shaft clearance. Am pleased to say my idea worked perfectly!!! Chain drilling the cast back plate to enlarge the holes took a little while…..
Attachments:
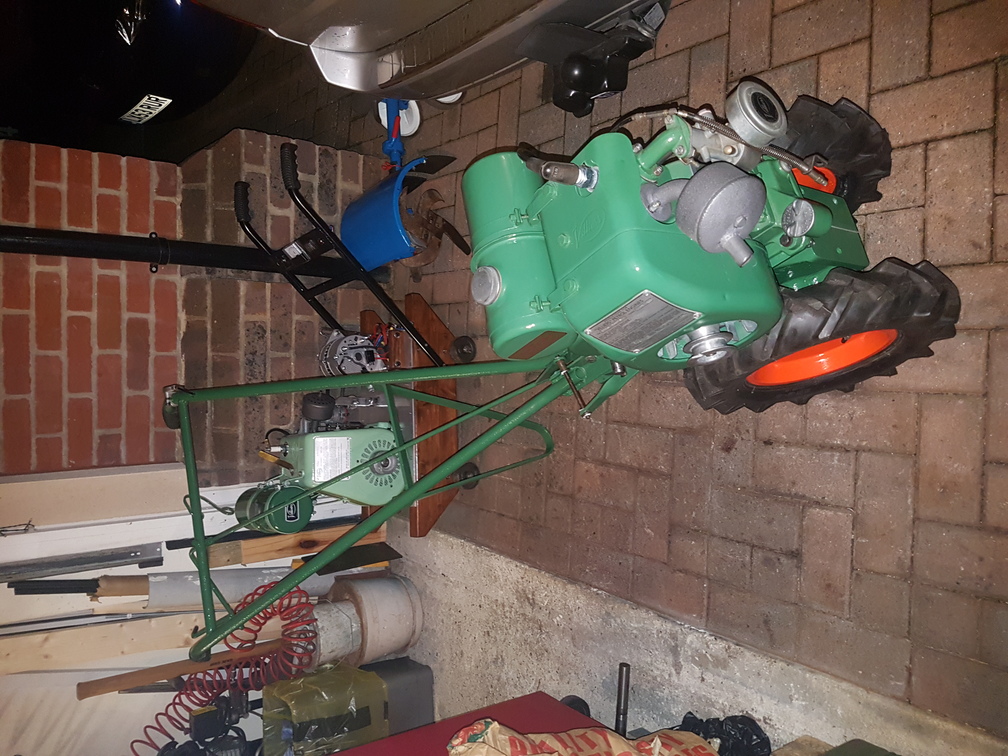
September 22, 2017 at 11:36 am #26574darmic1Participantafter an evening of ‘spanner wielding’ we had this? It was a bit late to try to start it by the time I had finished. It’ll have to wait until the morning……
Attachments:
September 22, 2017 at 11:47 am #26578darmic1ParticipantHere’s a video of the 1st test drive…… Am very pleased it all works as it should!
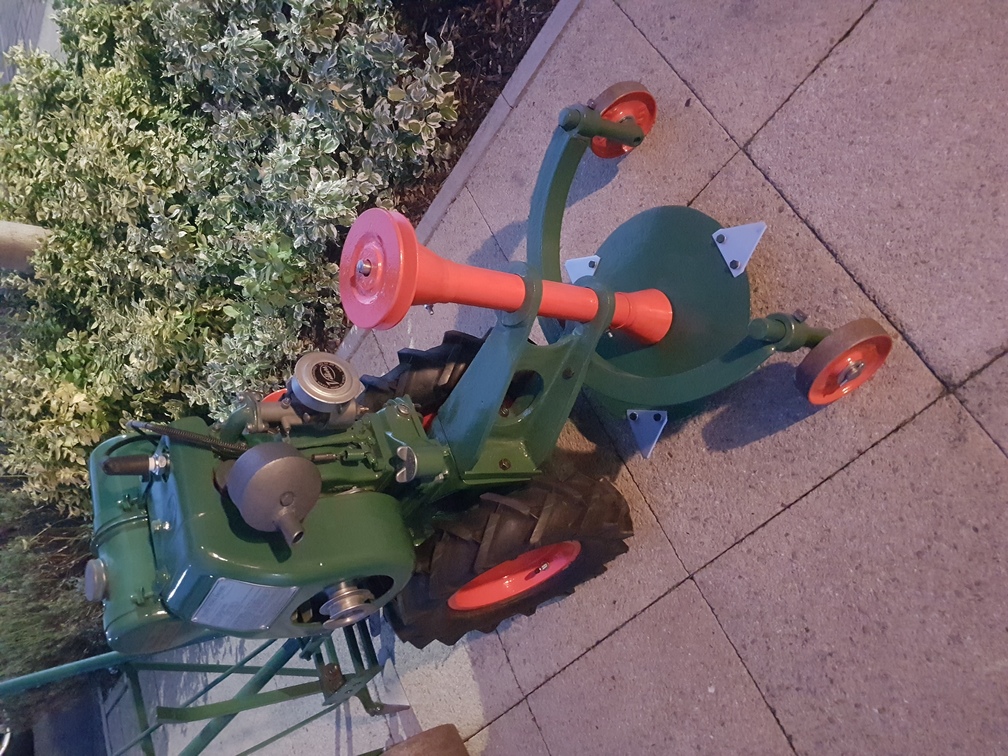
https://youtu.be/YAJniE4rB5YSeptember 22, 2017 at 11:53 am #26579darmic1ParticipantNow that it’s a working running machine it was time to turn my attention to the various attachments I have….. The Scythe mower, Tool frame and Hoe’s, Rotavator, the 22″ Ploughing wheels and Plough…….
Here’s the machine with the Scythe mower and a short video of it running….. Mind your toes!
https://youtu.be/vm5AblqqY7cAttachments:
-
AuthorPosts
- You must be logged in to reply to this topic.