Home › Forums › The Main Forum Area › Projects › Farmer's Boy Series 2 Light Tractor
- This topic has 48 replies, 5 voices, and was last updated 5 years, 11 months ago by
 vhgmcbuddy.
-
AuthorPosts
-
January 24, 2017 at 10:37 pm #24159
 darmic1Participant
Added some oil to the sump and a squirt of fuel……
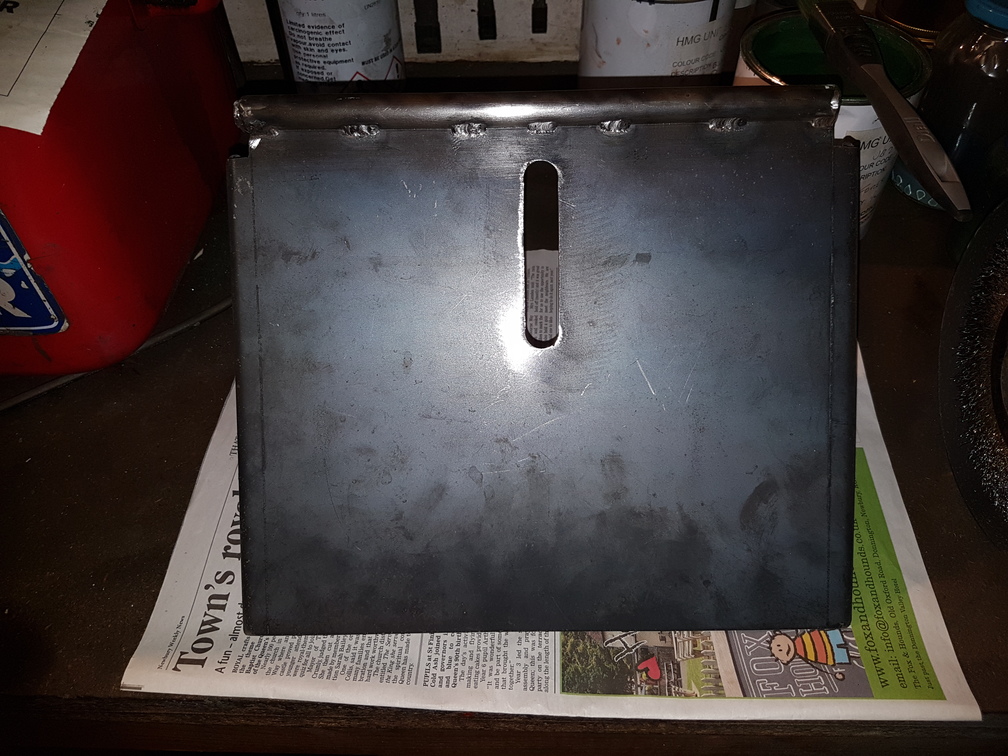
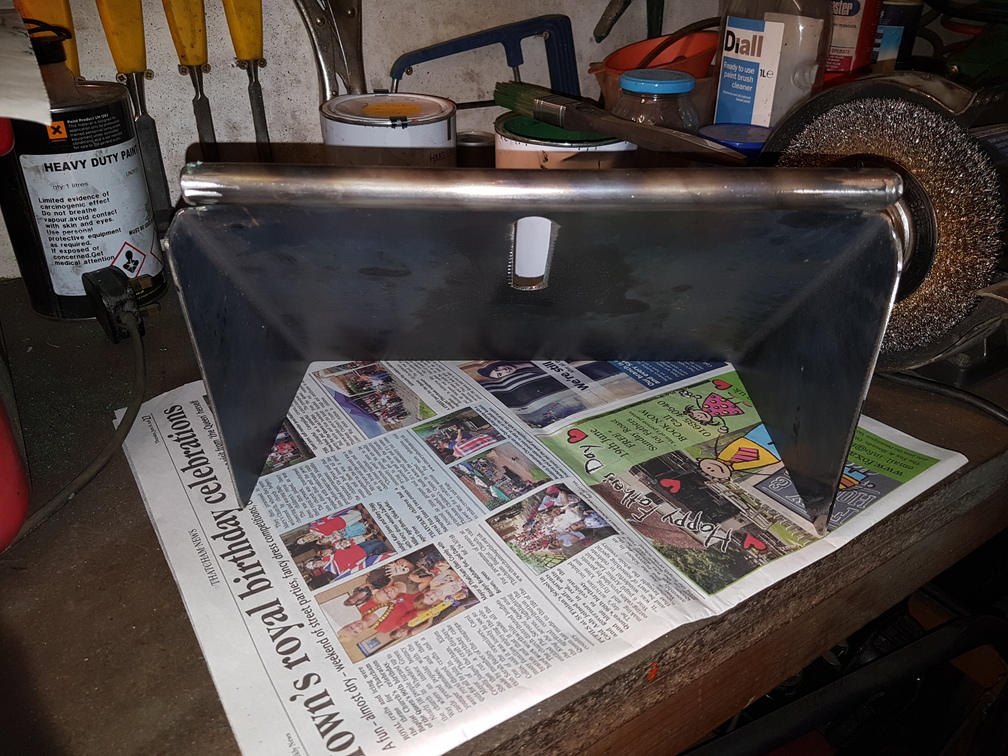
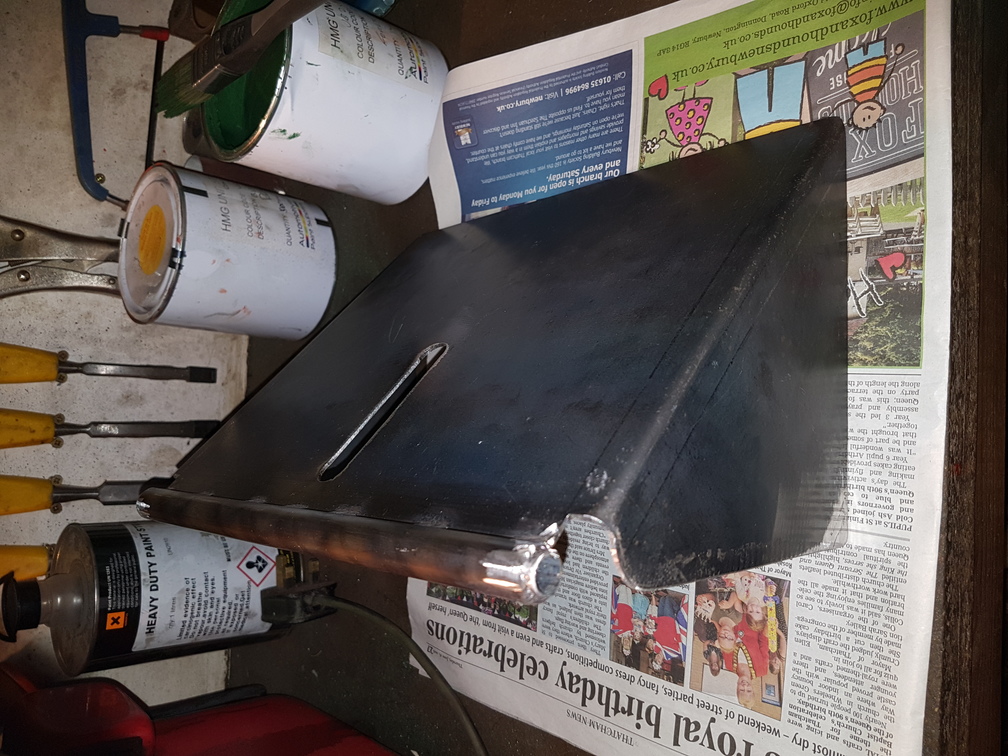
January 24, 2017 at 10:41 pm #24160darmic1ParticipantCollected the re-made rotor cover this afternoon. I am really pleased with the exact copy of my cardboard template…… It fits perfectly!
Attachments:
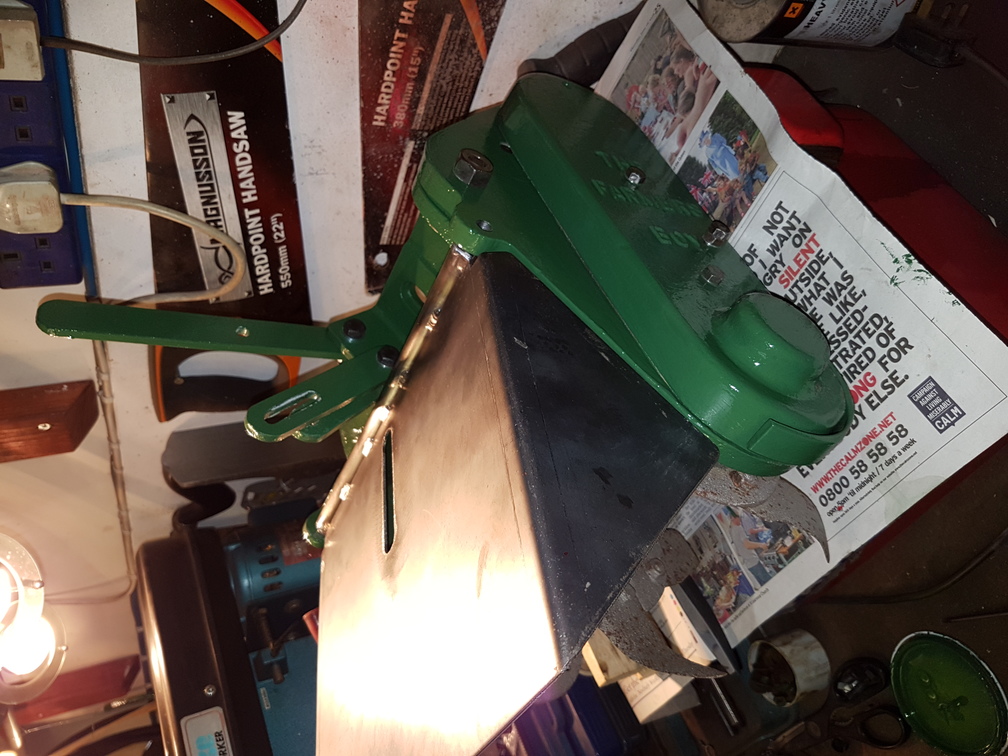
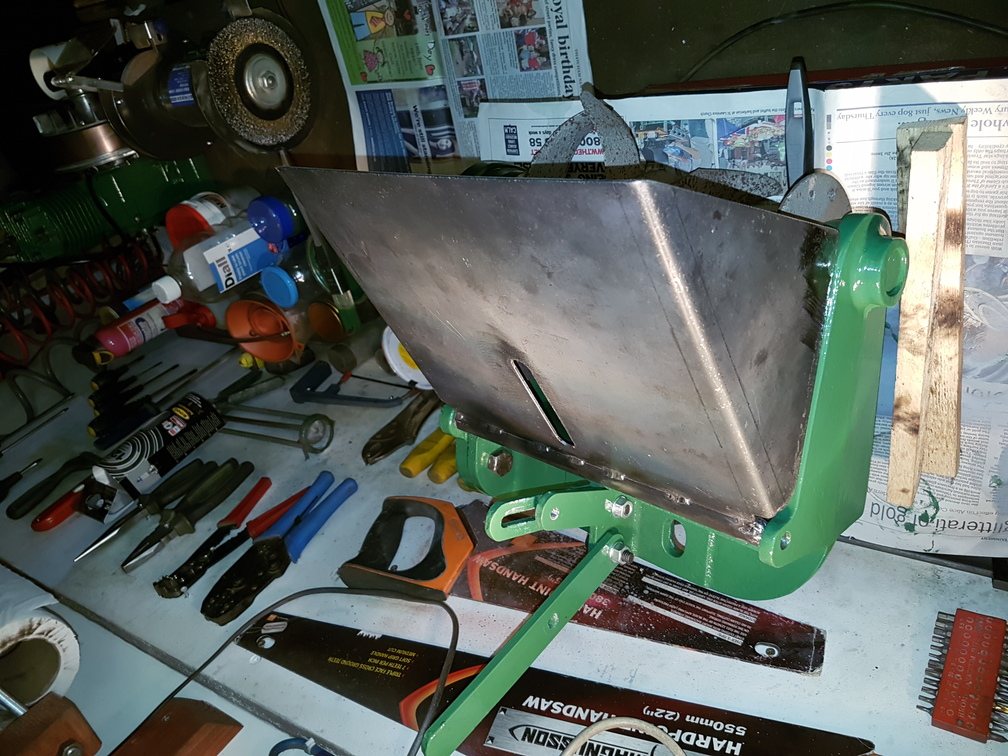
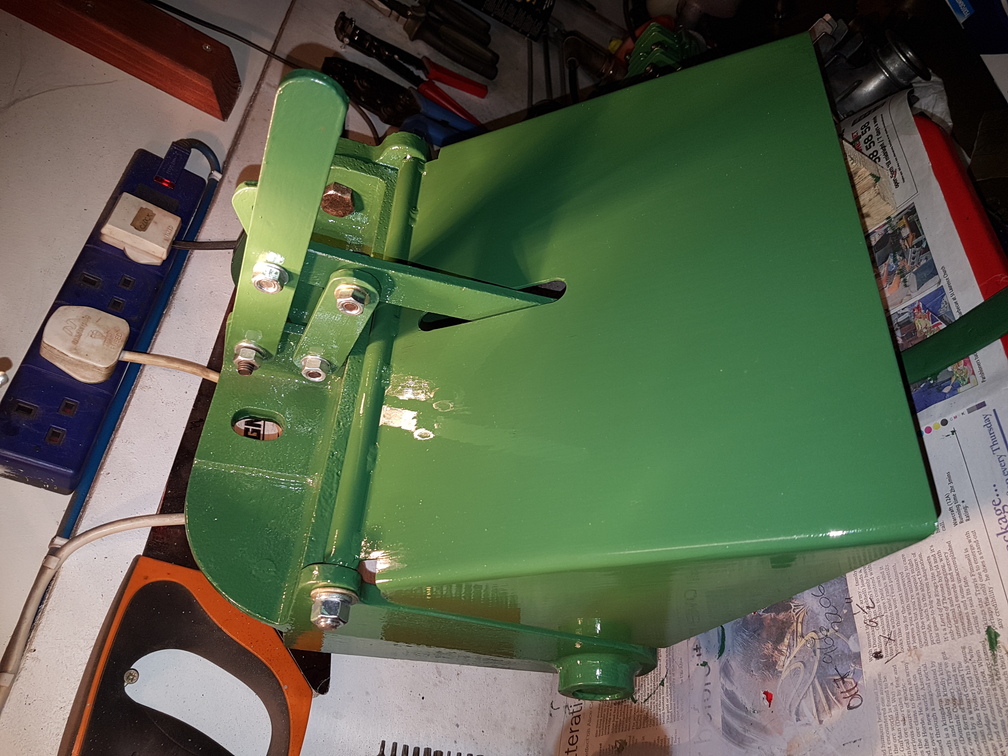
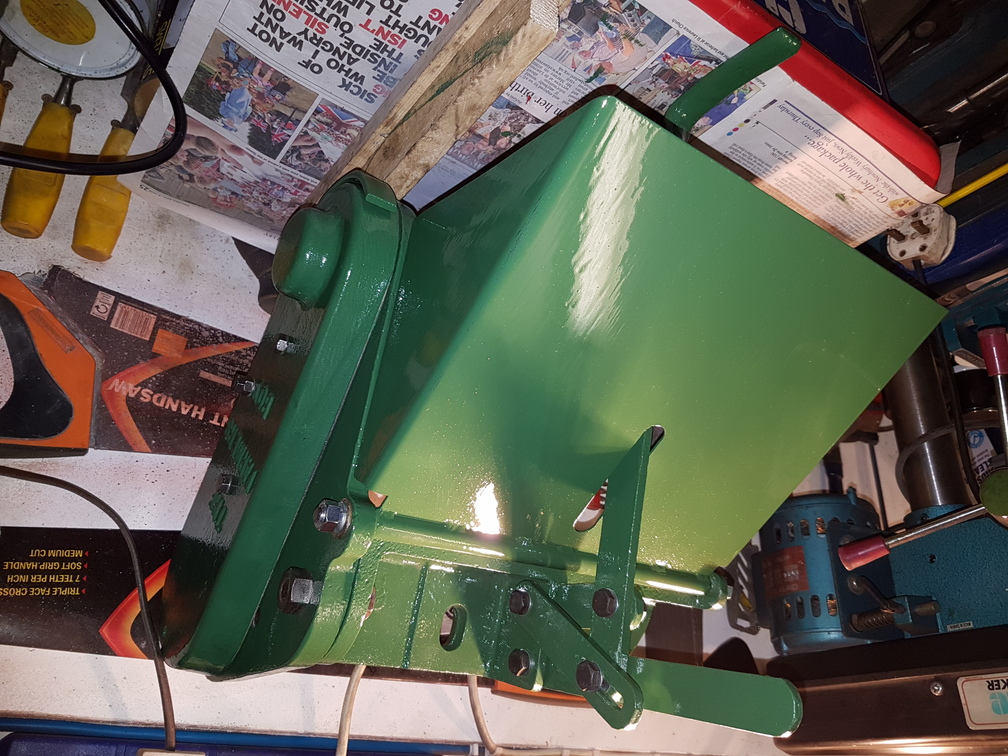
January 31, 2017 at 10:57 pm #24267darmic1ParticipantPainted the rotor cover and fitted it……
Attachments:
January 31, 2017 at 11:09 pm #24275darmic1ParticipantSorry, Not quite sure what’s happening with the last picture in each post? Its putting them upside down, despite being the right way up on my PC. I’ve even tried turning it through 180 degrees, it still posts it upside down!
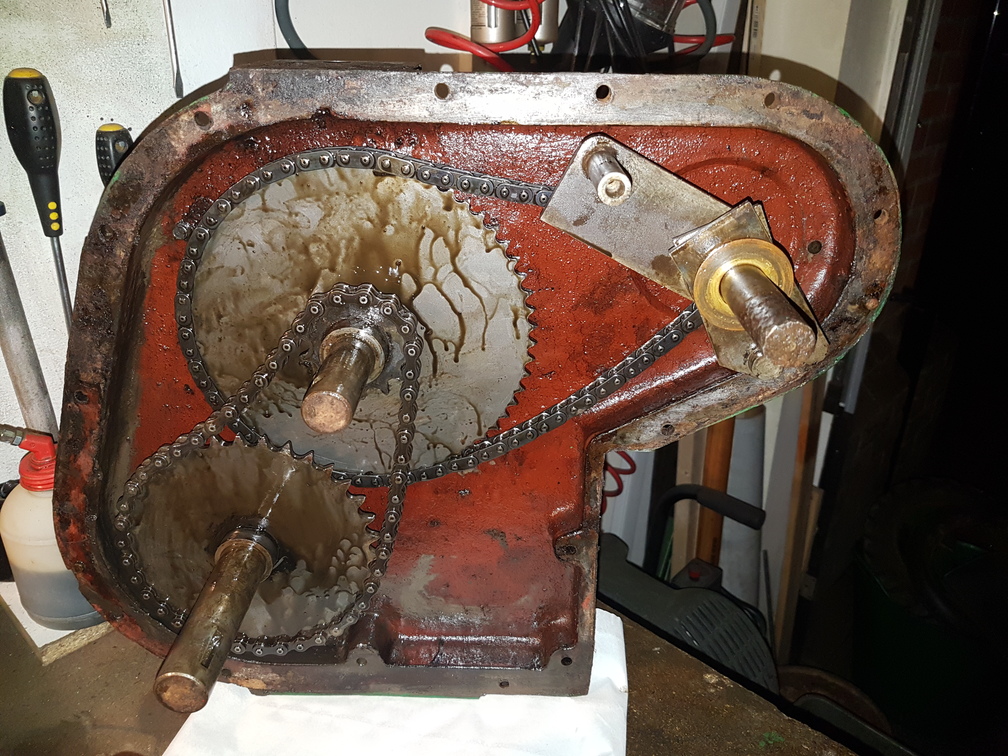
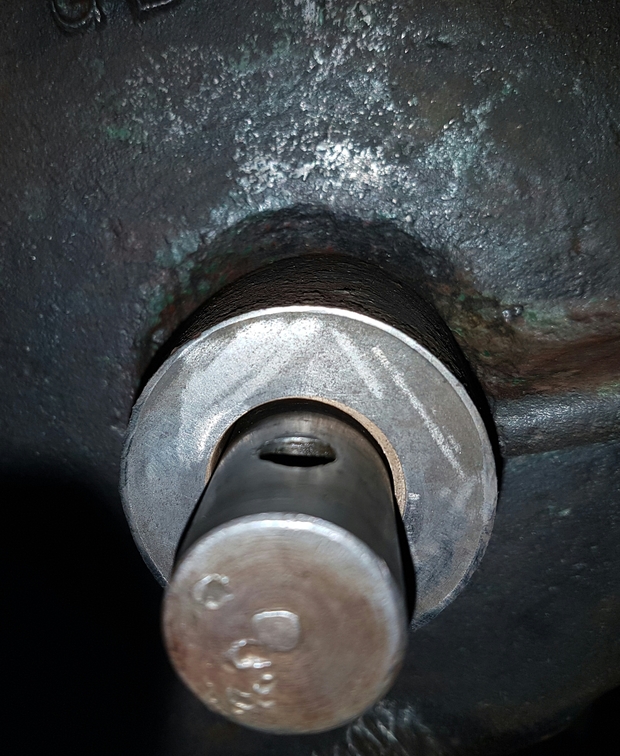
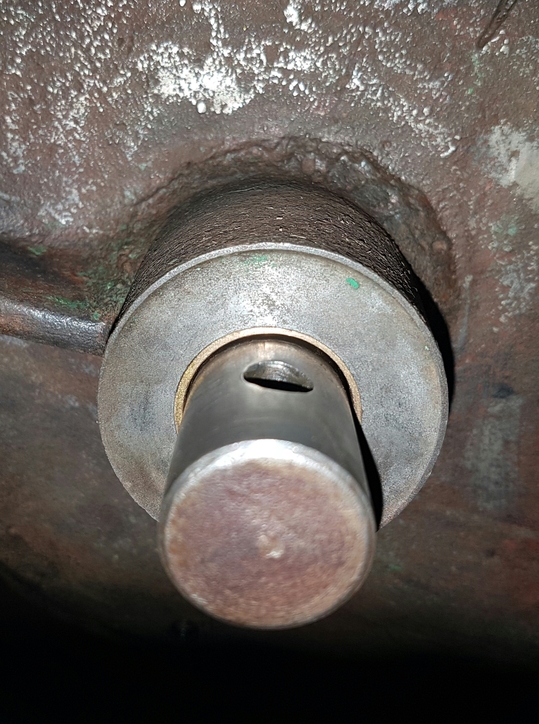
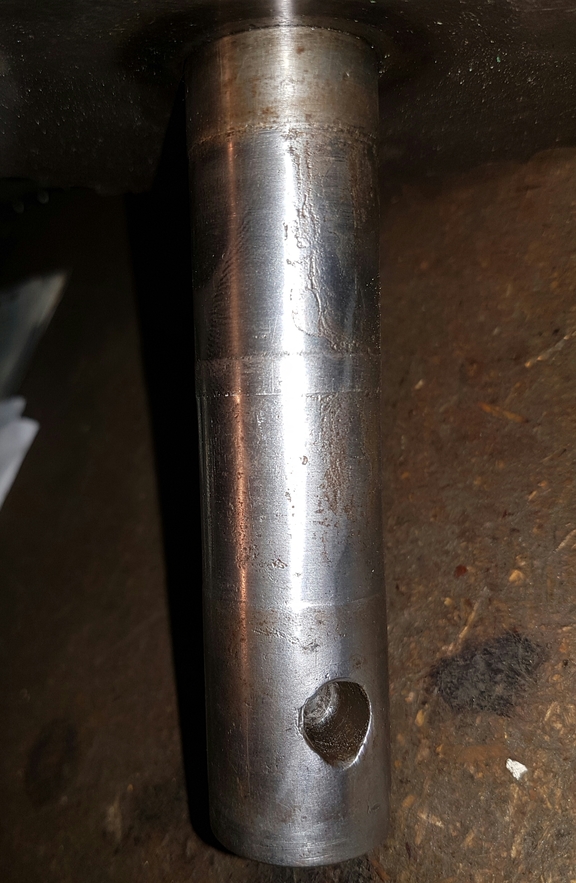
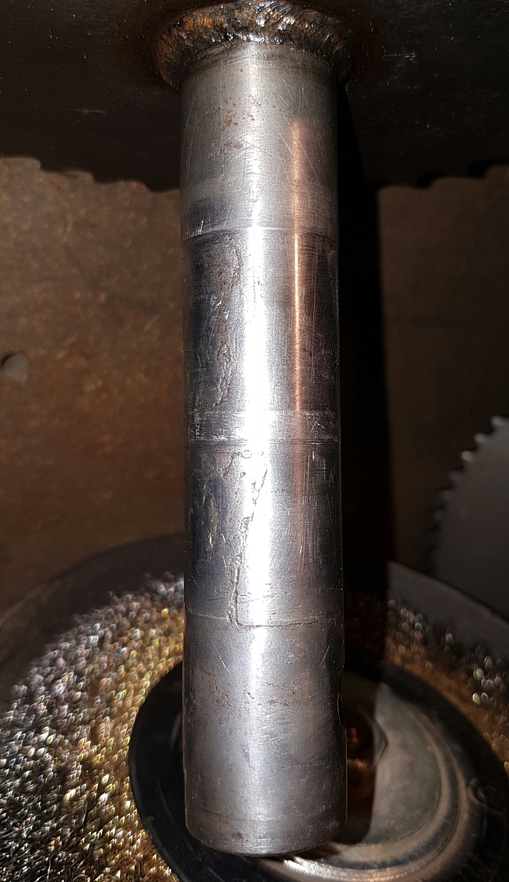
January 31, 2017 at 11:15 pm #24276darmic1ParticipantHave now stripped the gearbox down to investigate some excessive play in the driveshaft. The bronze bushes are worn to excess on one side and the shaft itself has some minor wear…..
Attachments:
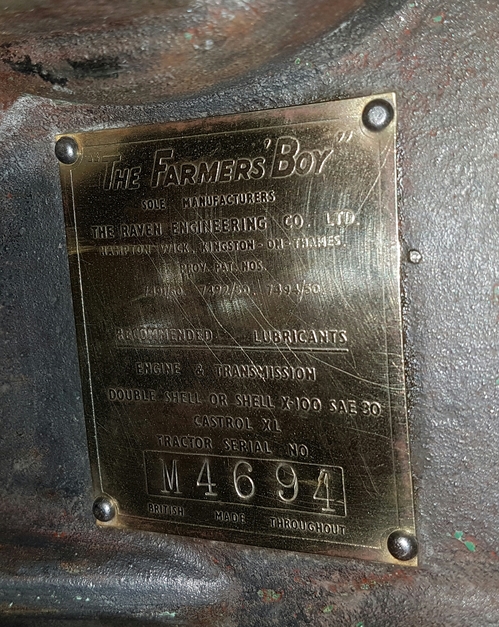
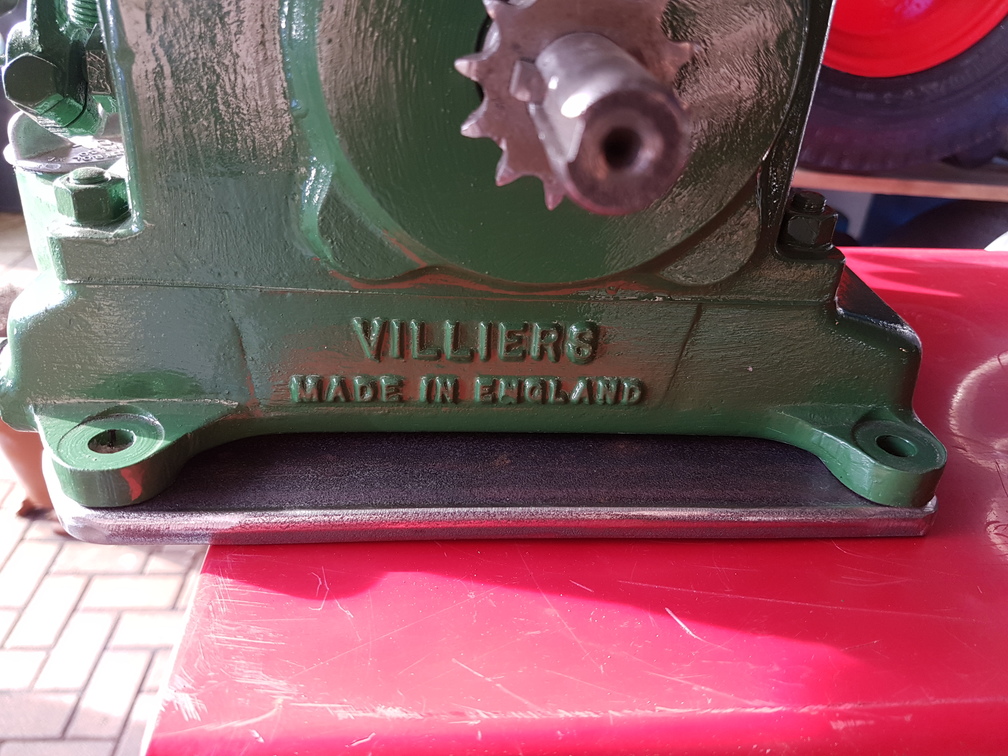
January 31, 2017 at 11:18 pm #24282darmic1ParticipantAlso removed all the old paint and gunk off the gearbox casing, found the brass ID tag and its numbered M4694…… I have no idea on the date of this machine, however the engine has a brass flywheel, but I’ve yet to find a number stamped on it…..
Attachments:
February 1, 2017 at 11:23 pm #24284darmic1ParticipantHave been out in the garage again today…… inspecting the flywheel, looking for numbers! I have found 2 numbers. 51 is stamped into the brass next to the flywheel nut and M49 stamped onto the face about halfway between the nut and the outer edge. Anything to confuse the dating of a machine! However, I’m leaning towards 51 as the series 2 machines didn’t exist in 49. Not only that, the MK12 engine wasn’t fitted until 1951, along with other improvements available around that time. These were the offset and height adjustable handlebars, power take-off pulley and the 10′ rotovator. I’m pretty much convinced the engine is original, paint around the sump and frame mounting matched perfectly. It was in an inaccessible area, only seen once stripped down and not covered in the later, darker paint brushed over everything visible! I’m also wondering if Raven Engineering LTD continued the serial numbers on from the Series 1 machines and onto the Series 2 machines. M4694 would suggest they did if this particular machine is a 1951 model. If only the factory records still existed!!!
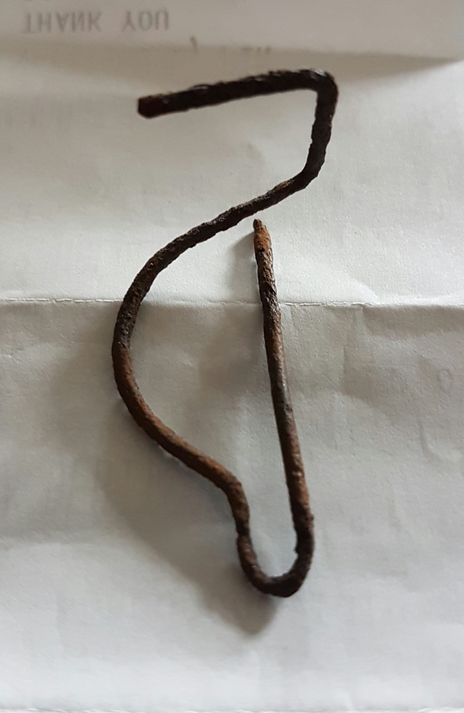
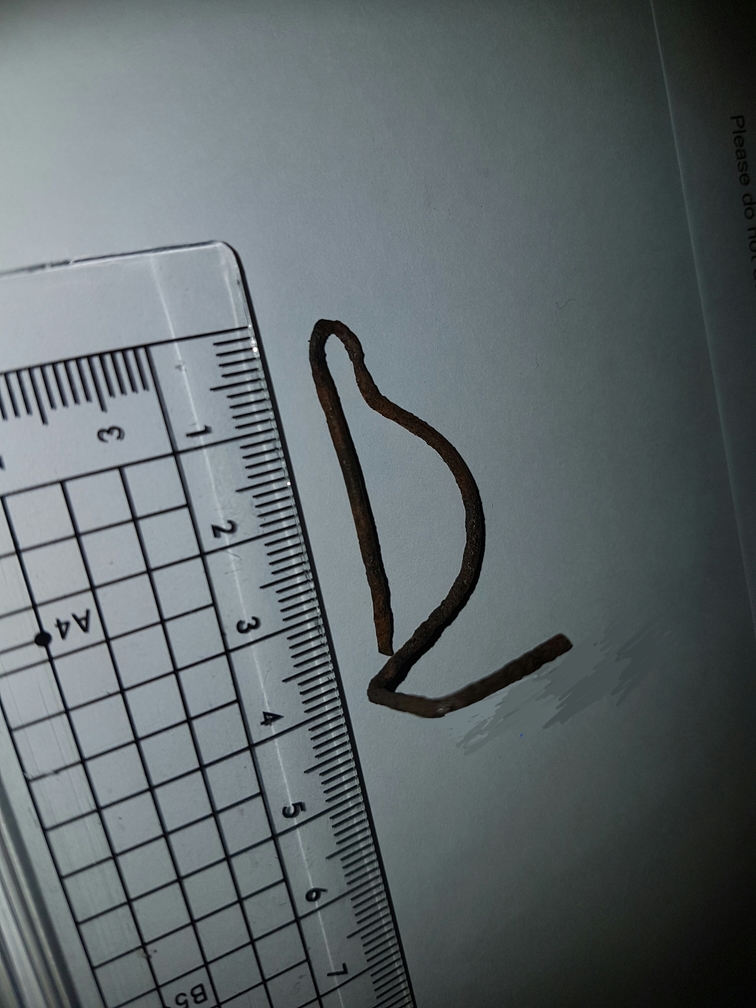
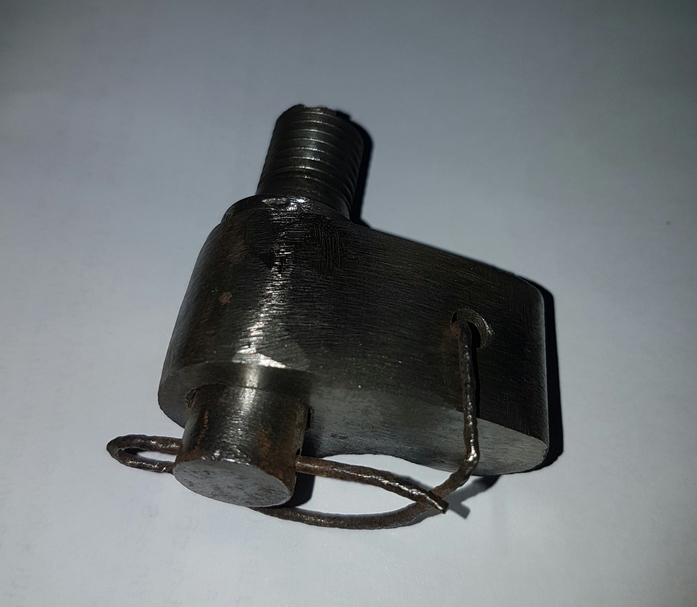
February 5, 2017 at 7:27 pm #24312darmic1ParticipantThe ploughing wheels are fitted with ratchets and pawls, unfortunately the pawl springs are shot! I was only able to salvage one complete spring, although badly corroded, it has been sent to a company who will be reproducing a batch for me, so I will have some spares!
Attachments:
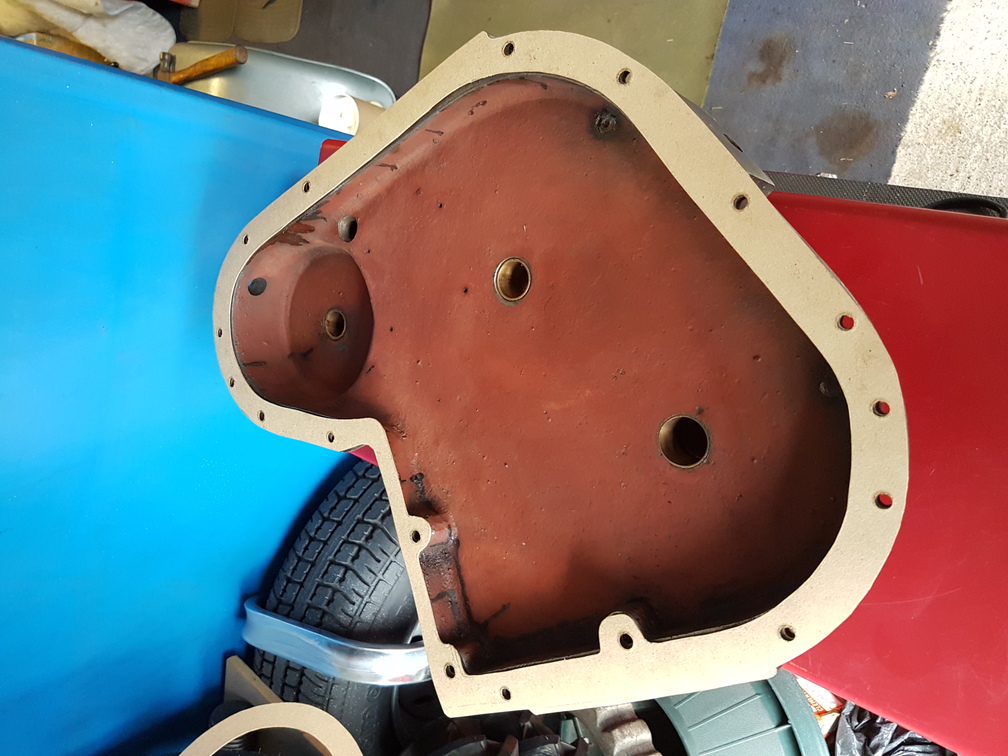
February 5, 2017 at 7:30 pm #24316darmic1ParticipantMade a new gear case gasket, made from oil resistant 1mm gasket paper. I will also use some RTV sealant either side of the gasket to ensure there are no leaks!
Attachments:
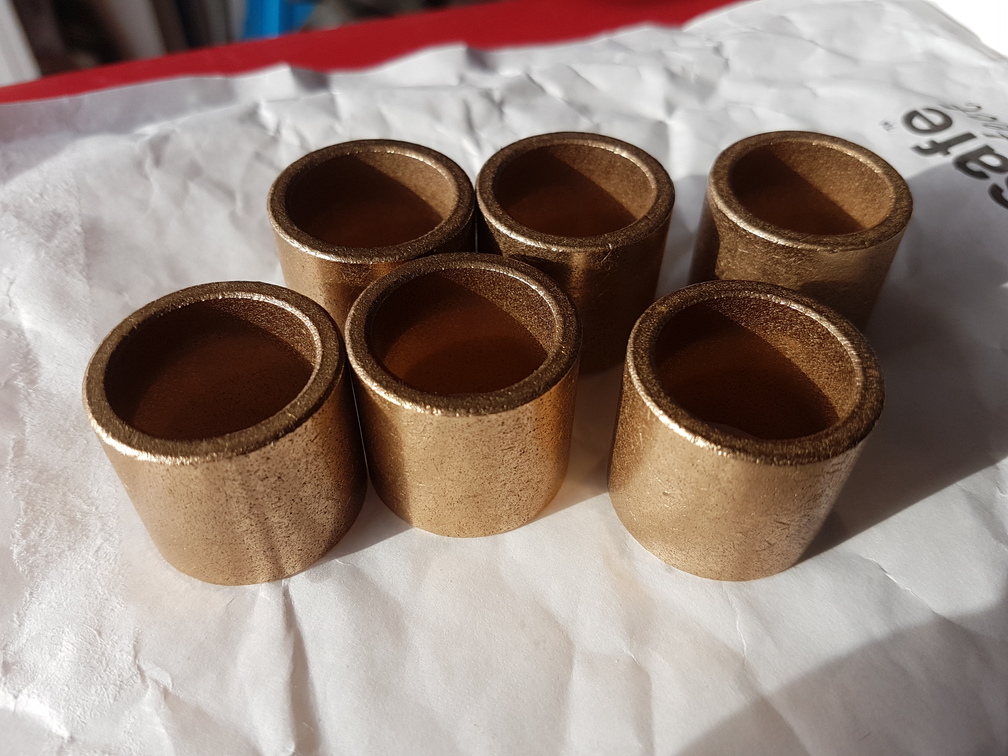
February 5, 2017 at 7:32 pm #24318darmic1ParticipantReplacement Oilite bronze bushes have arrived! Also made a spacer plate from some 8mm steel plate, this should give me around 10mm of clearance for the new, larger tyres…..
Attachments:
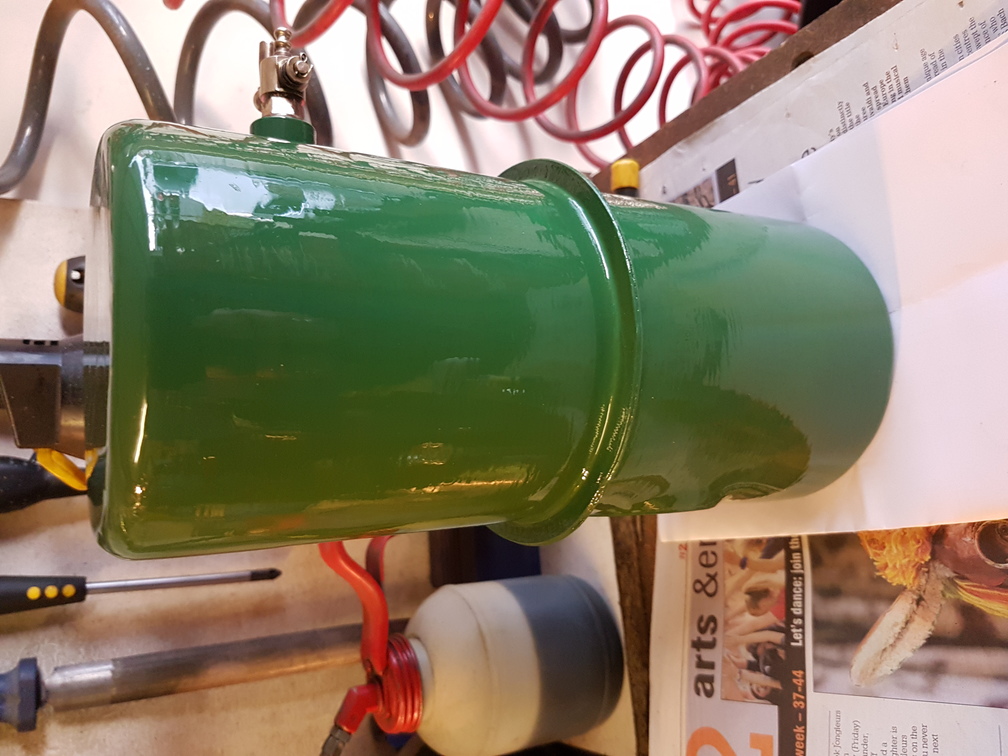
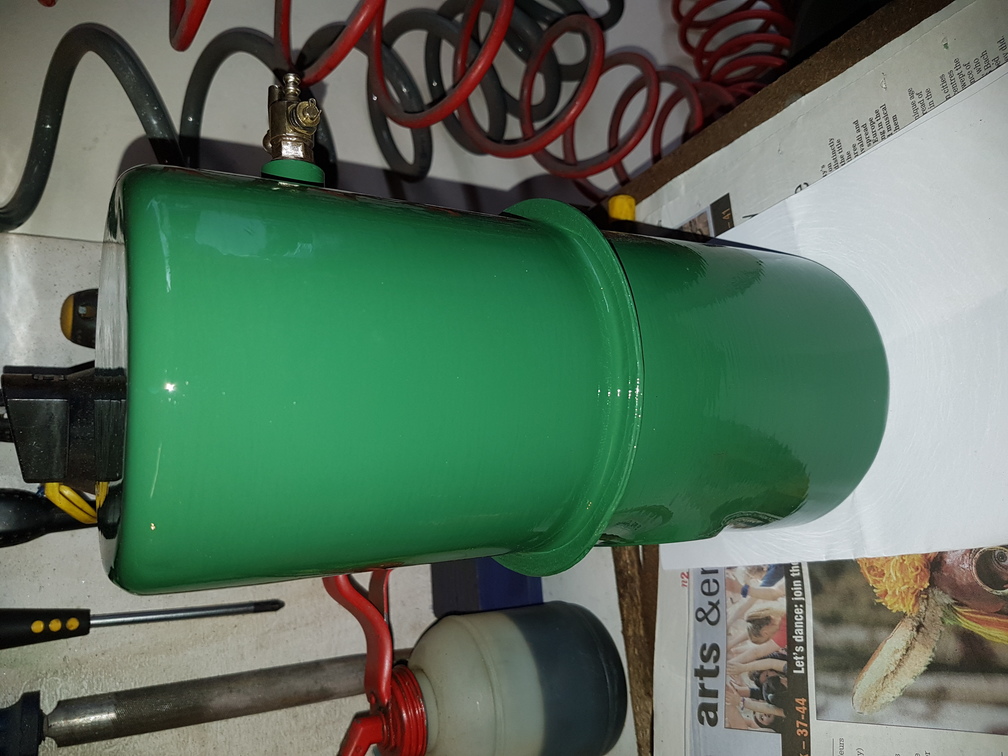
February 5, 2017 at 7:35 pm #24321darmic1ParticipantFinished painting the fuel tank this afternoon. Small dents were filled and then etch primed, before top coat was brushed on. I will be clear coating the fuel tank with a 1k lacquer, as the enamel is not fuel resistant!
Attachments:
February 8, 2017 at 12:39 am #24325 wristpinParticipant
Finished painting the fuel tank this afternoon. Small dents were filled and then etch primed, before top coat was brushed on. I will be clear coating the fuel tank with a 1k lacquer, as the enamel is not fuel resistant!
Out of interest, what 1k lacquer have you found that is fuel proof – I’ve yet to find one! Even powder coating does not seem to fend off ethanol adulterated fuel.
February 9, 2017 at 6:06 pm #24339darmic1ParticipantHi Angus
The brand is Pro-XL, supplied by Automotive Paint Supplies. I believe they are mainly in the south of UK, I have a branch 5 minutes from me. Have used these products on all my restorations and used the 1k laquer before on my Alloys when I refurbed them. It lasted 7+ years on them before I sold the car. Oil/salt/detergent/acid resistant! Have also used it on fuel tanks before on the 1st Gem I restored. I used waterslide decals and clear coated the fuel tank to protect the decals. The tank still looks like new despite being 6 years ago and been out in all weathers! I would say with confidence it is resistant to fuel, however prolonged or intense direct contact might have some damaging effect. Splashes and spills just run off and evaporate…… I’ve even wiped spills without damage occuring……February 9, 2017 at 9:56 pm #24341wristpinParticipantThanks, that’s useful to know. Looks like your supplier’s nearest branch is Aldershot or Newbury but hopefully the product is available nearer to me.
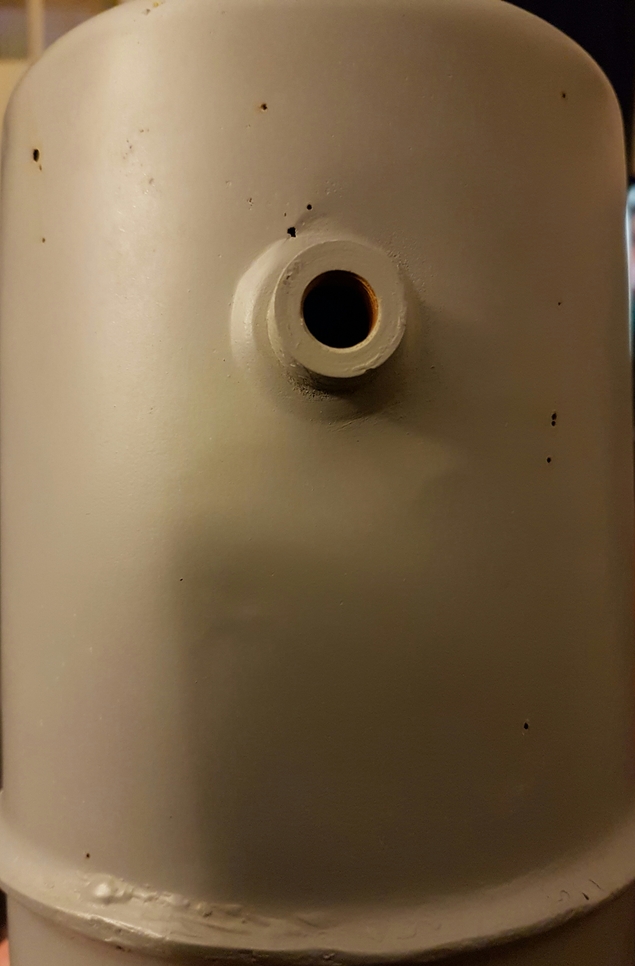
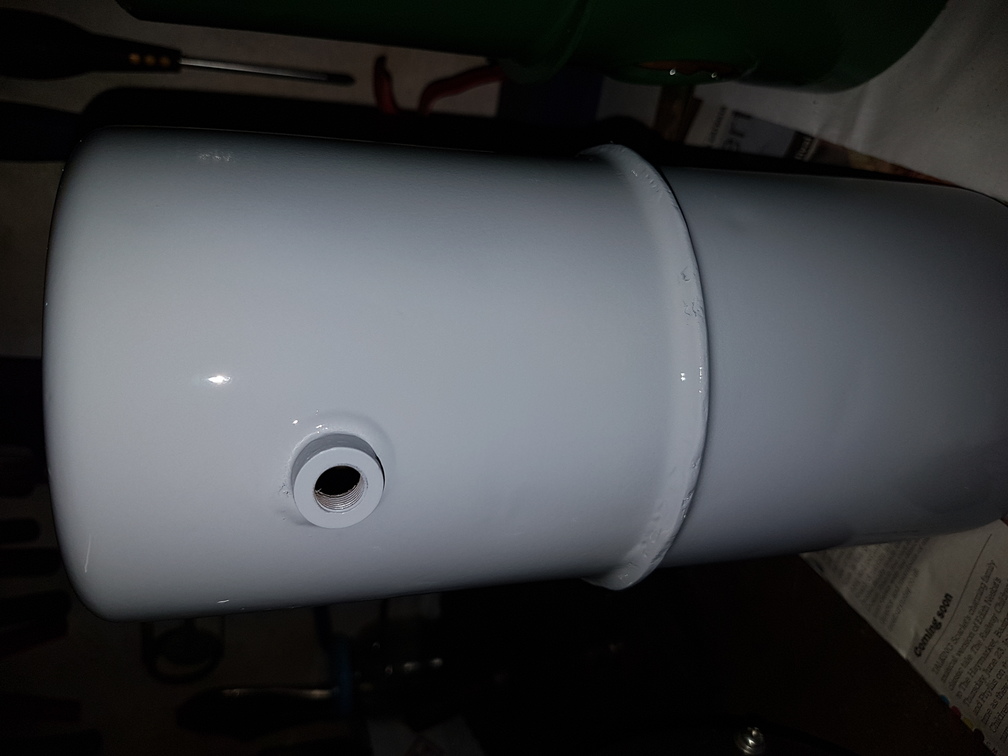
February 10, 2017 at 10:55 pm #24356darmic1ParticipantThe original fuel tank was rather rusty inside, after it had soaked in some rust eating acid it had become a sieve…… So I etch primed it just to prevent flash rust forming. I then soldered up the 13 holes! Filled the worst of the dents and primed it again. It’s now been treated with a good dose of POR15…. It will do as a ‘spare’ tank, as I have numerous machines with this type fitted!
Attachments:
-
AuthorPosts

- You must be logged in to reply to this topic.